
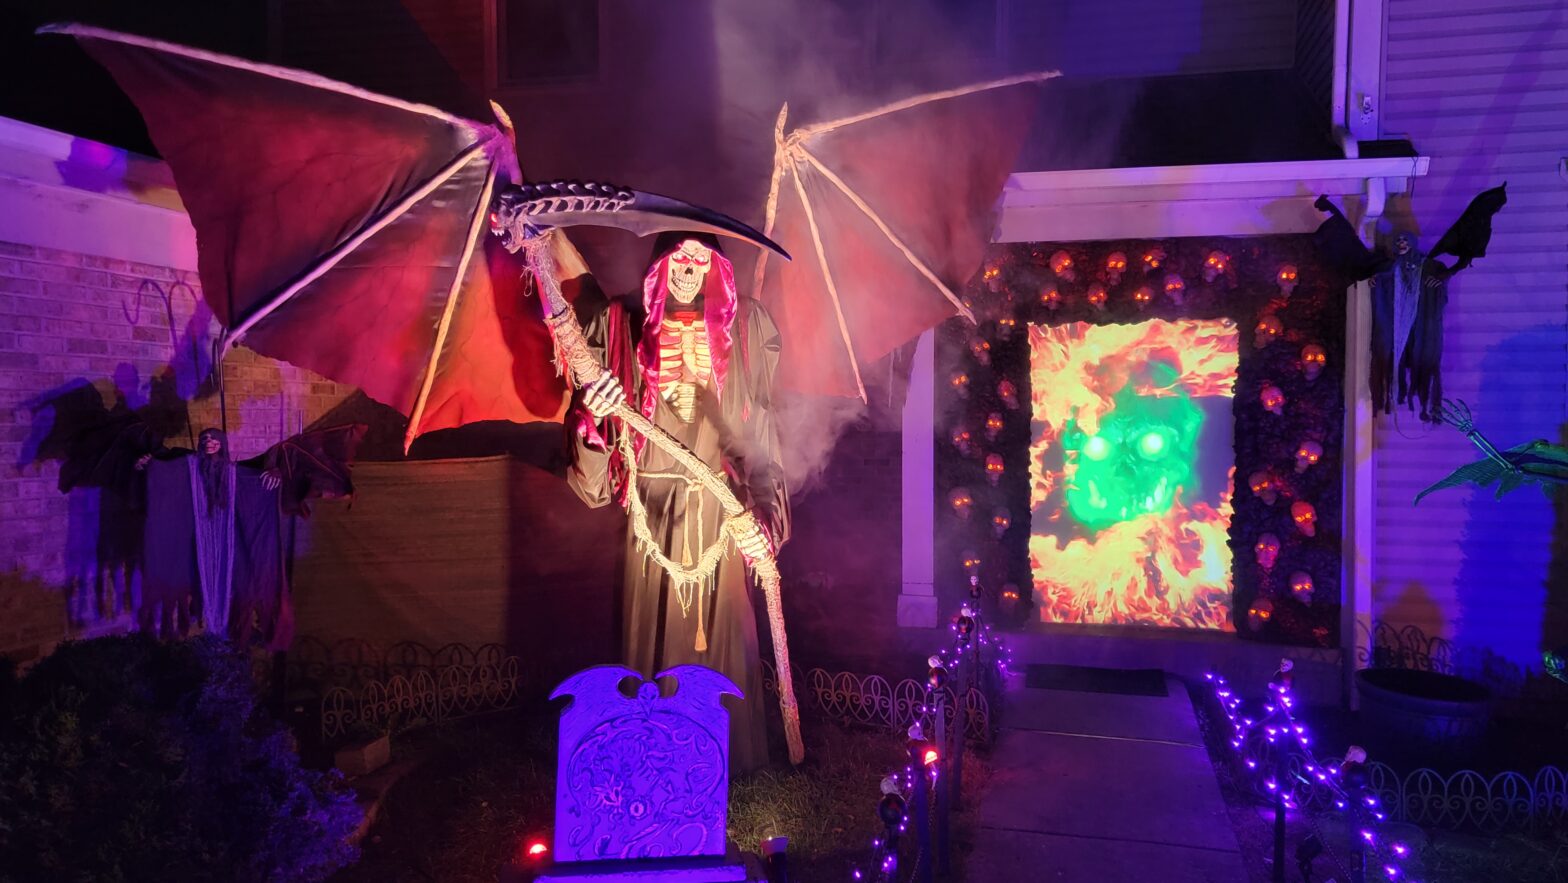
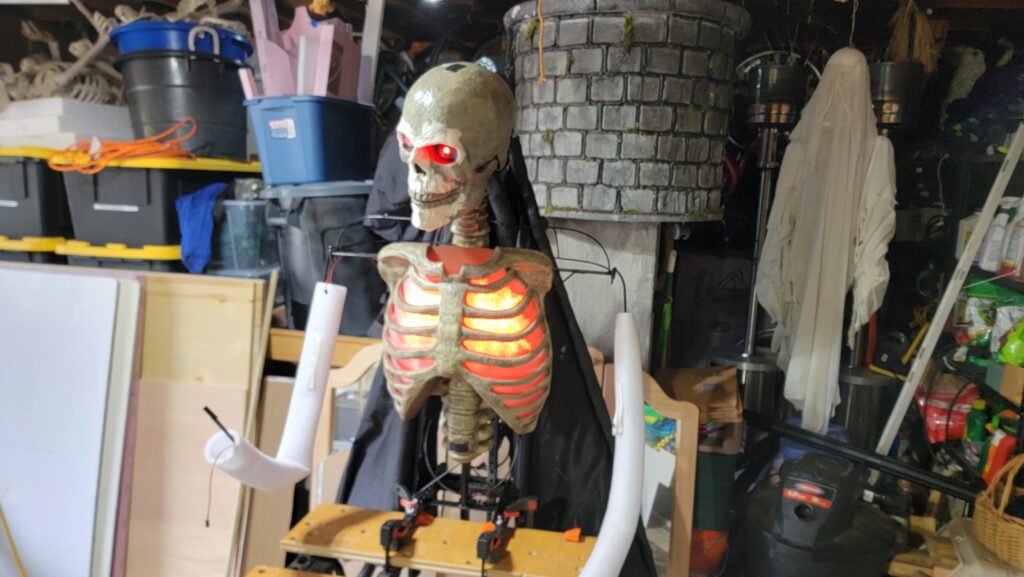
This year, Ray got a major upgrade! We finally finished the wings. He got a new face-sculpt, paint job, and a whole new wardrobe.
The Wings
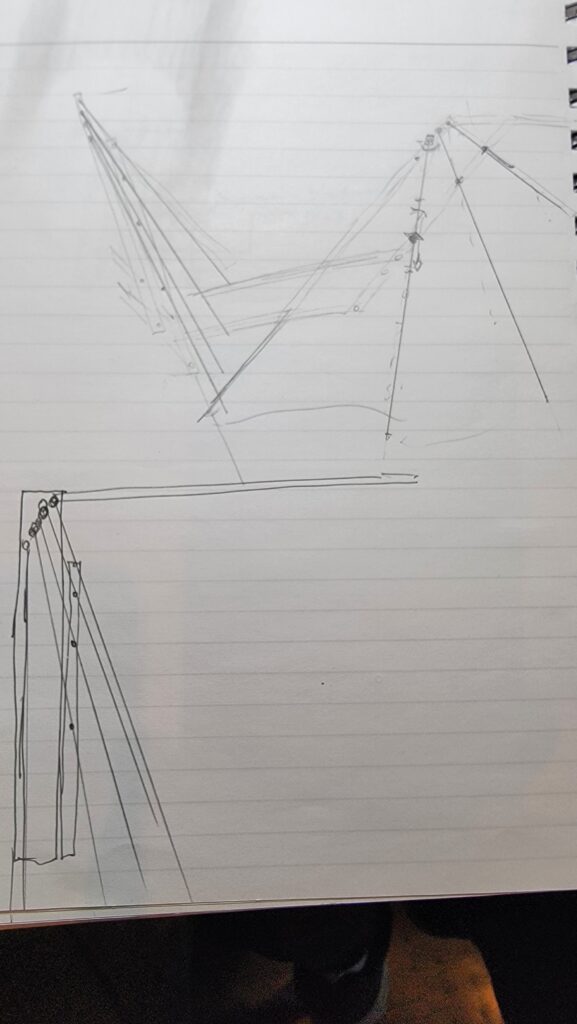
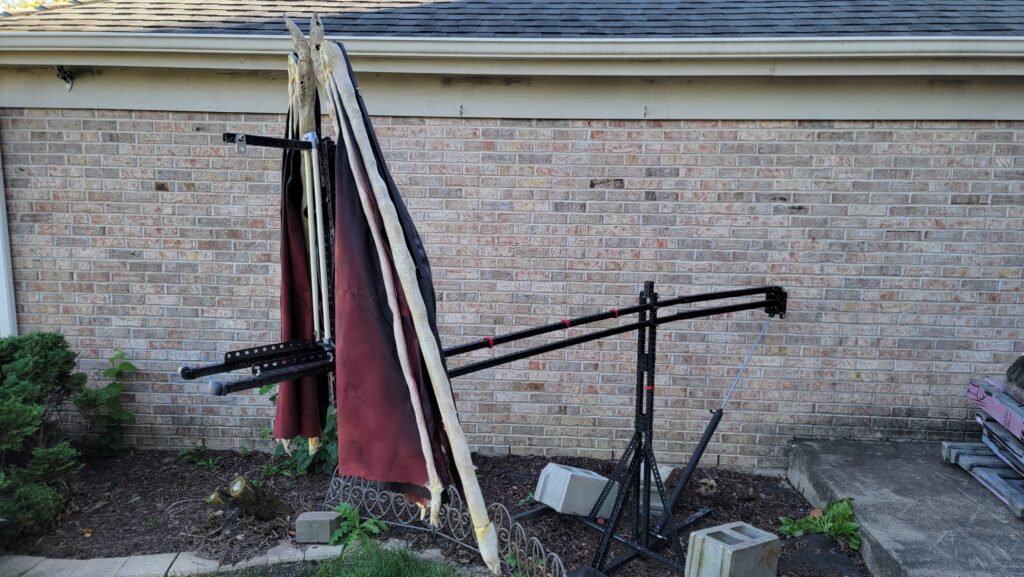
The metal frames that we finished last year were only the start. Most people thought those were all the wings were going to be. They were really the armature that the real wings would sit on.
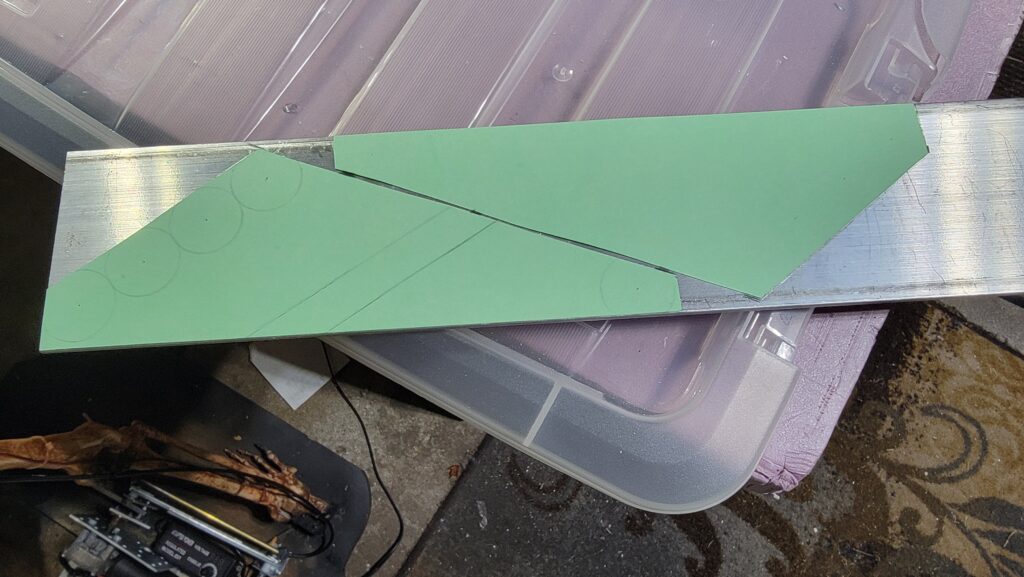
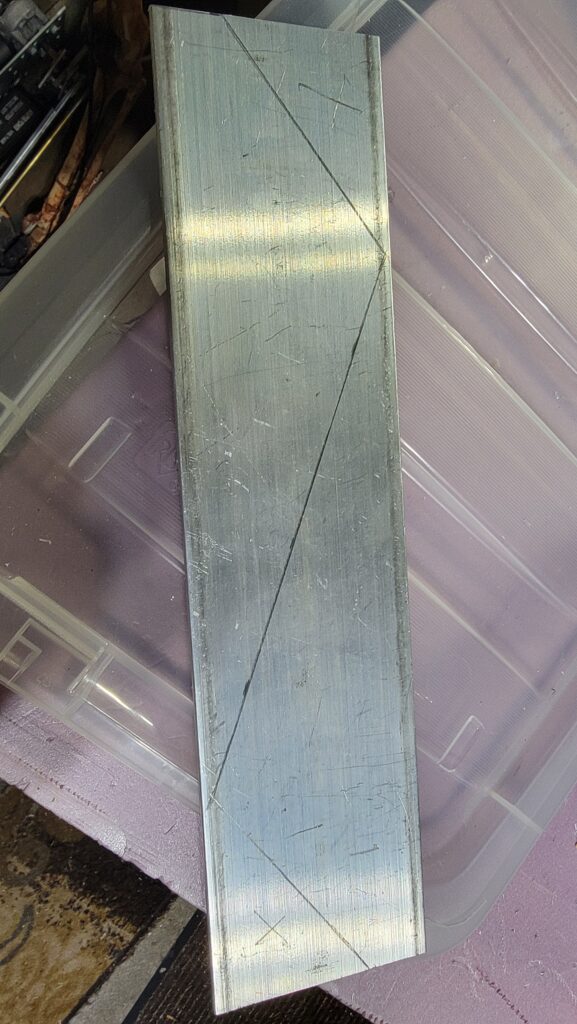
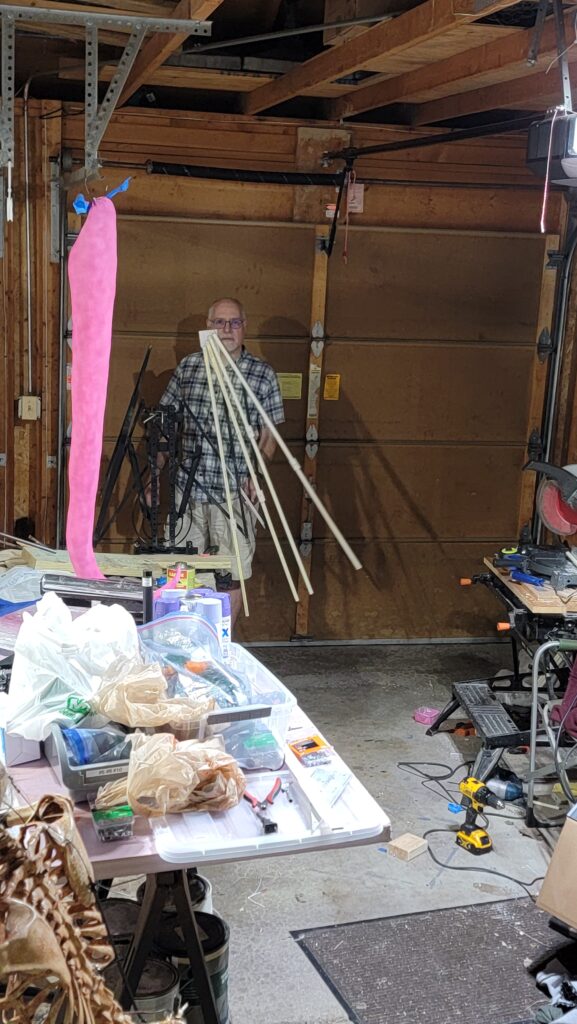
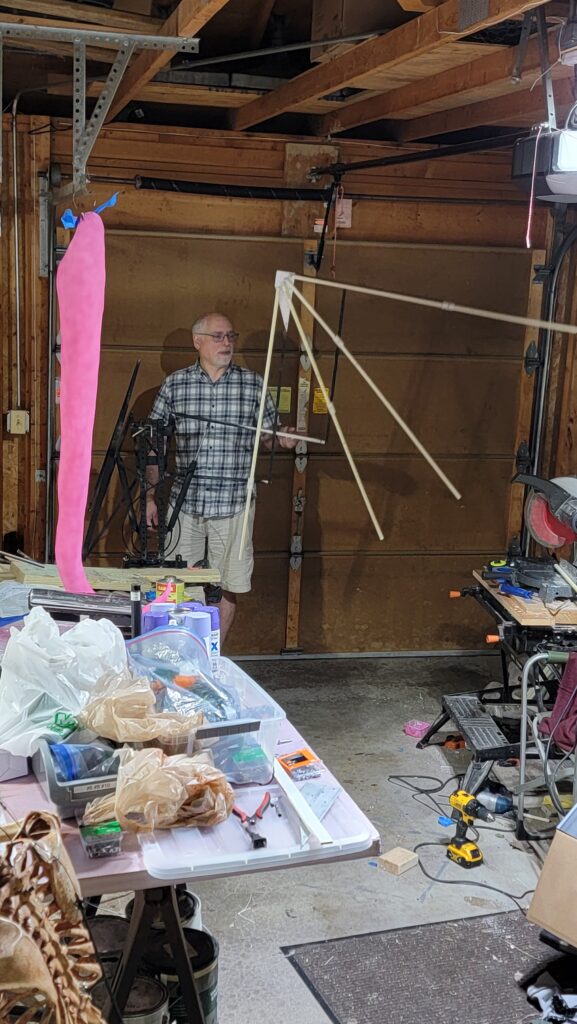
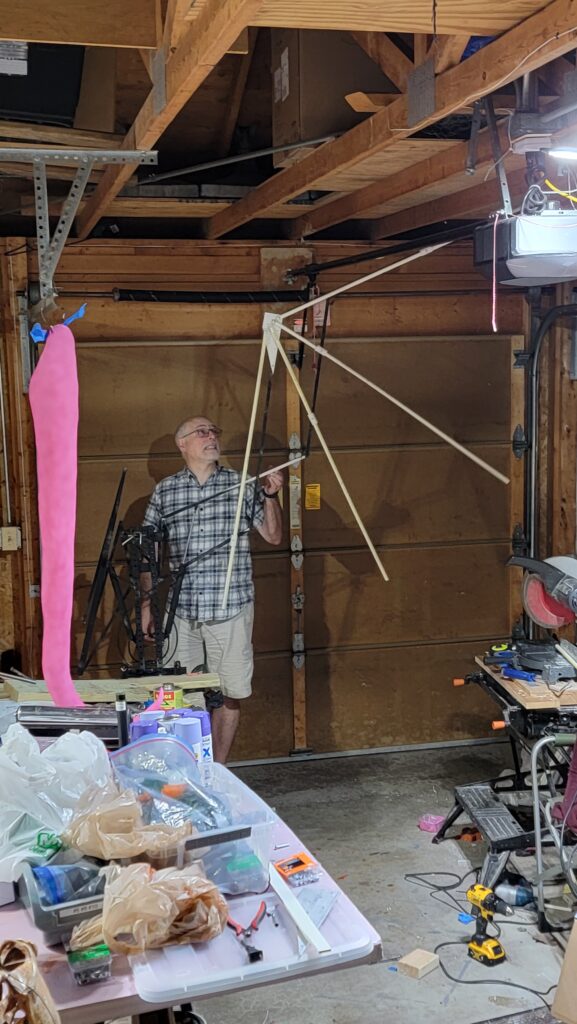
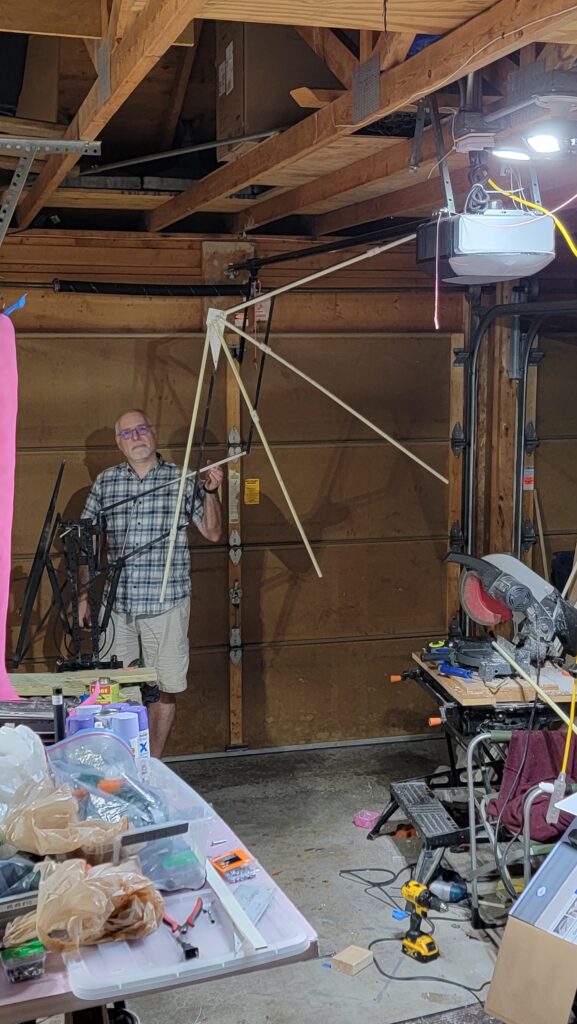
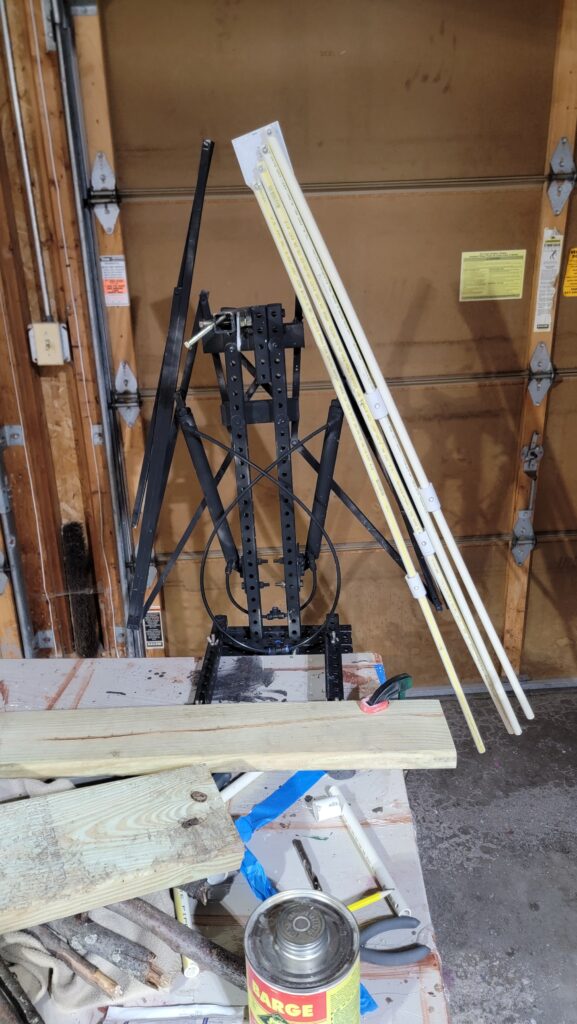
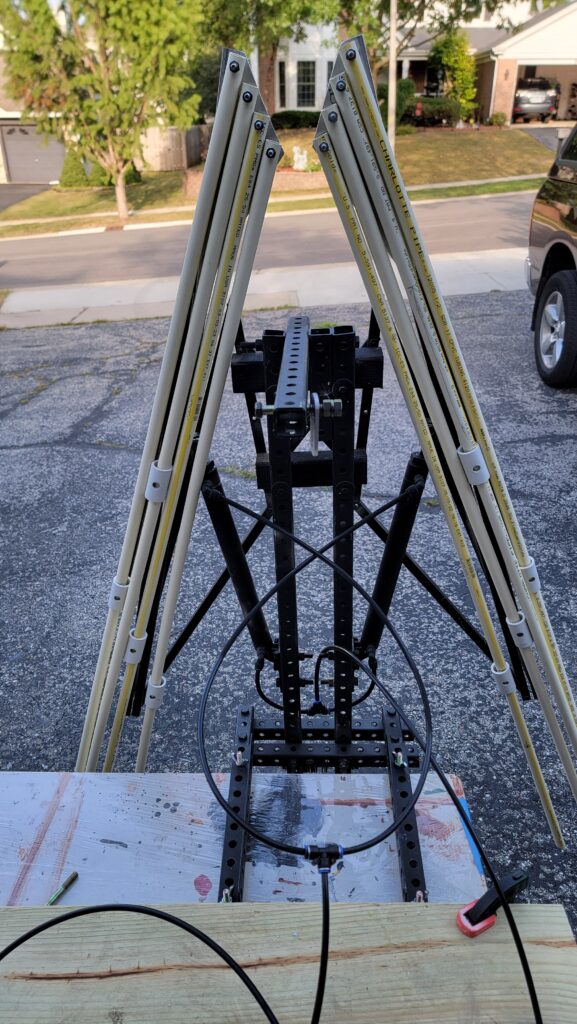
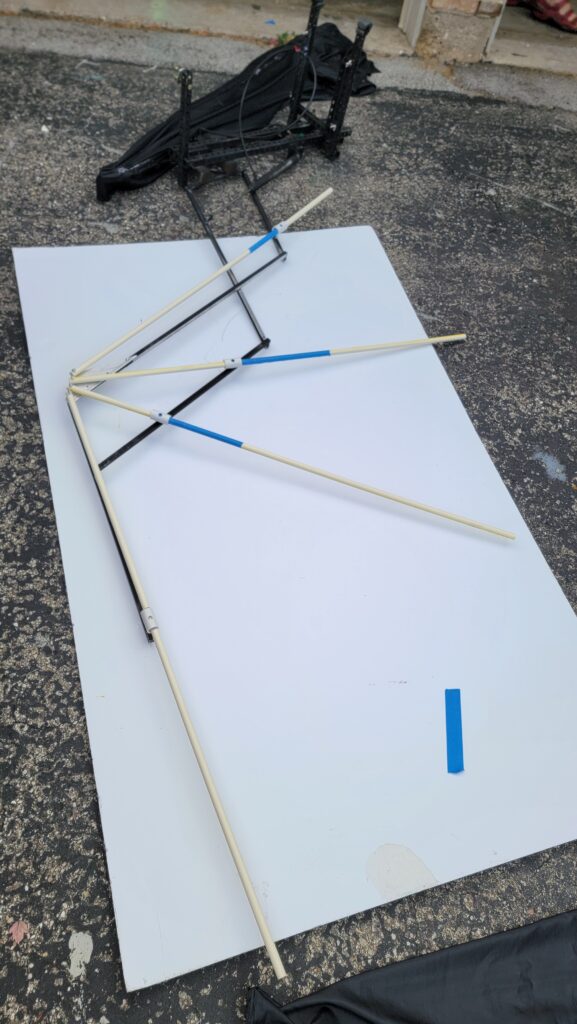
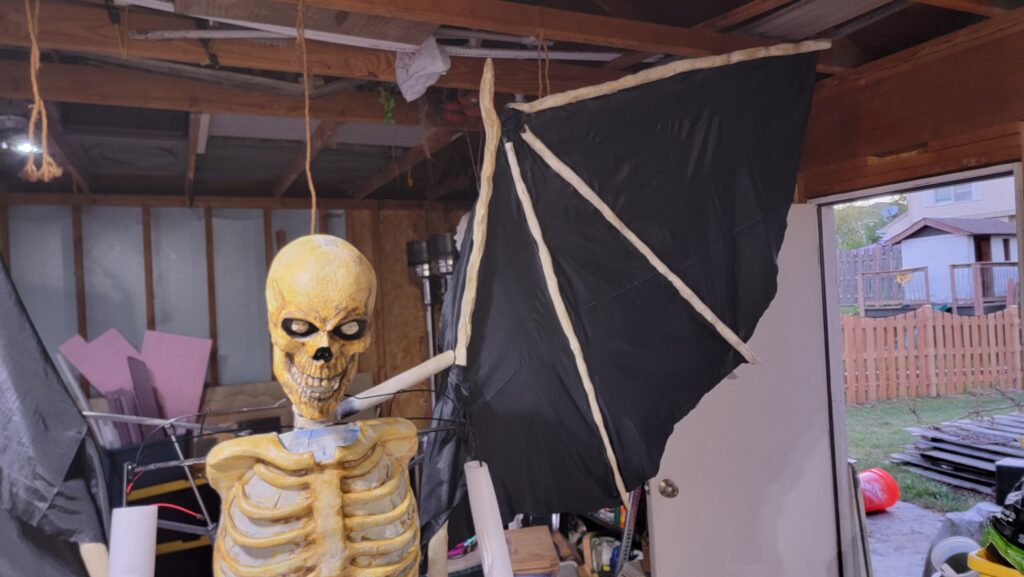
The top of each wing has an aluminum hinge plate that will hold four “fingers”. These were created using 1/2 inch CPVC pipe and mounted so they could pivot without interfering with each other when they swung open, and rest against each other when swung closed.
The lower part of each finger passes through a 3/4″ PVC joint which itself can pivot, while allowing the finger to slide through. That creates an area of free movement on each of the lower three spars which I call the no-go zone (you’ll see why when we cover the wings). Note: because of its placement at the same pivot-point as the wing frame itself, the top spar actually never slides. it simply rotates with the upper section of the wing frame.
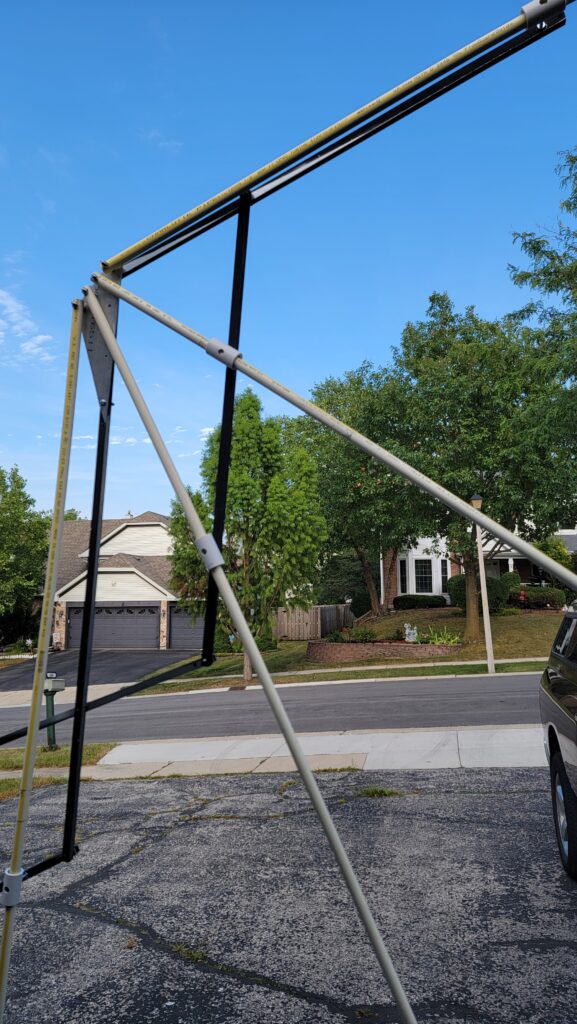

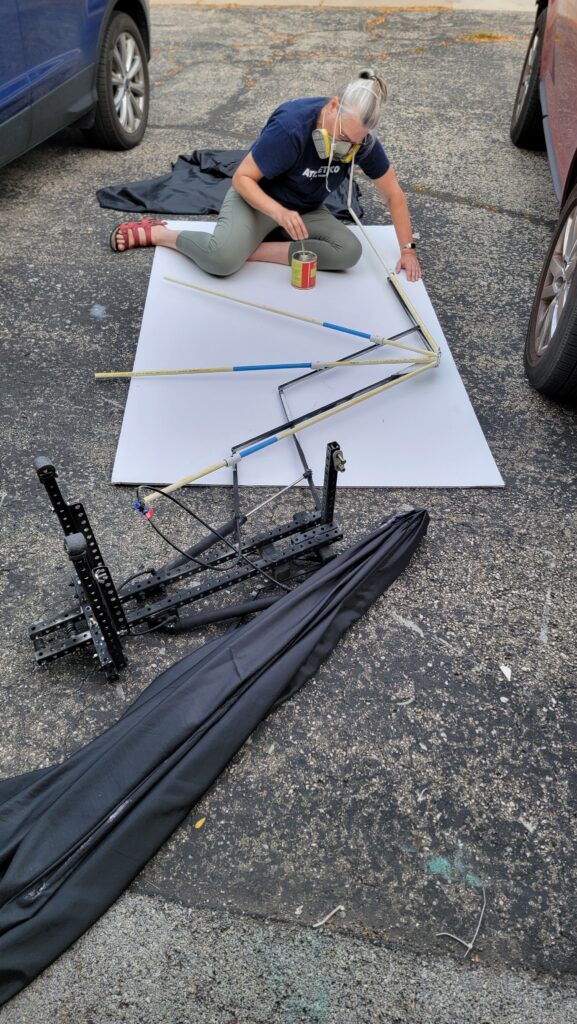
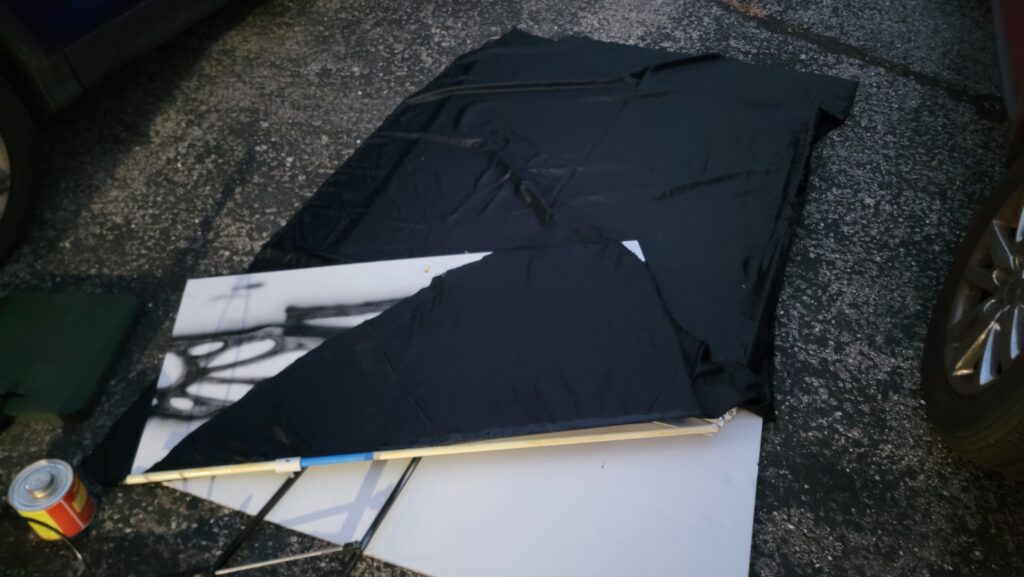
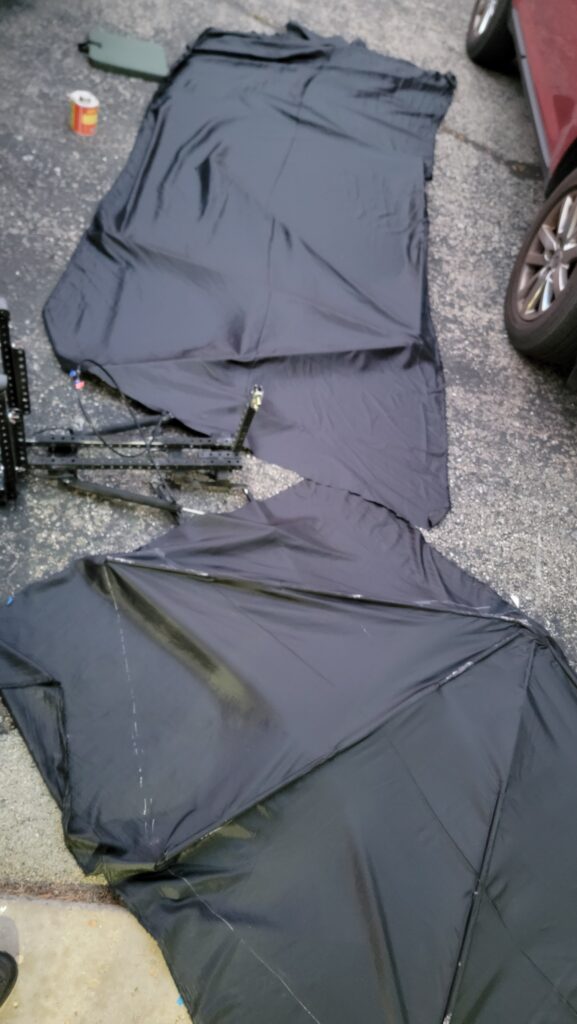
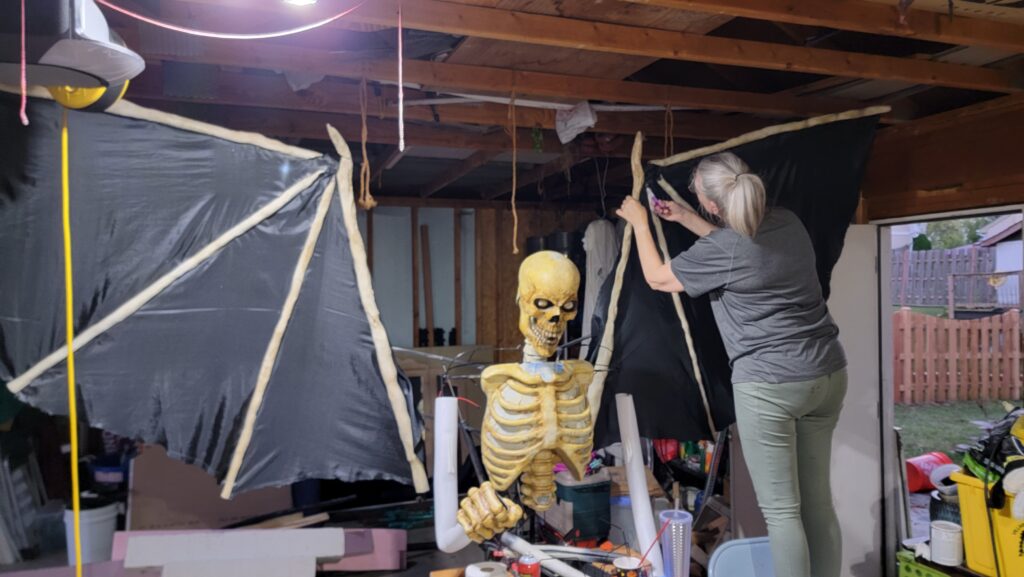
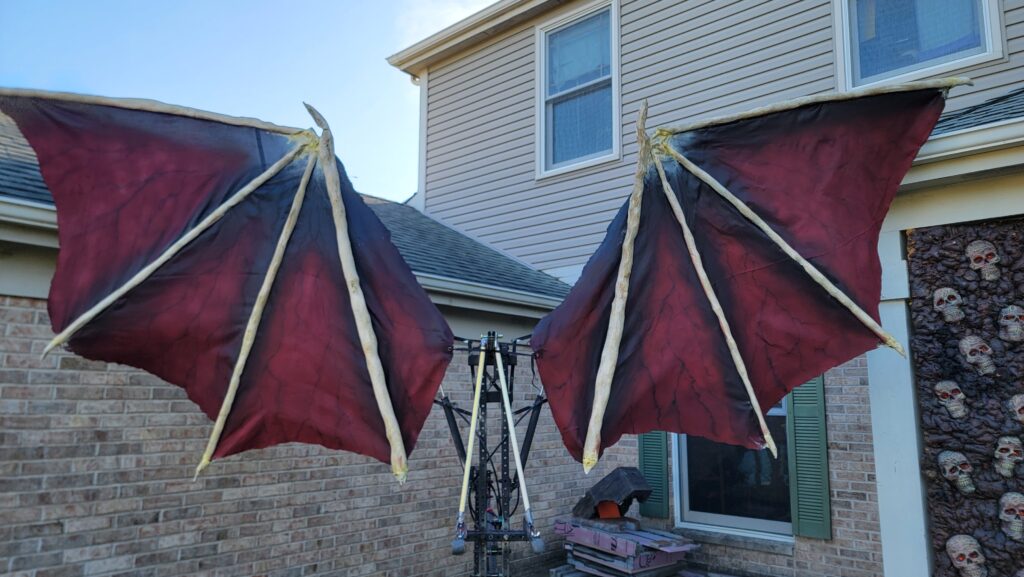
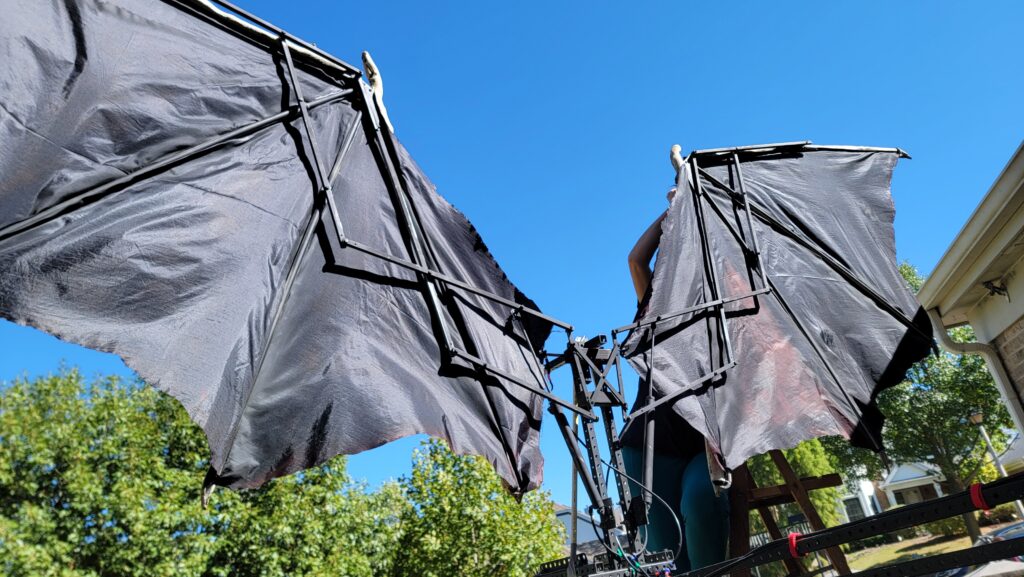
Once the wing spars were working, the next step was to cover the front surface with a nylon cloth that wouldn’t absorb water if they got wet. The cloth was attached with contact cement on the cloth, and on the spars themselves — everywhere, except the no-go zones (in blue tape below). The spar would still need to slide back and forth through the pvc slider, so no glue was allowed there.
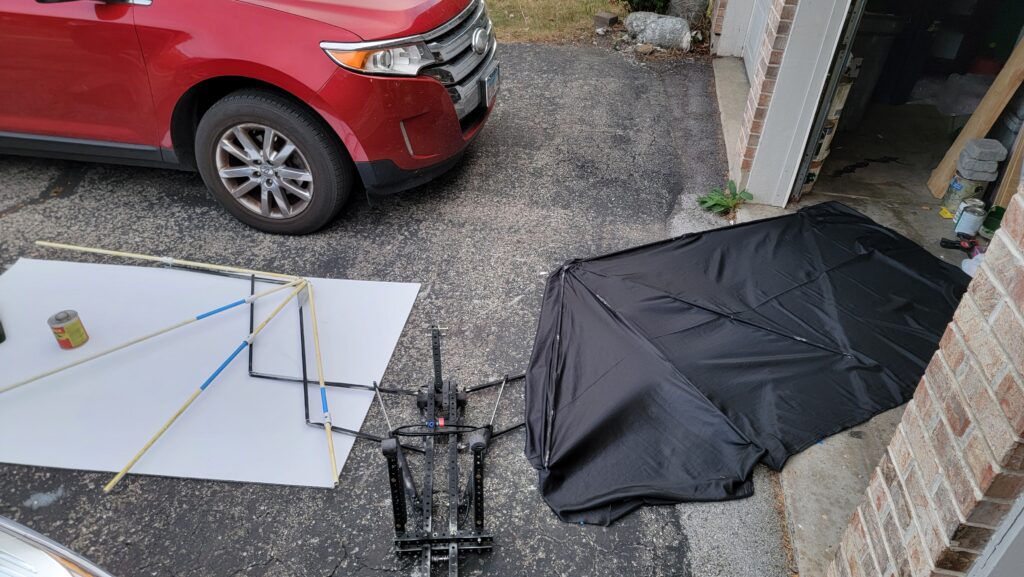
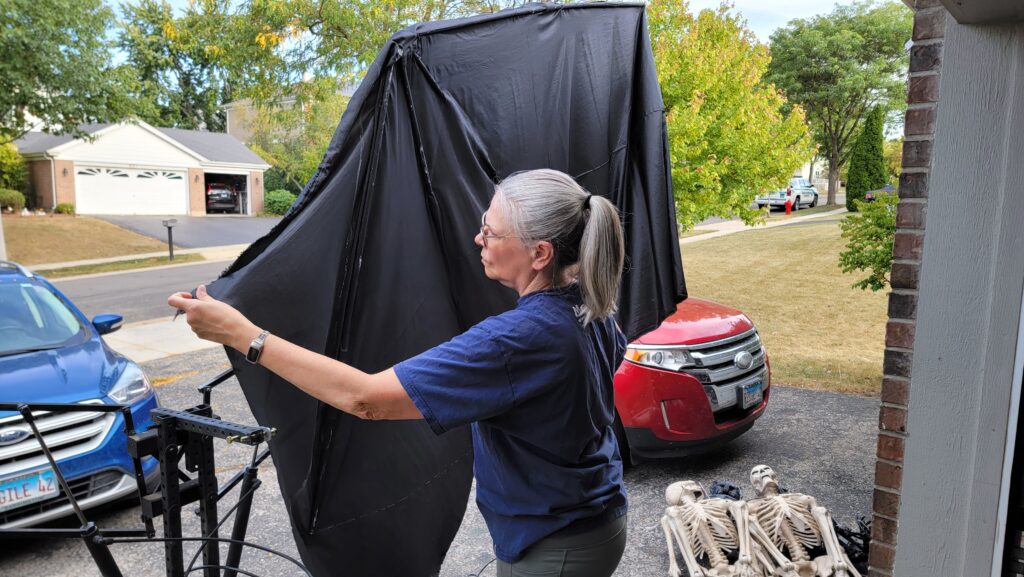
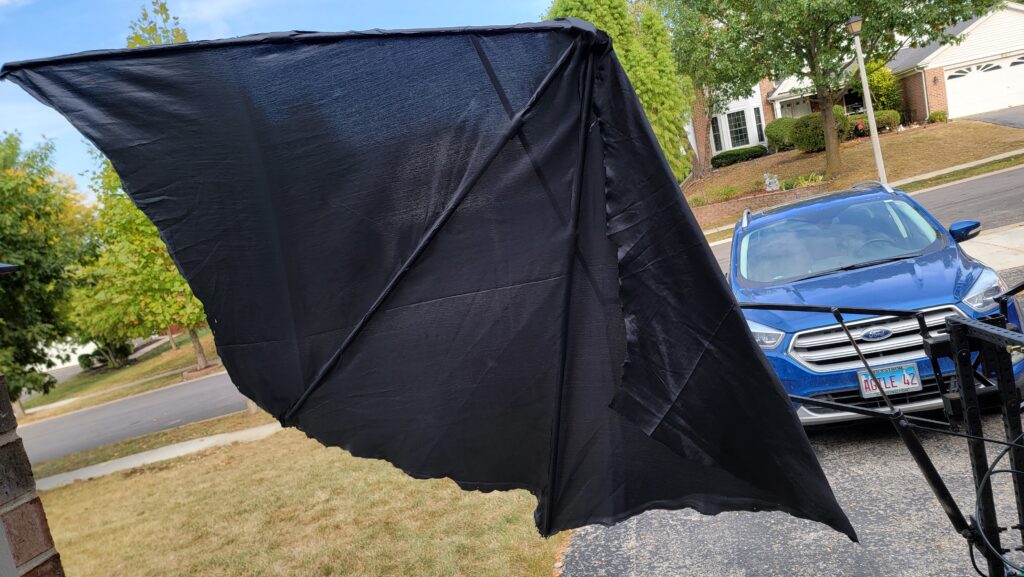
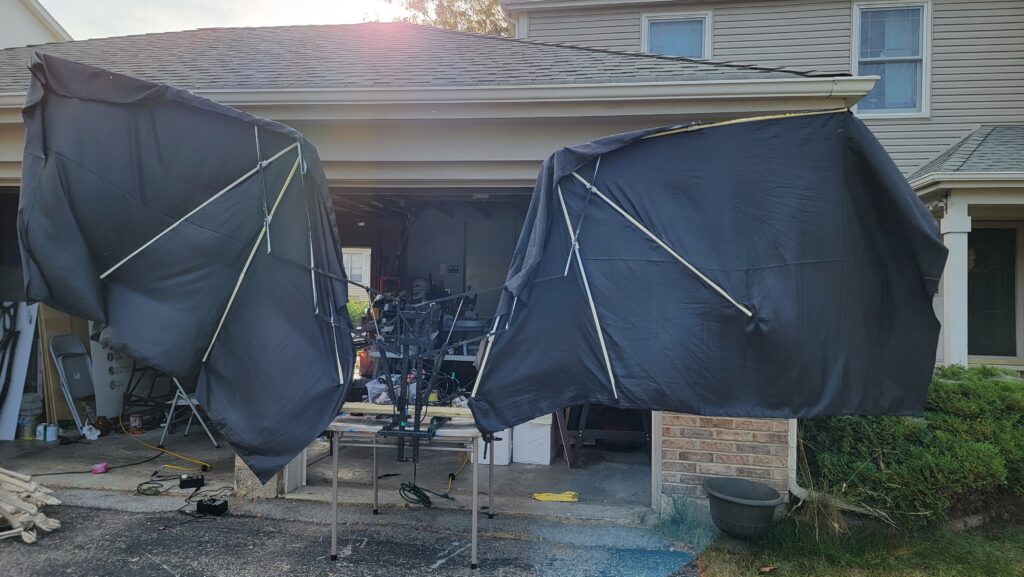


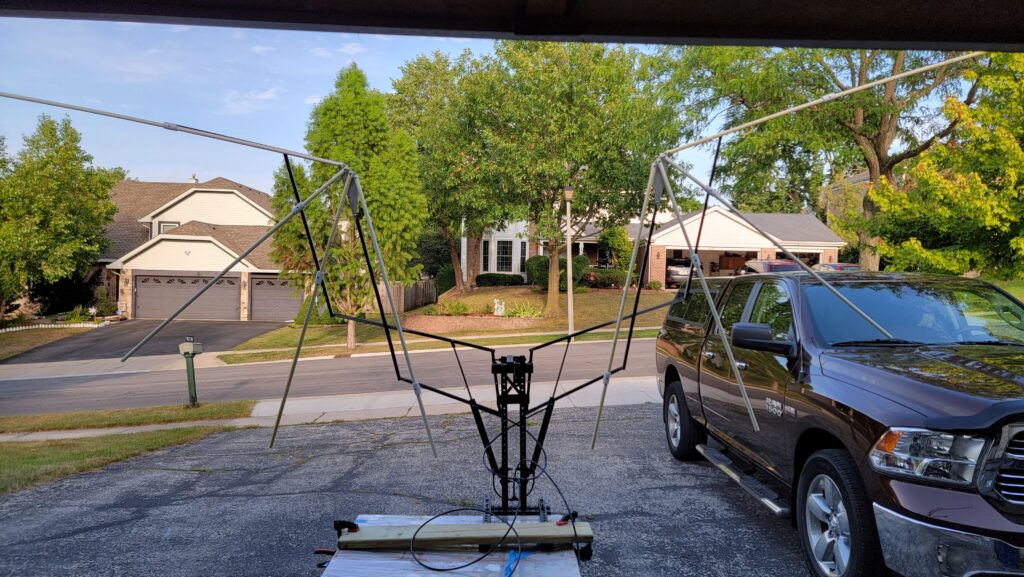
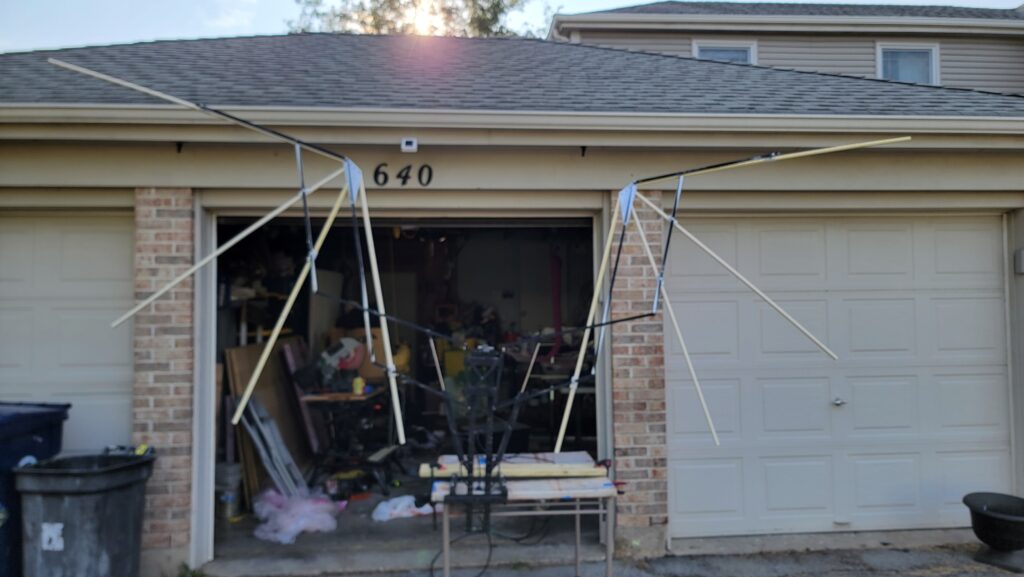
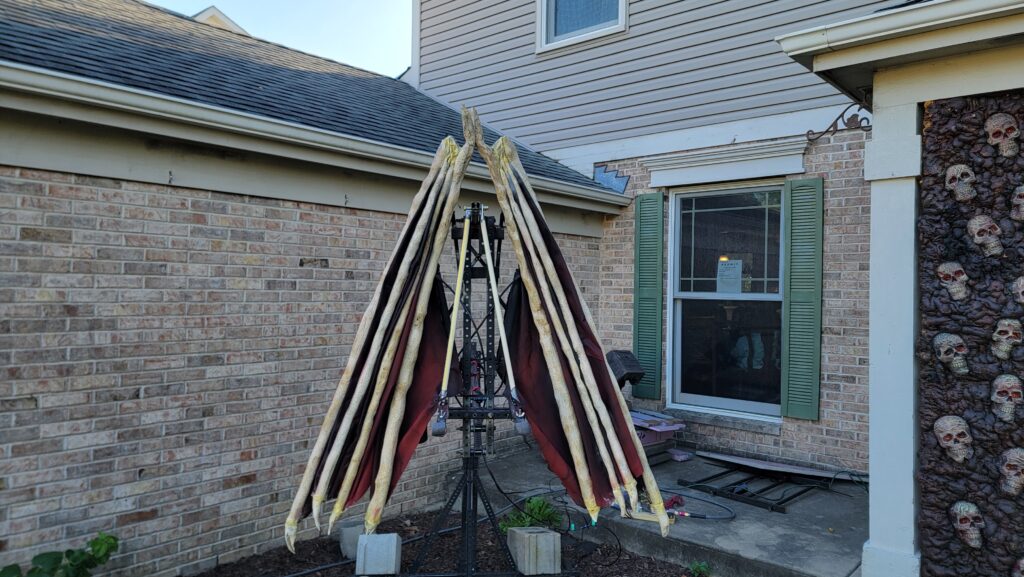
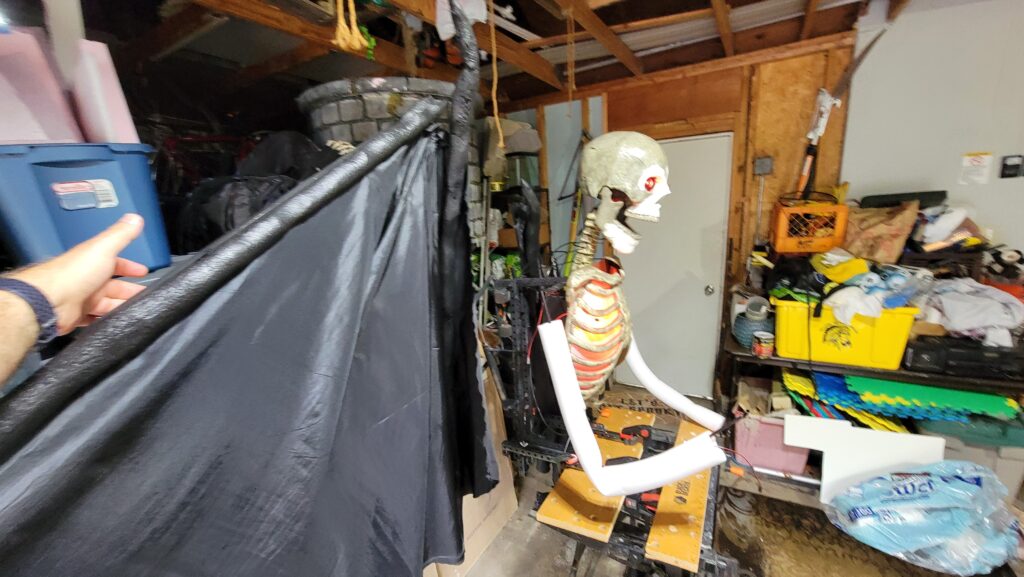
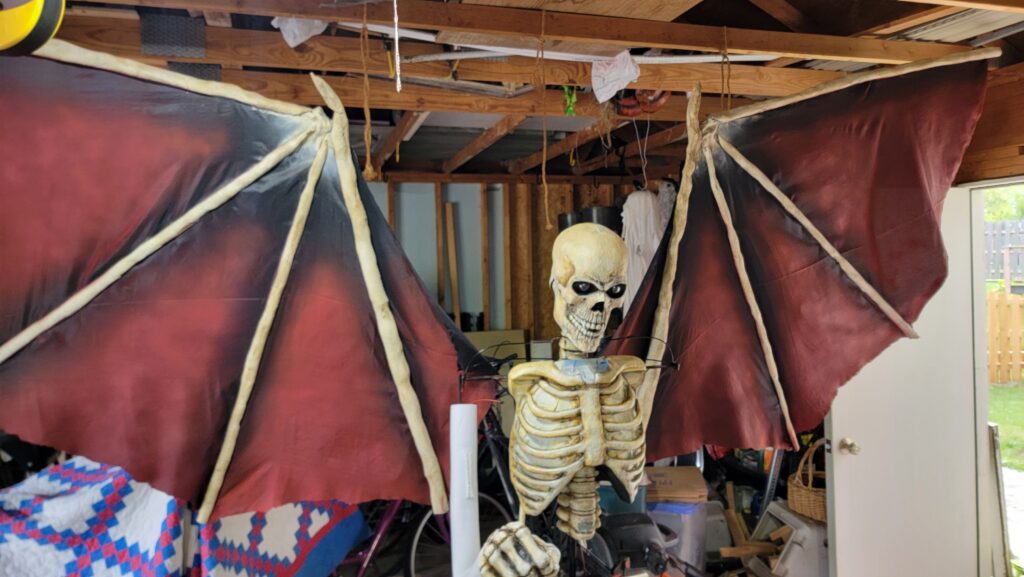
Finally, it was time to put the new wings out on Ray’s lift. The wings aren’t actually attached to Ray’s frame. It never could withstand the force or the weight of the wings, so we mount them to the same rig that lifts ray into the air.
By the way, the finished product has a 15-foot wingspan!
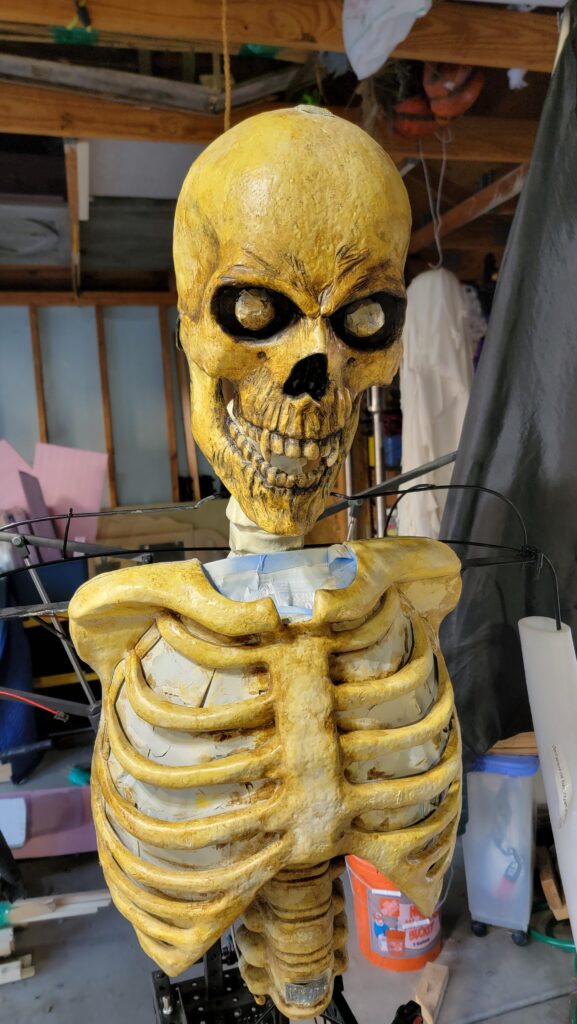
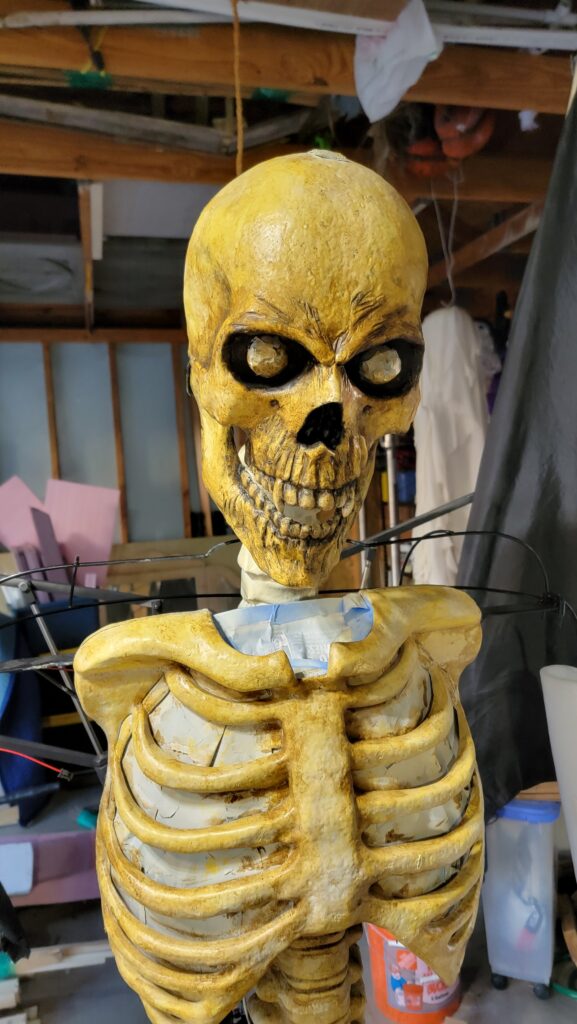
The Sculpt
The Paint

The Wardrobe
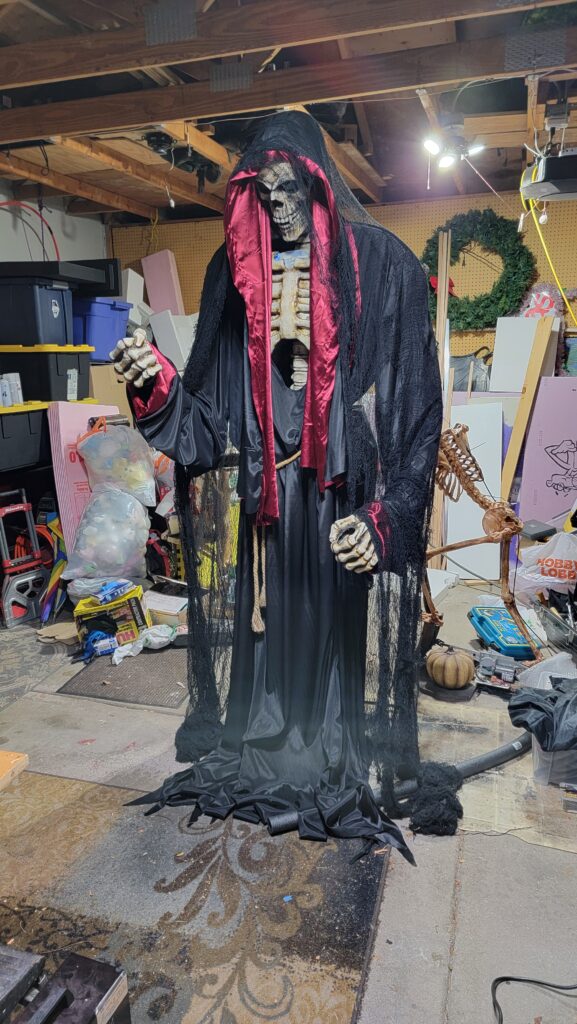

Final Form:
Ray History:
This prop has evolved over the years…