
After the second or third time you find yourself swapping perfectly good LED’s out of the skull of one of your older props — simply because you’re changing themes, you start wondering if there’s a better way.
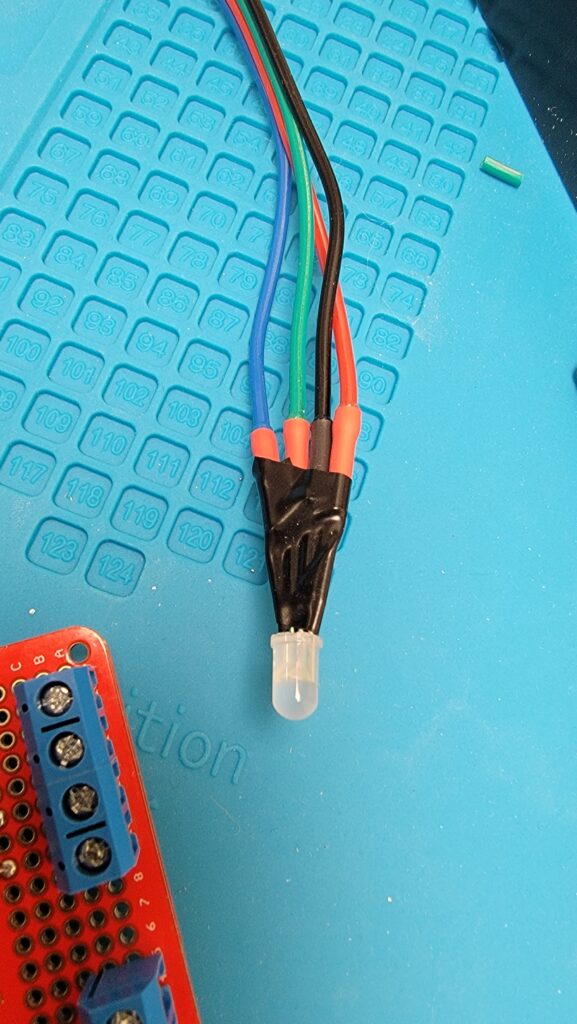
This method can allow you to “hard wire” some of the basic colors of an RGB by applying appropriate +voltage to the R, G, and/or B leads and and – voltage to the common cathode (the longest leg).
If you want control over those colors, you need to buy an RGB led controller … or you could pop out an Arduino Nano and a soldering iron, and some… well, you’ll see.
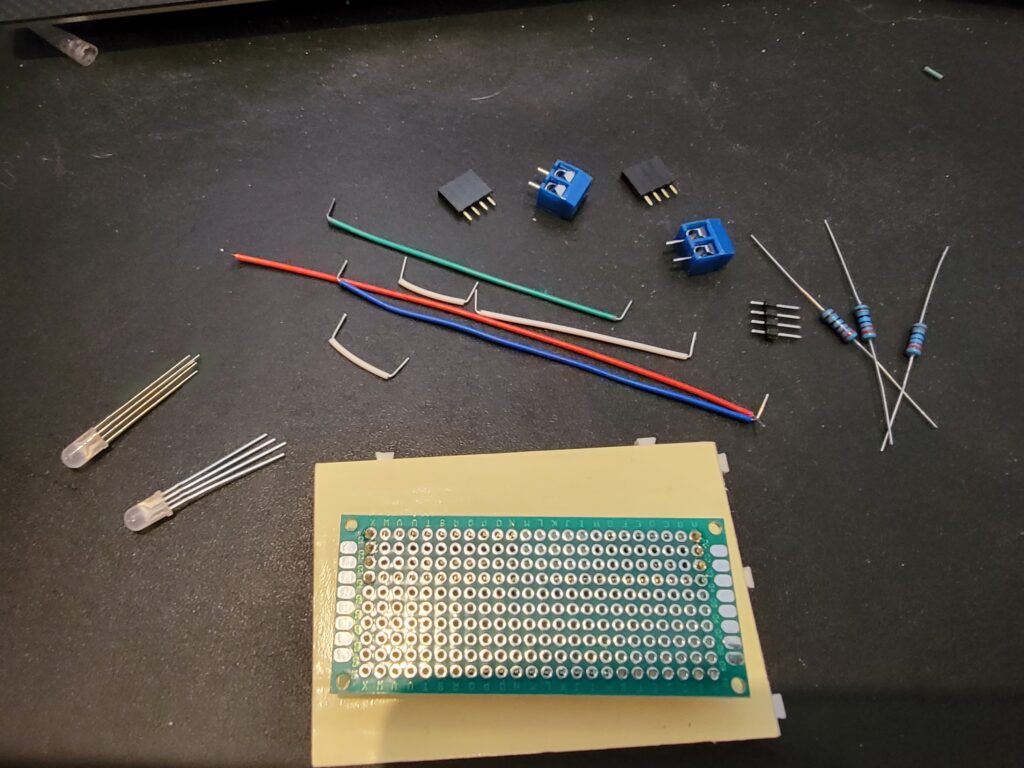
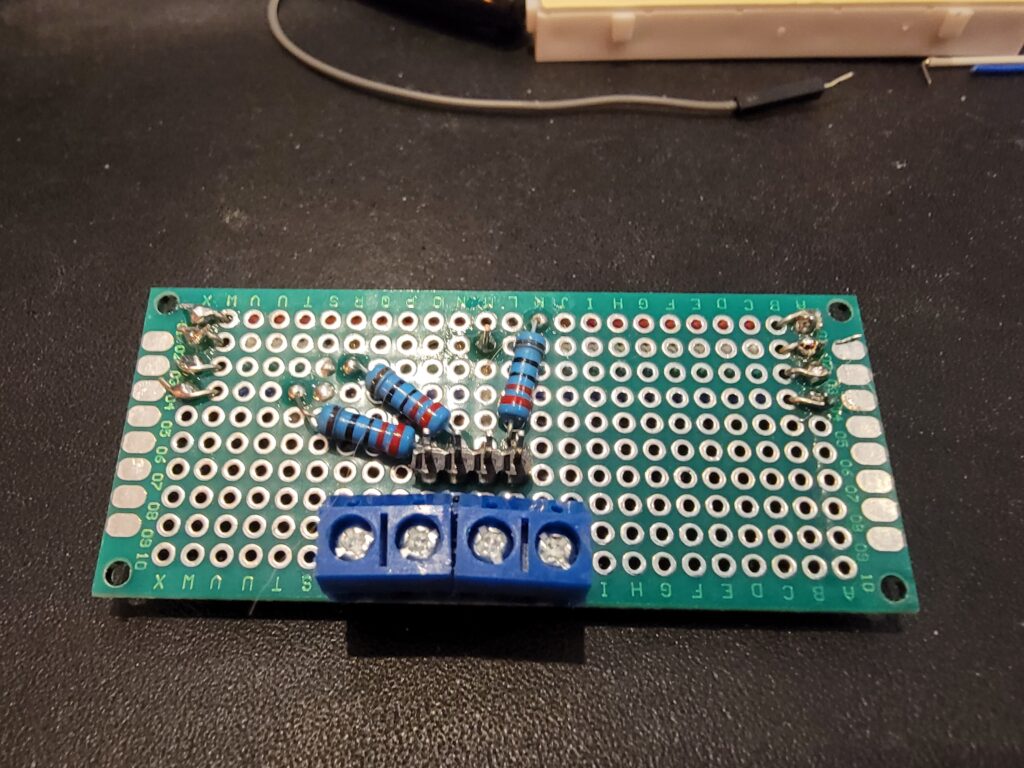
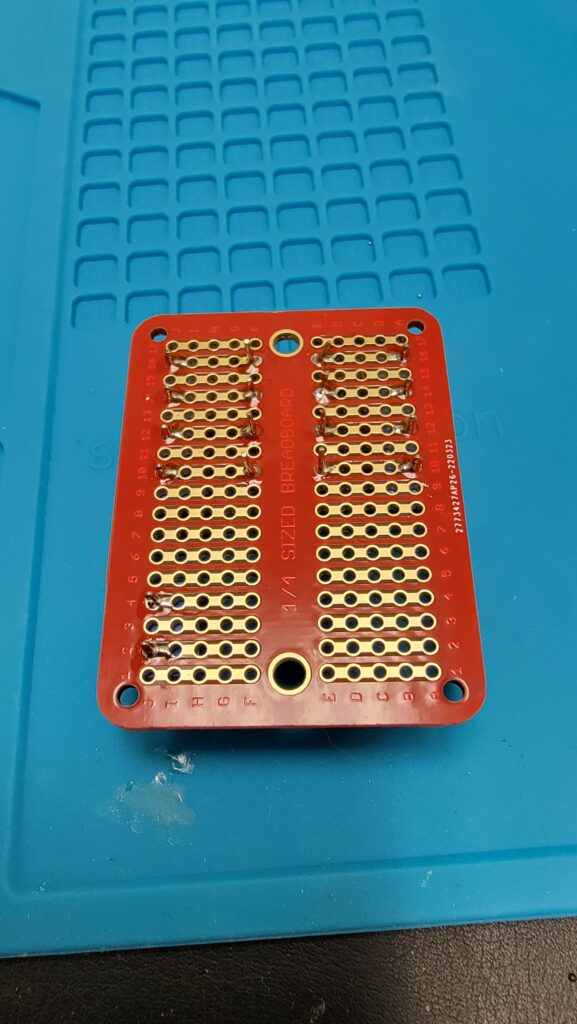
These are 220ohm resistors. Which means the LED can only be powered by a 5 volt power supply. which is perfect, because that’s what the Arduino will supply. The idea is to have the two sockets to just plug in the LED’s, and they’d be about spaced perfectly to go into a skull. I used this one on the Soul-Sucker victim last year.
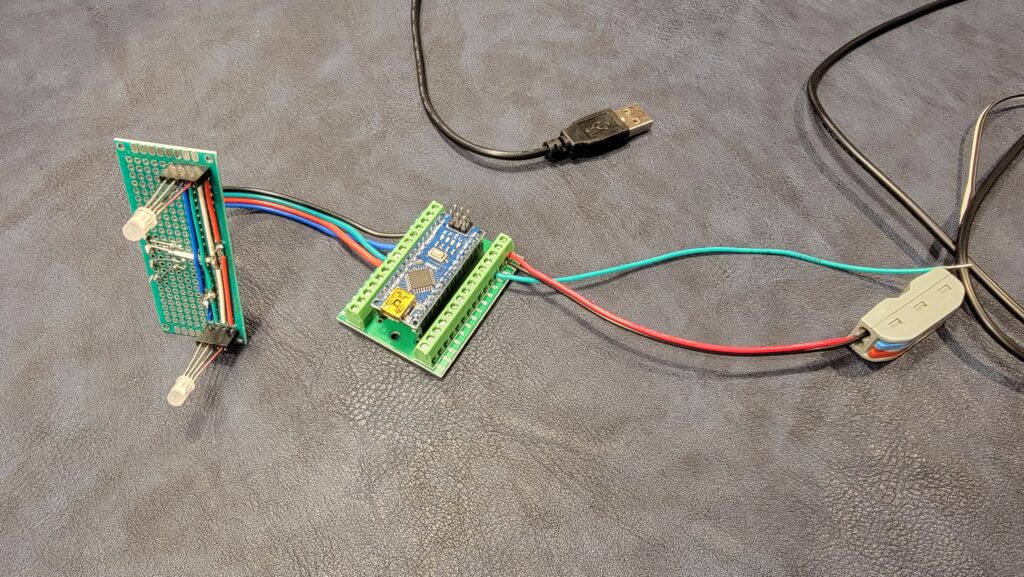
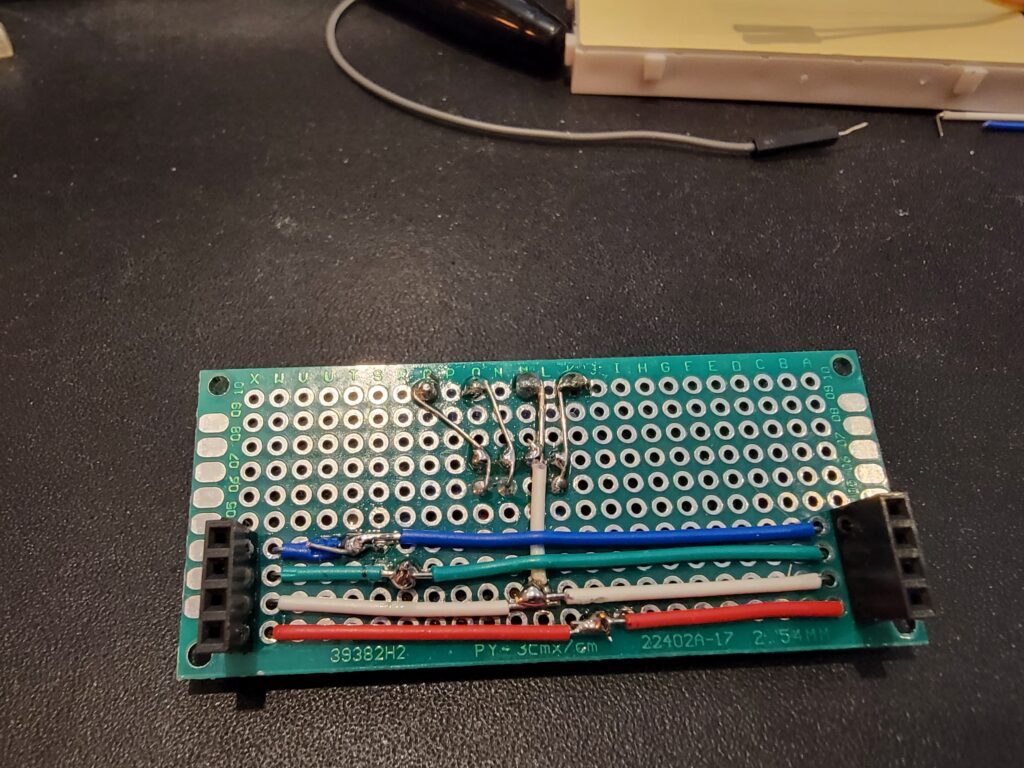
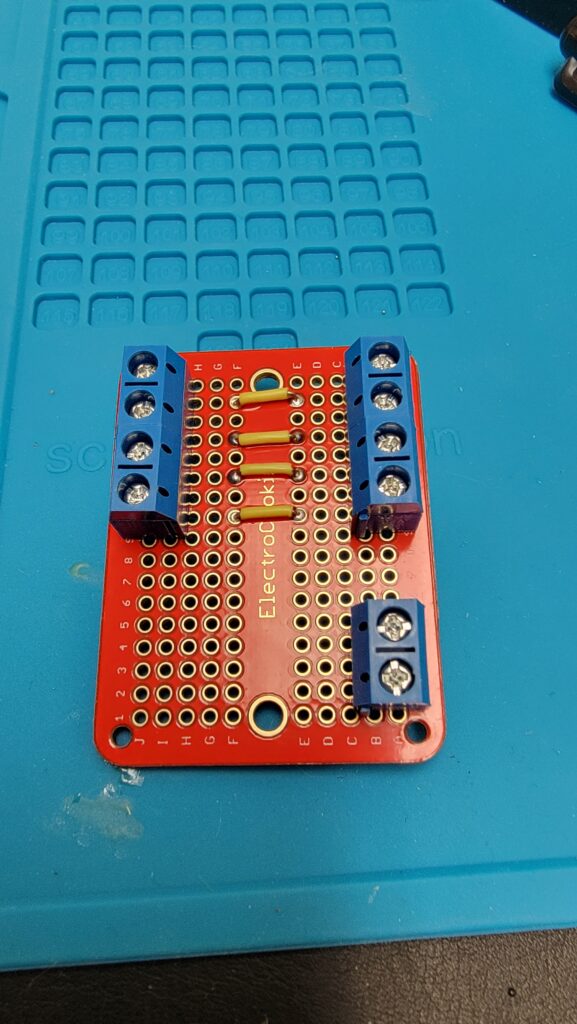
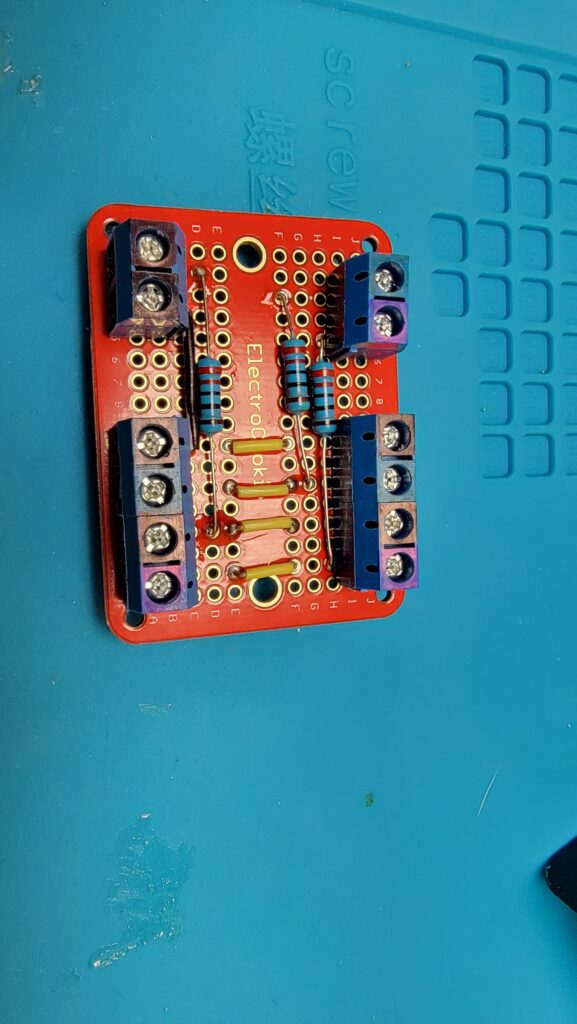
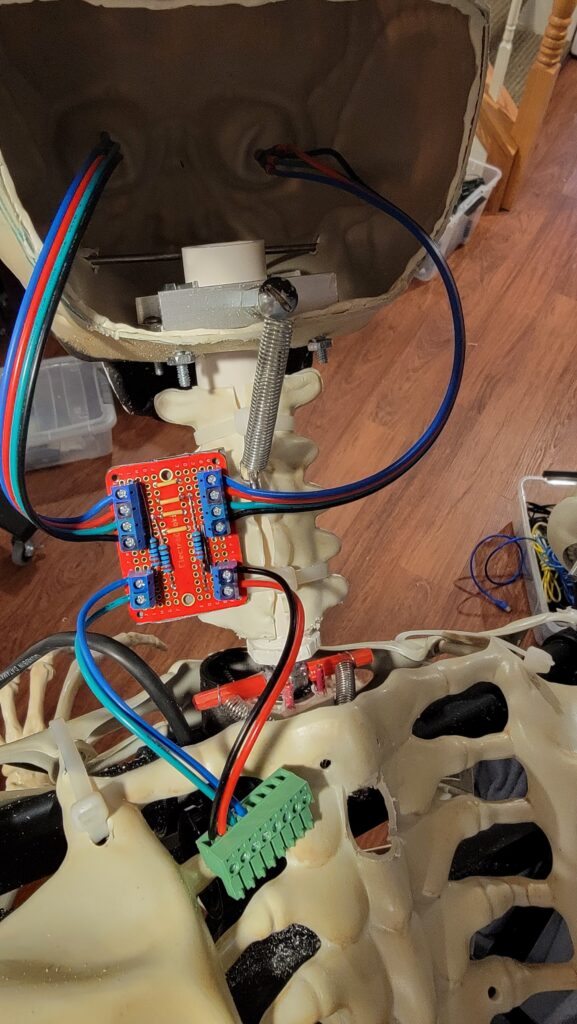
This year, for our new prop, I designed the board differently. This time the LED’s are soldered to colored leads that will attach via screw terminals to the source board. It also takes the pulse-width modulated signal from an arduino controller. Which I intend to connect via an ethernet cable plugged into the head. I’m trying to get the computers out of the skulls
Here is the Sketch that makes the Eyes work
// RGB Eye-Color for Halloween Props
// Copyright 2023 by Michael Marchi for DEMONGROUND: The Hidden Haunt
//
int red_light_pin= 6;
int green_light_pin = 5;
int blue_light_pin = 3;
int delayTime = 5;

int SPEED0 = 0;
int SPEED1 = 1;
int SPEED2 = 2;
int SPEED3 = 5;
int SPEED4 = 10;

///////////////////////////////////////////
// Function RGB_color ( Red, Green, Blue, Delay )
//  Submit strength of Red, Green and Blue component of the color
//  you want to display.  Valid values are 0-255.
//  The Delay value specifies how many milliseconds to wait before
//  returning.  This allows you to execute a series of calls to
//  this function.

void RGB_color(int red_light_value, int green_light_value, int blue_light_value, int pause_after = 0)
 {
  analogWrite(red_light_pin, red_light_value);
  analogWrite(green_light_pin, green_light_value);
  analogWrite(blue_light_pin, blue_light_value);
  delay( delayTime + pause_after );
}

///////////////////////////////////////////////////
//  Call this function with two sets of RGB values, and two delay
//   values. The code will execute a series of steps to change from
//   the first color to the second color.  The first delay value
//   controls how quickly the color will change.  The second delay
//   value indicates how long to wait after the transition is
//   complete before returning.

void RGB_transition(int red_from, int green_from, int blue_from, int red_to, int green_to, int blue_to, int delay_between = 0, int pause_after = 0 )
{
  int redRange = 0;
  float redDelta = 0;
  int greenRange = 0;
  float greenDelta = 0;
  int blueRange = 0;
  float blueDelta = 0;
  int steps = 0;
  int maxRange = 0;

  float redValue = red_from;
  float greenValue = green_from;
  float blueValue = blue_from;

  redRange = red_to - red_from;
  greenRange = green_to - green_from;
  blueRange = blue_to - blue_from;

  if ( abs( redRange ) > maxRange )
    maxRange = abs (redRange);
  if ( abs( greenRange ) > maxRange )
    maxRange = abs( greenRange );
  if ( abs( blueRange ) > maxRange )
    maxRange = abs( blueRange );

  redDelta = (float)redRange / (float)maxRange;
  greenDelta = (float)greenRange / (float)maxRange;
  blueDelta = (float)blueRange / (float)maxRange;

  RGB_color( red_from, green_from, blue_from, delay_between );

  for ( steps = 0; steps < maxRange; steps ++ )
  {
     redValue += redDelta;
     greenValue += greenDelta;
     blueValue += blueDelta;

     RGB_color( (int)redValue, (int)greenValue, (int)blueValue, delay_between );
  }
  RGB_color( red_to, green_to, blue_to, pause_after );
}

/////////////////////////////////////////
//  The RGB leads must be on PWM ports on the arduino.  I'm using
//  3, 5 and 6.

void setup()
{
  pinMode(red_light_pin, OUTPUT);
  pinMode(green_light_pin, OUTPUT);
  pinMode(blue_light_pin, OUTPUT);

  digitalWrite(red_light_pin, HIGH);
  digitalWrite(green_light_pin, HIGH);
  digitalWrite(blue_light_pin, HIGH);
}

///////////////////////////////////////
// main loop - this will just keep repeating forever

void loop()
{
     // Animate Black to Orange
  RGB_transition(   0,   0, 0, 255,  64,   0, SPEED1,  0 );
     // Then Orange to Yellow
  RGB_transition( 255,  64, 0, 255, 255,   0, SPEED1,  0 );
     // Then Yellow to an orangy-yellow
  RGB_transition( 255, 255, 0, 255, 128,   0, SPEED1,  0 );
     // Then back to black.  Note the quick speed, and no delay
     //  which has the effect of creating a "blink" in the eyes
  RGB_transition( 255, 128, 0,   0,   0,   0, SPEED0,  0 );
}