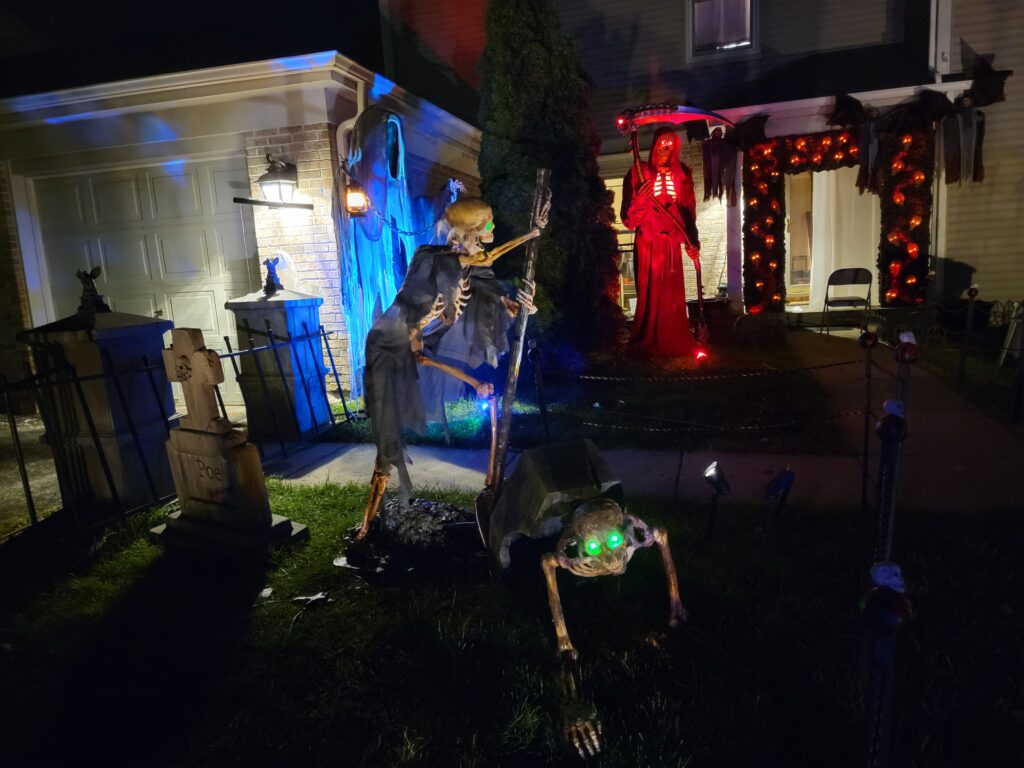
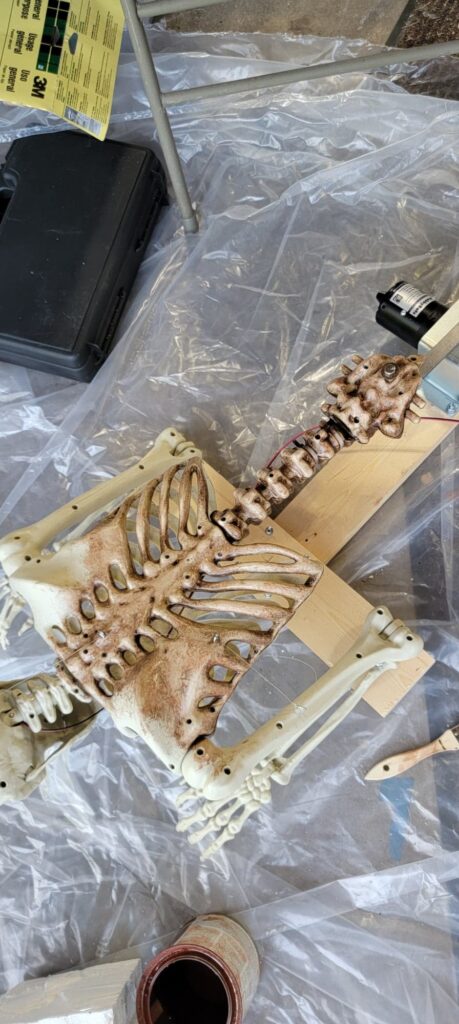
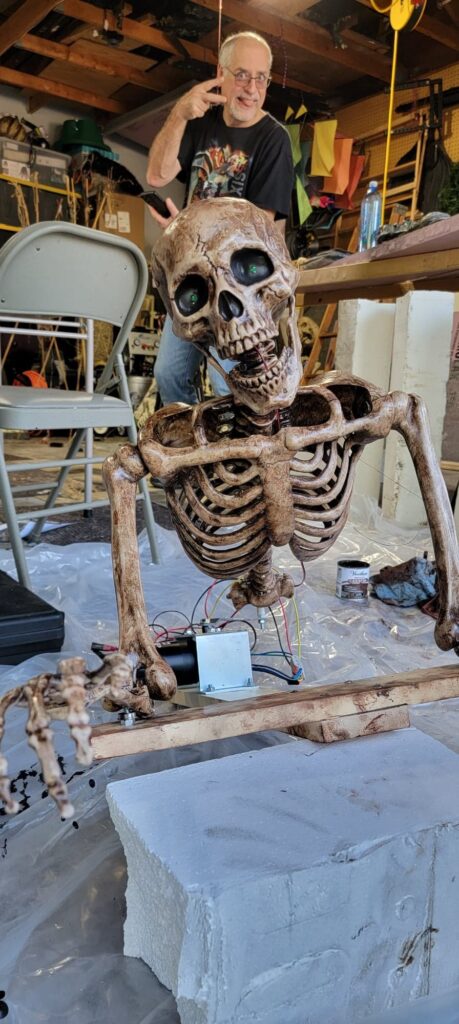
This year, everyone tried to make these creeper characters. I also happened to have all the parts already down in my shop. So, here is my take…
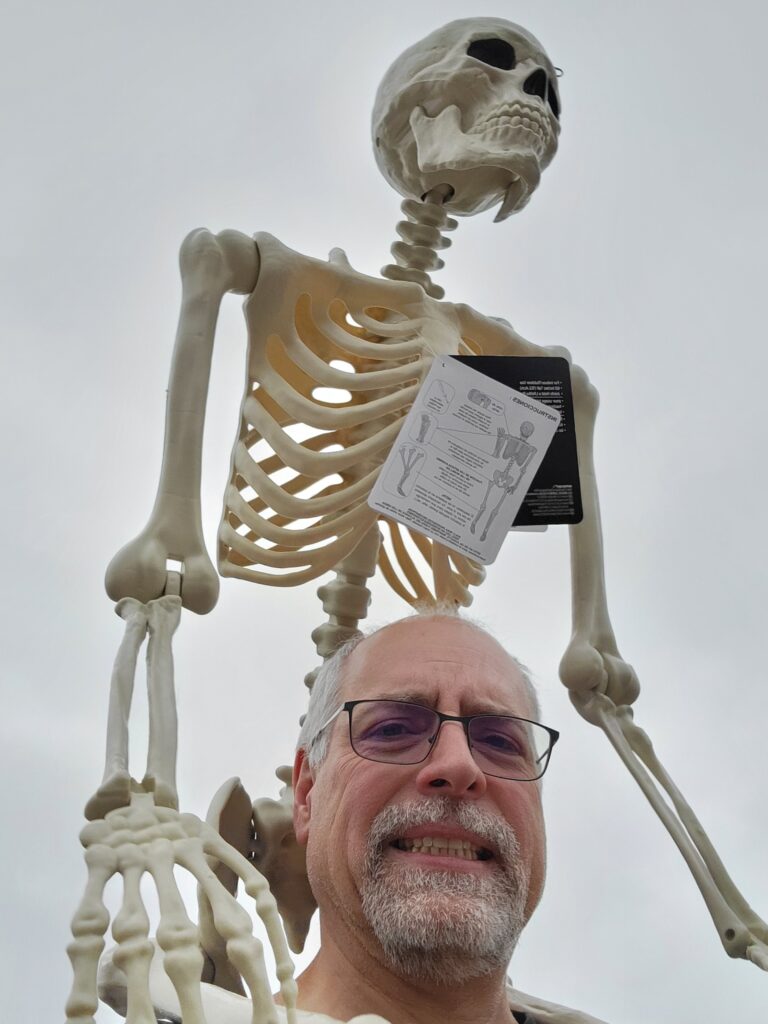
Started with this year’s Party City skeleton — it’s frightfully easy to customize this skeleton. Selling points: elbow and shoulder joints can be unlocked with a simple piece removed, the head is easy to open, and it has a ball joint on the skull!
Steps:
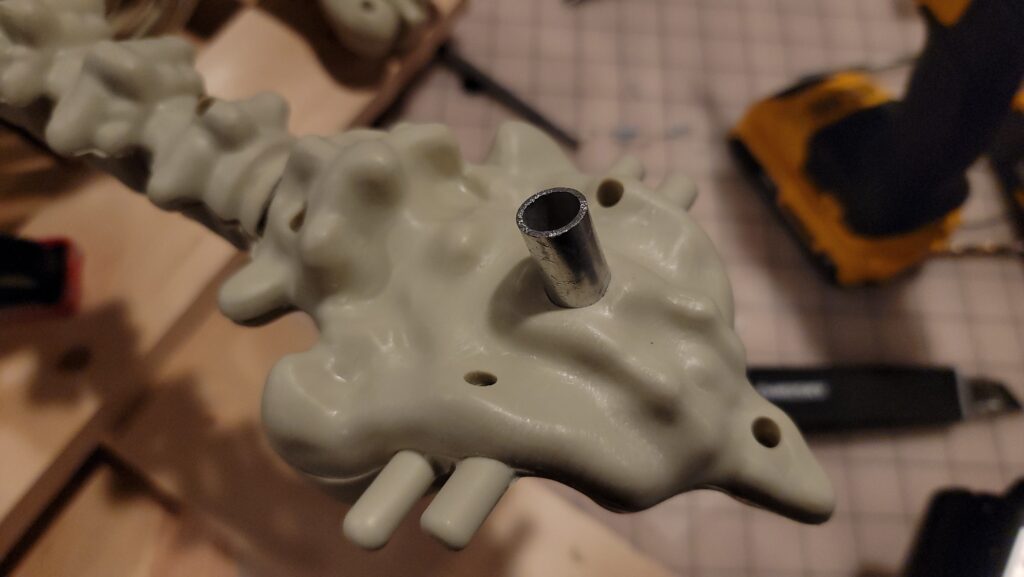
- Remove the Pelvis
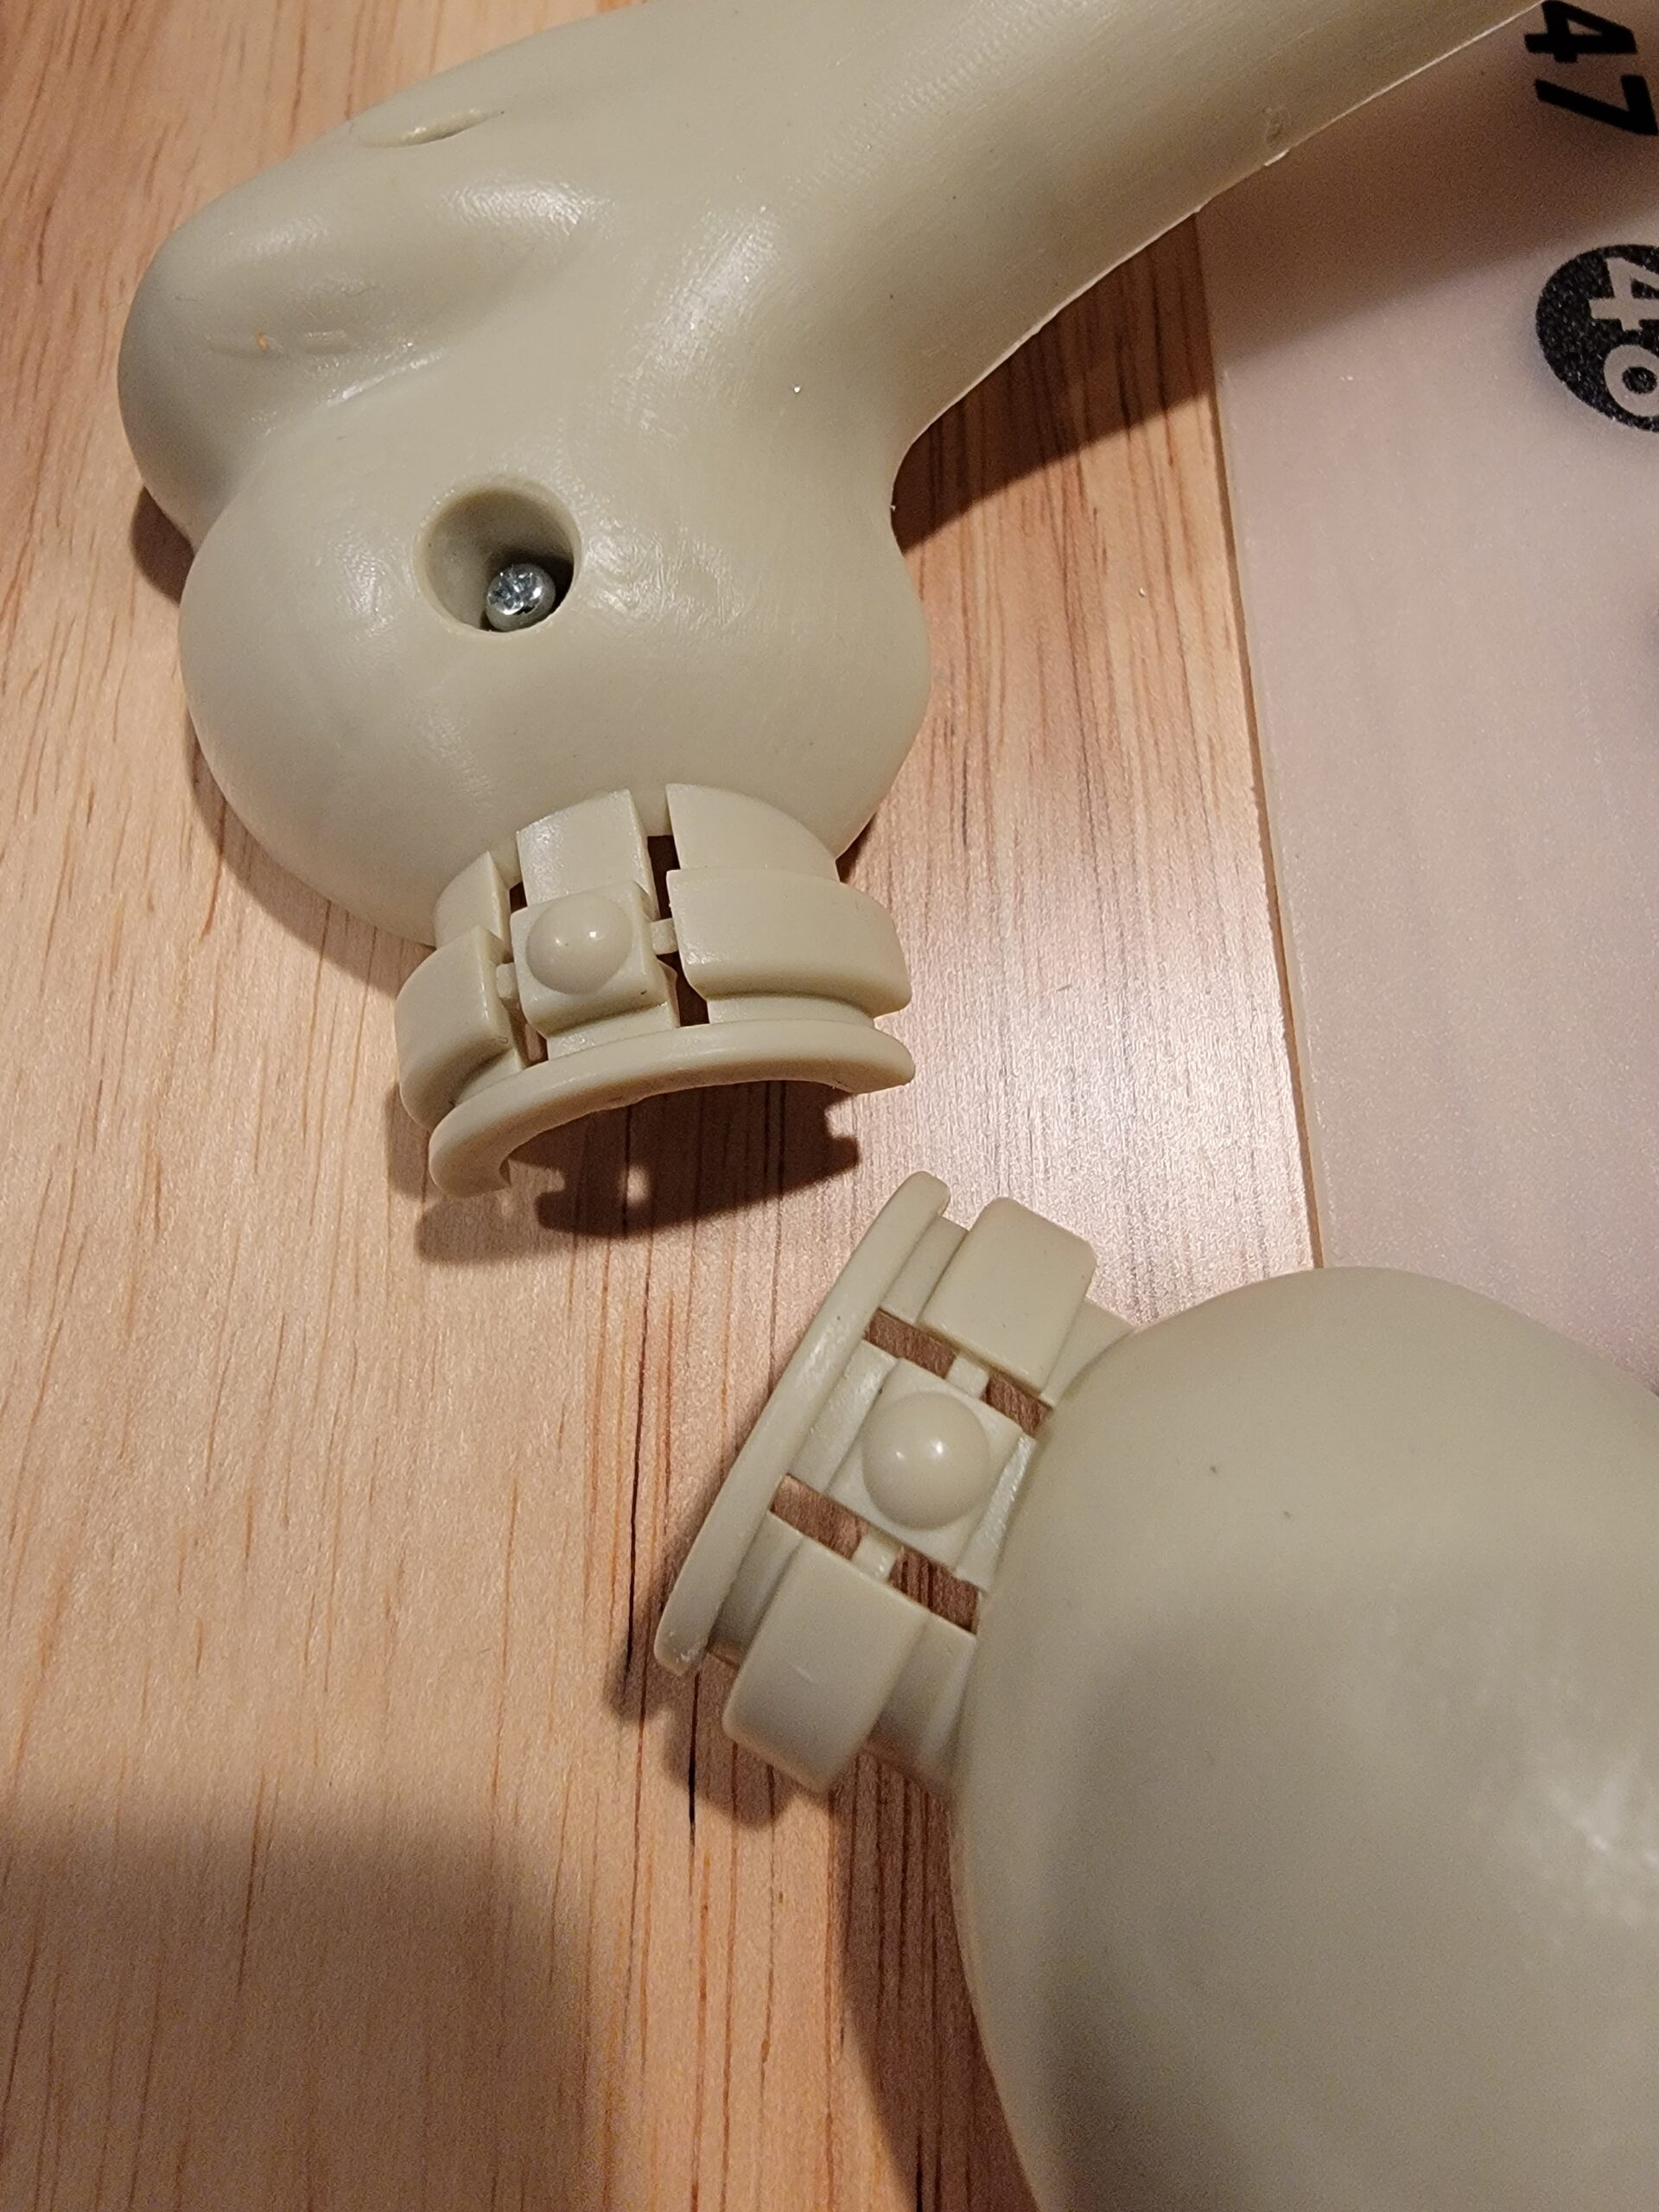
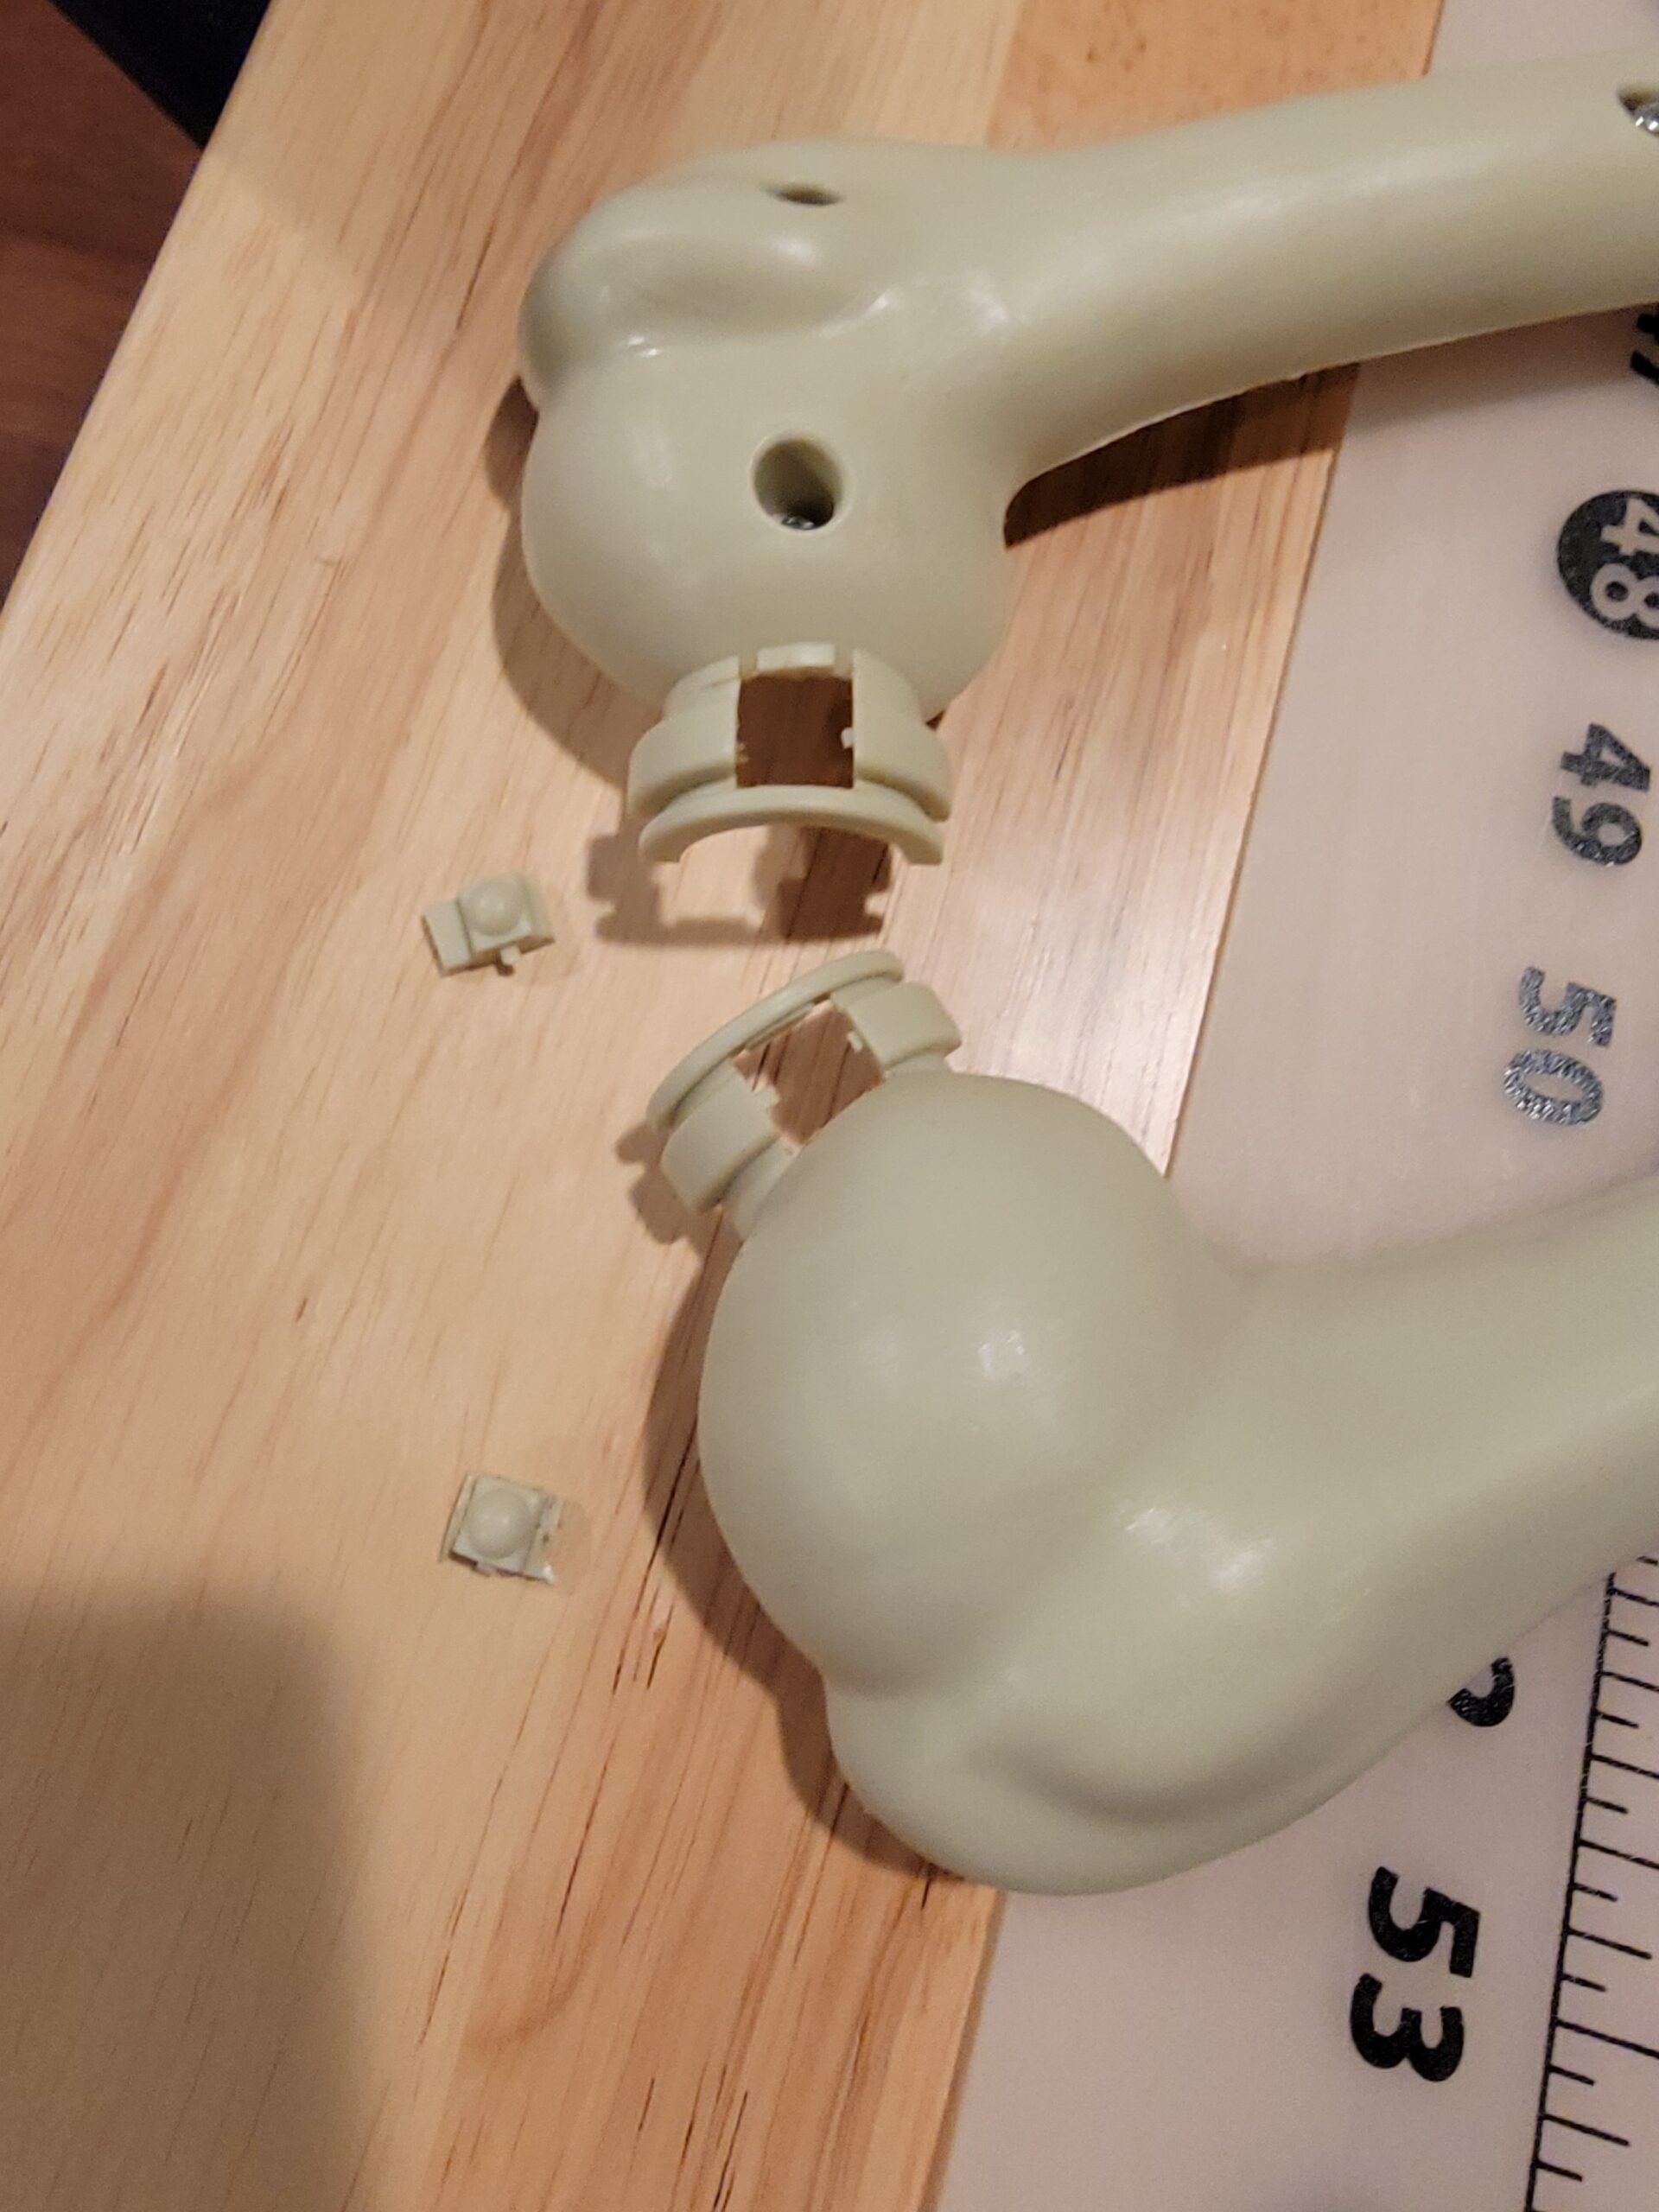
- Open both shoulders and remove the stop-tabs so the shoulder can rotate freely. You may need to do additional sanding to enable smooth motion
- Open both elbows and remove the stop-tabs so the elbows can bend freely
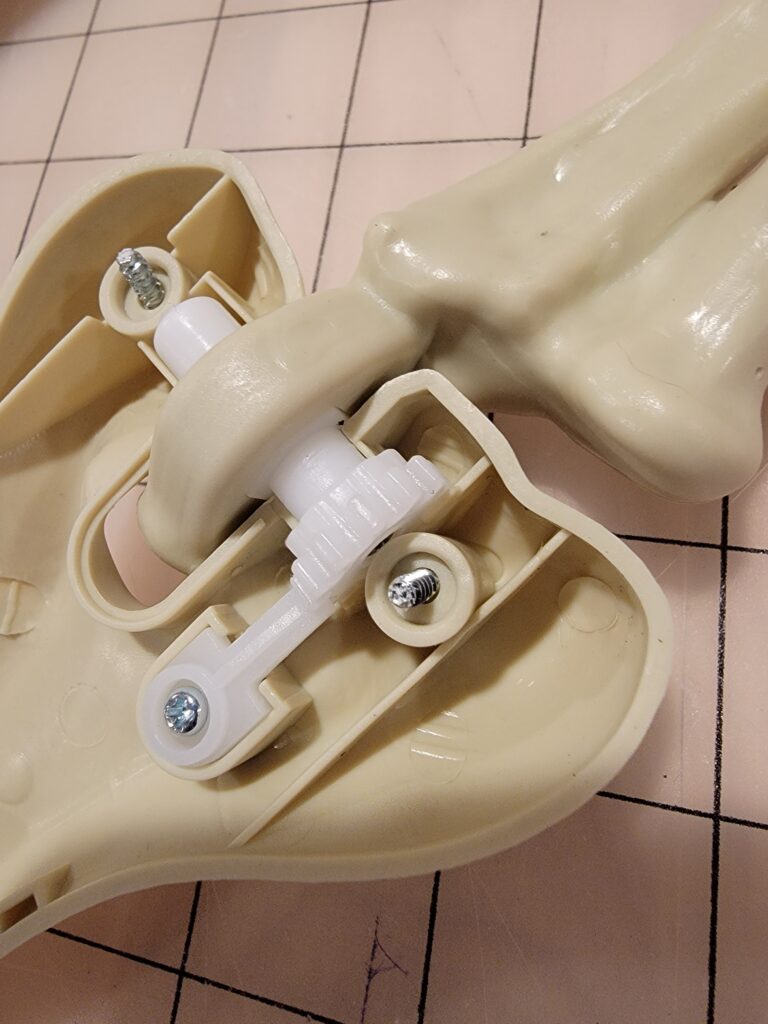
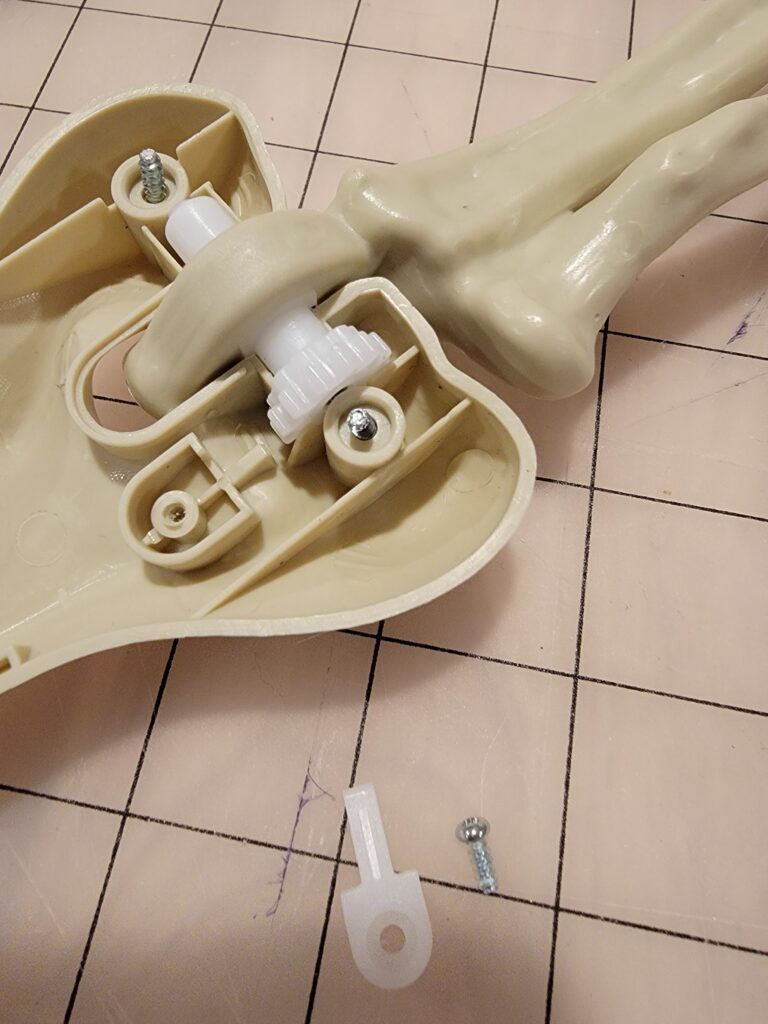
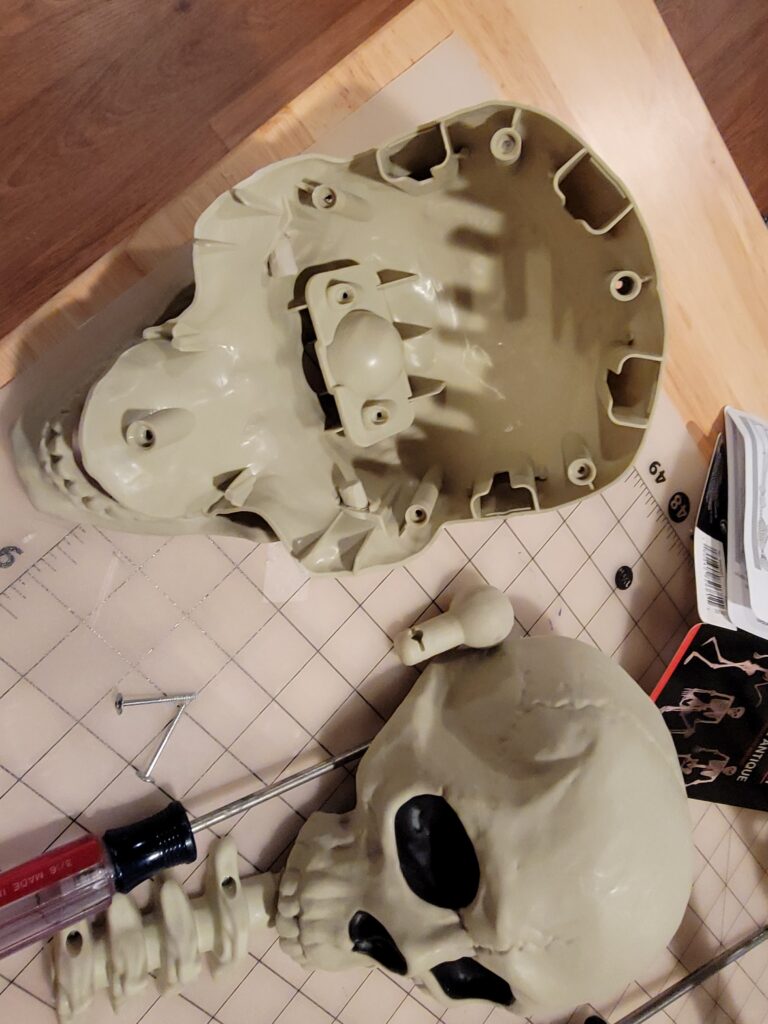
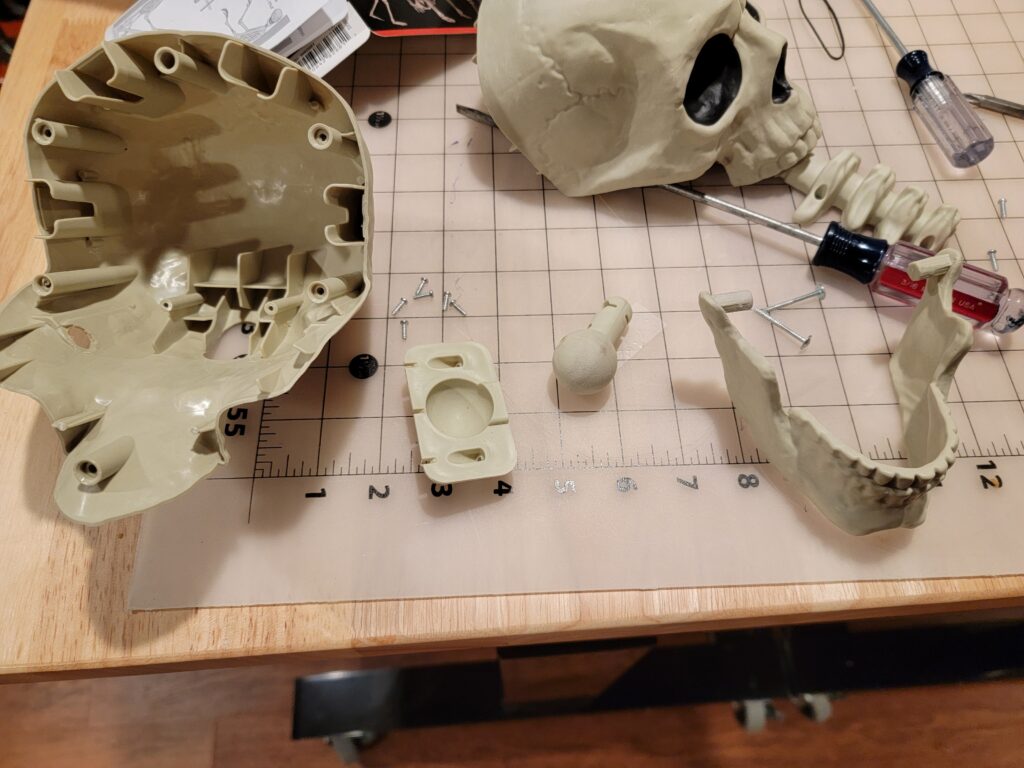
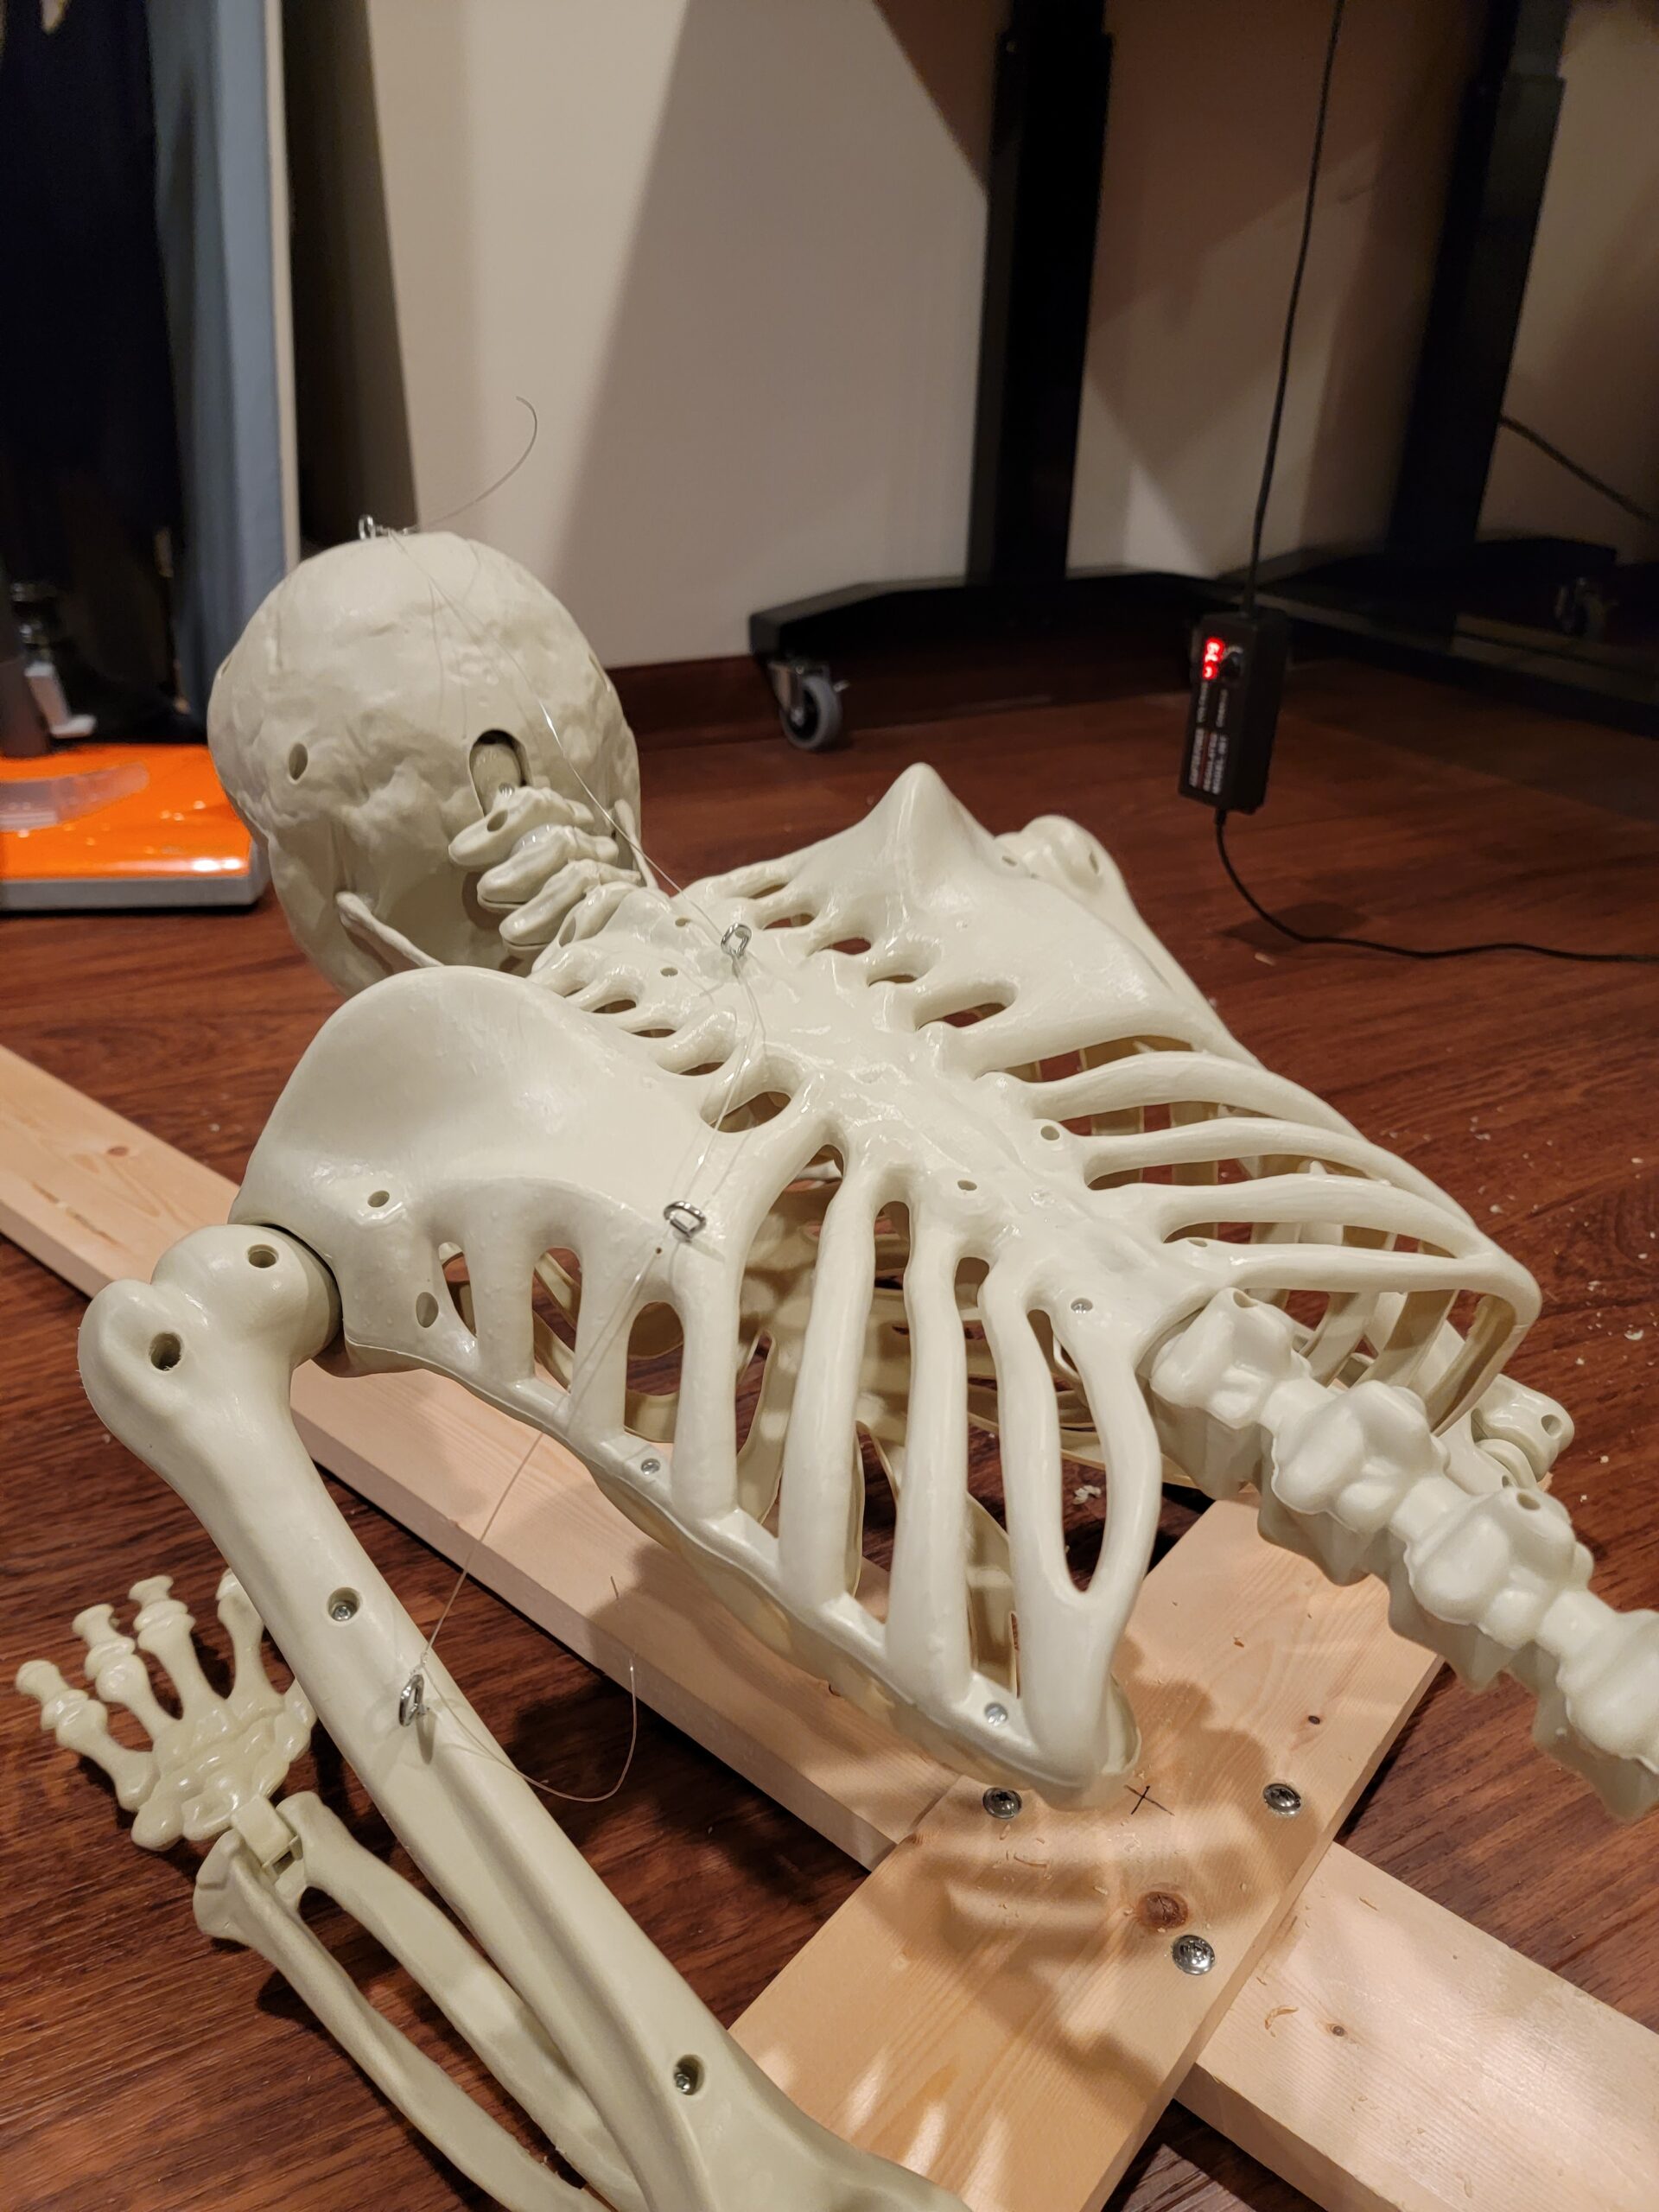
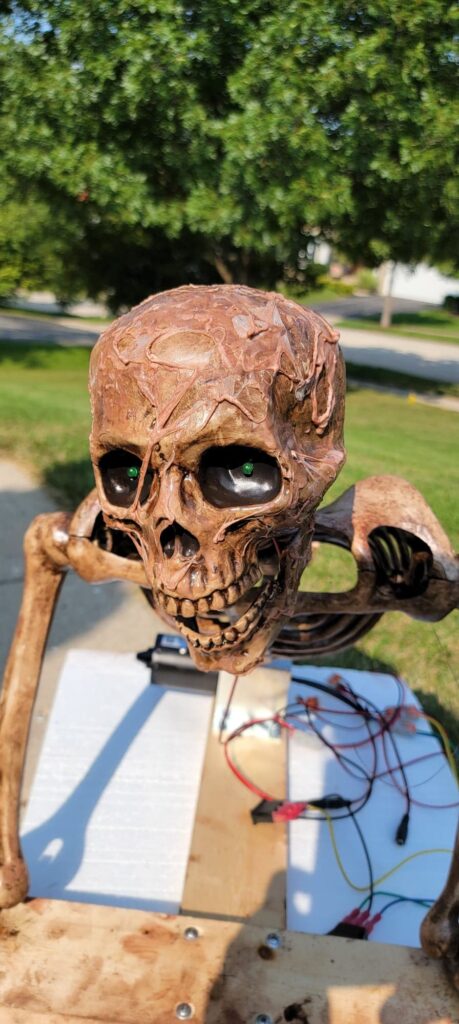
- Open the skull – the ball joint is rather tight because it’s supposed to stay where you put it. But we want it to move! So I sanded the ball smooth, and put a spacer on the plate to give it a little more freedom of movement.
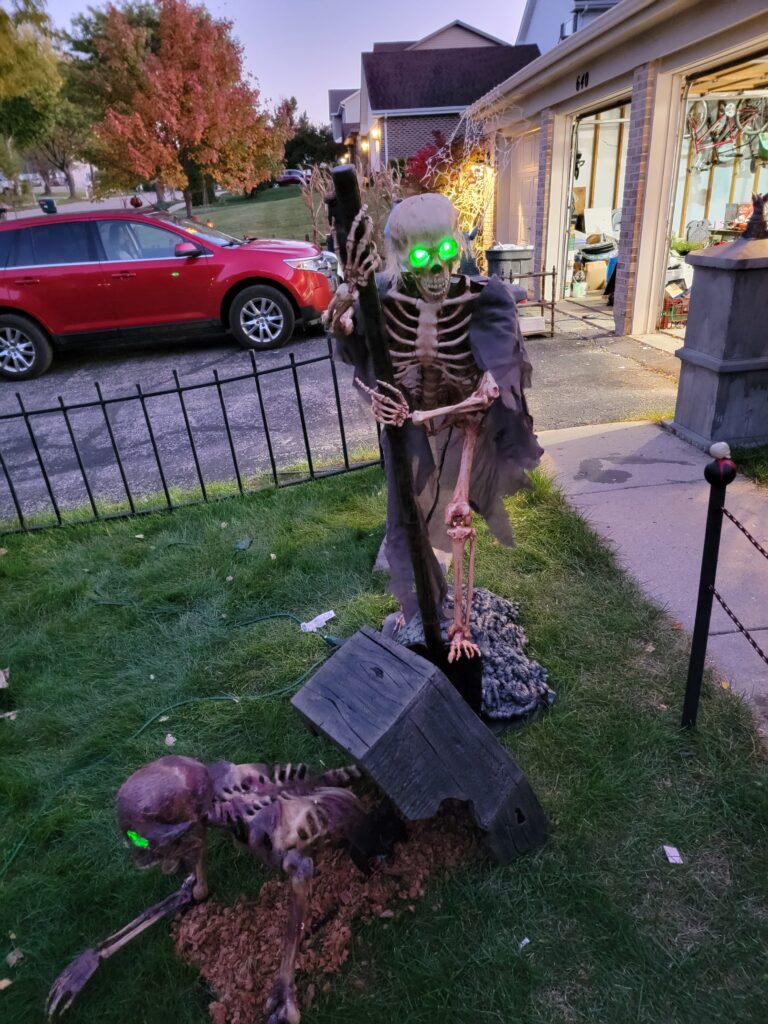
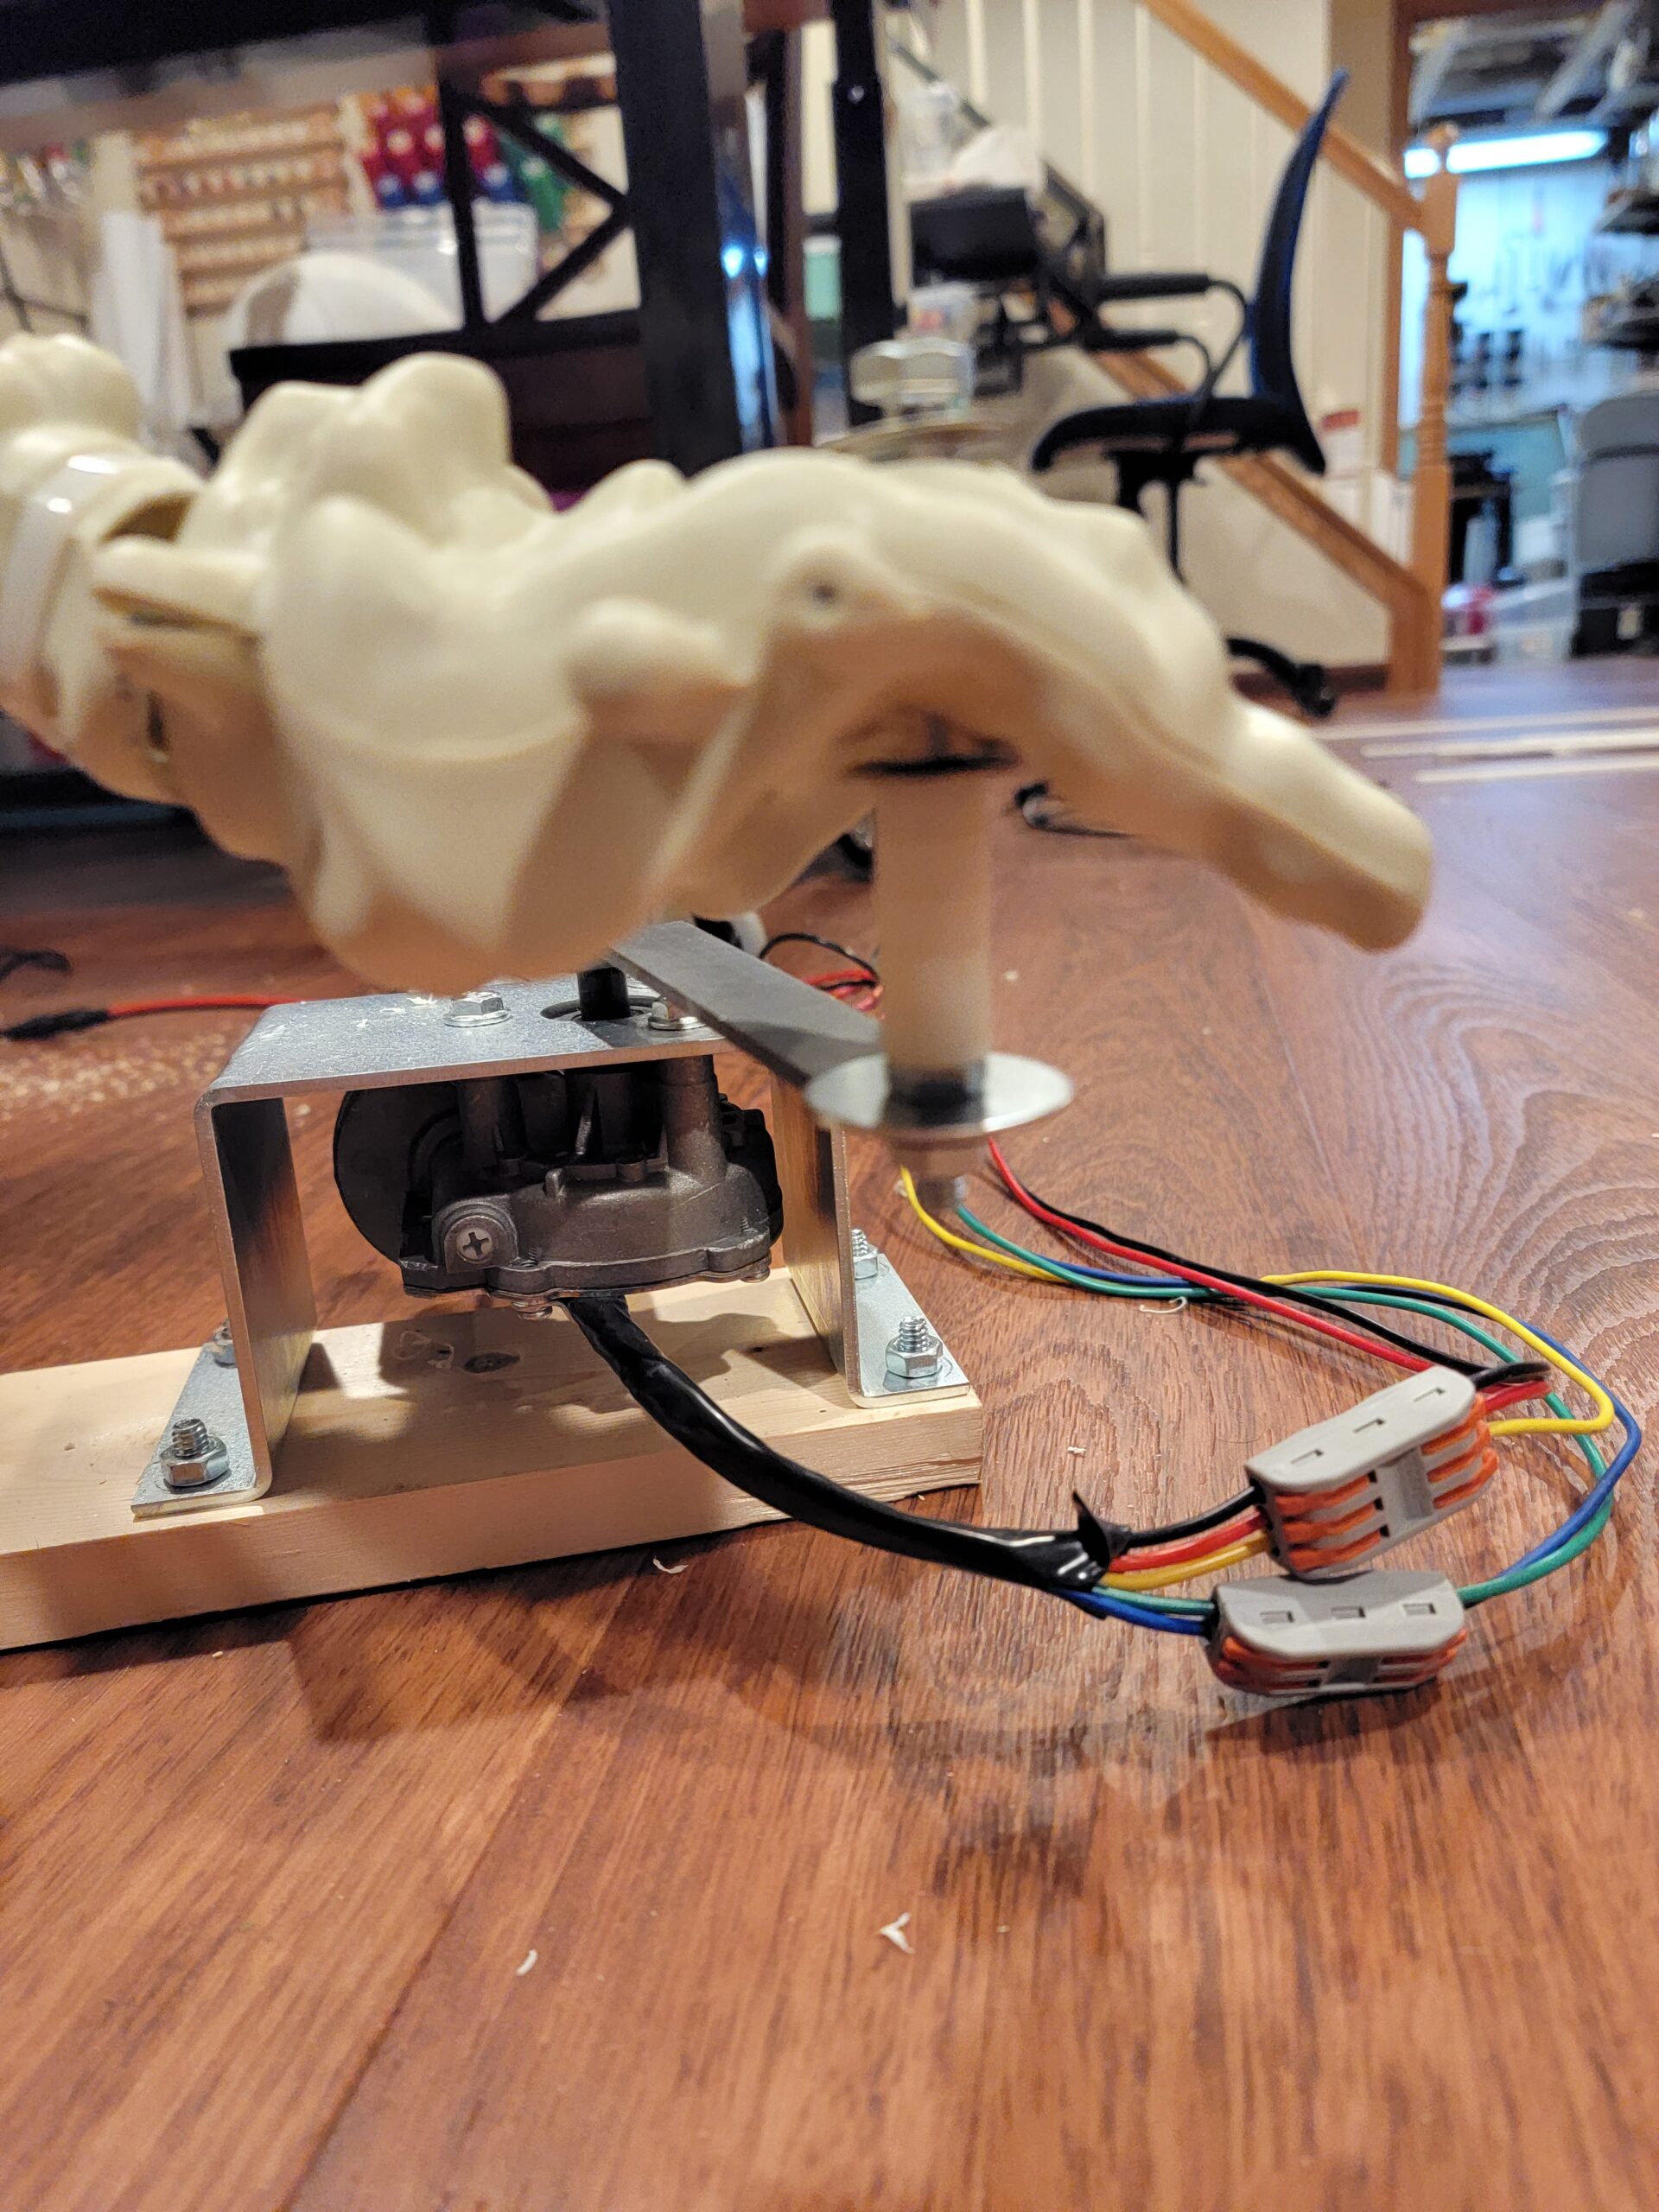
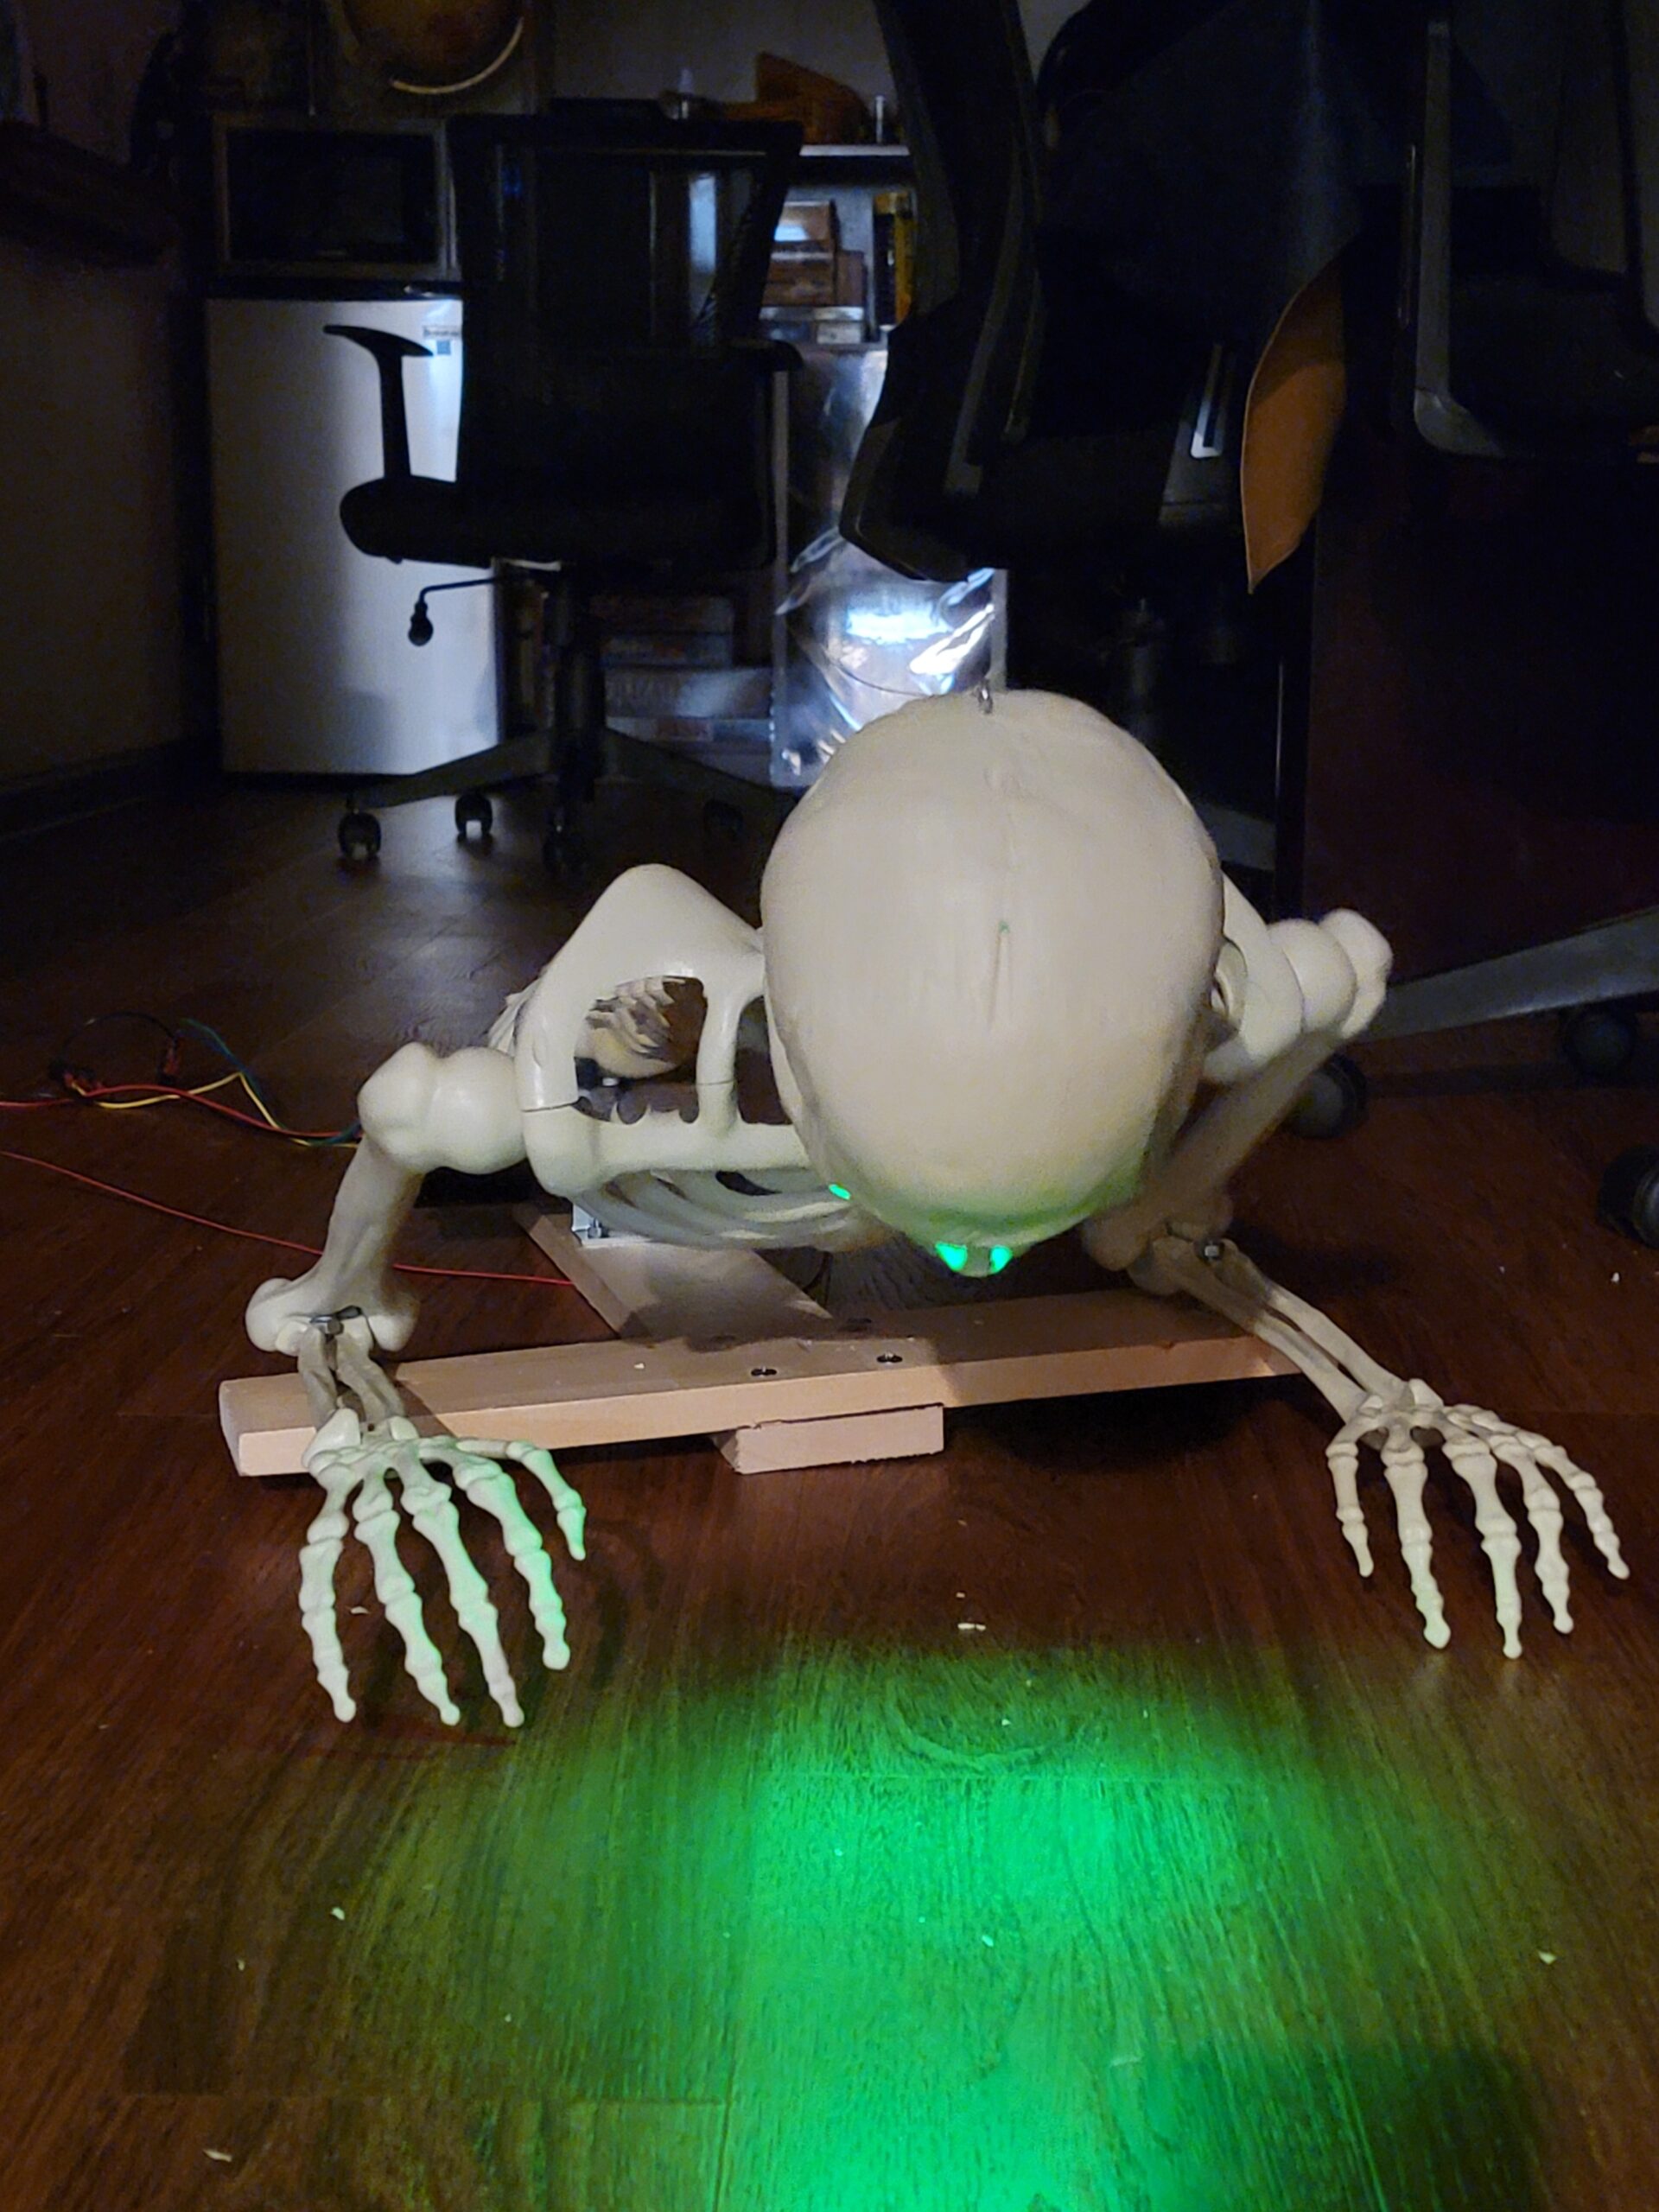
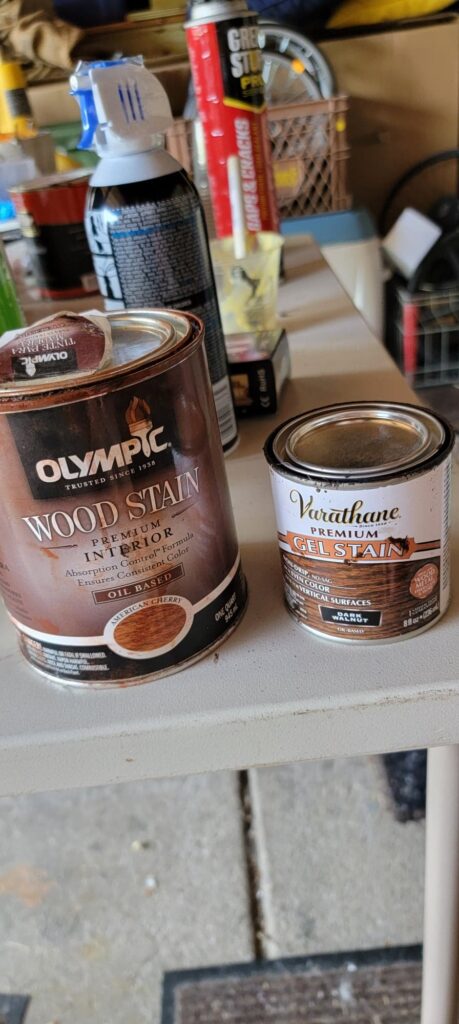
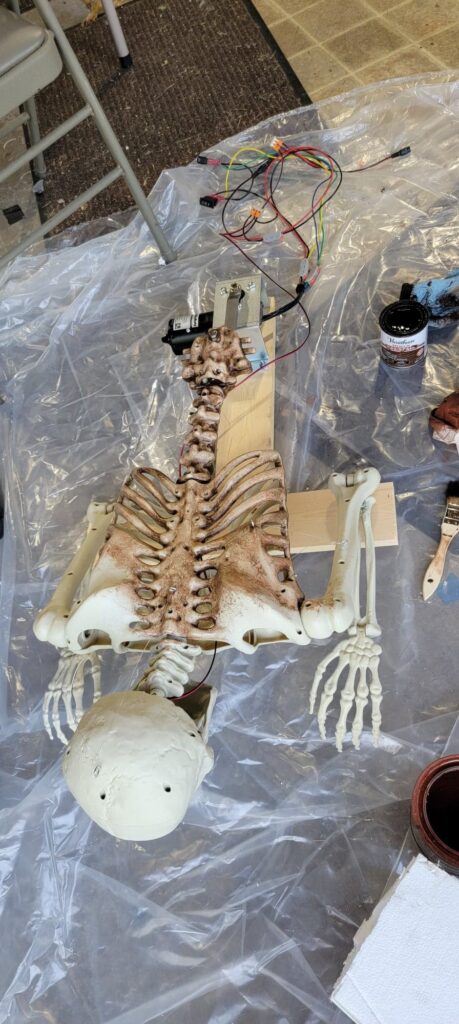
- Install two LEDs for the eyes. (This year’s theme is Green)
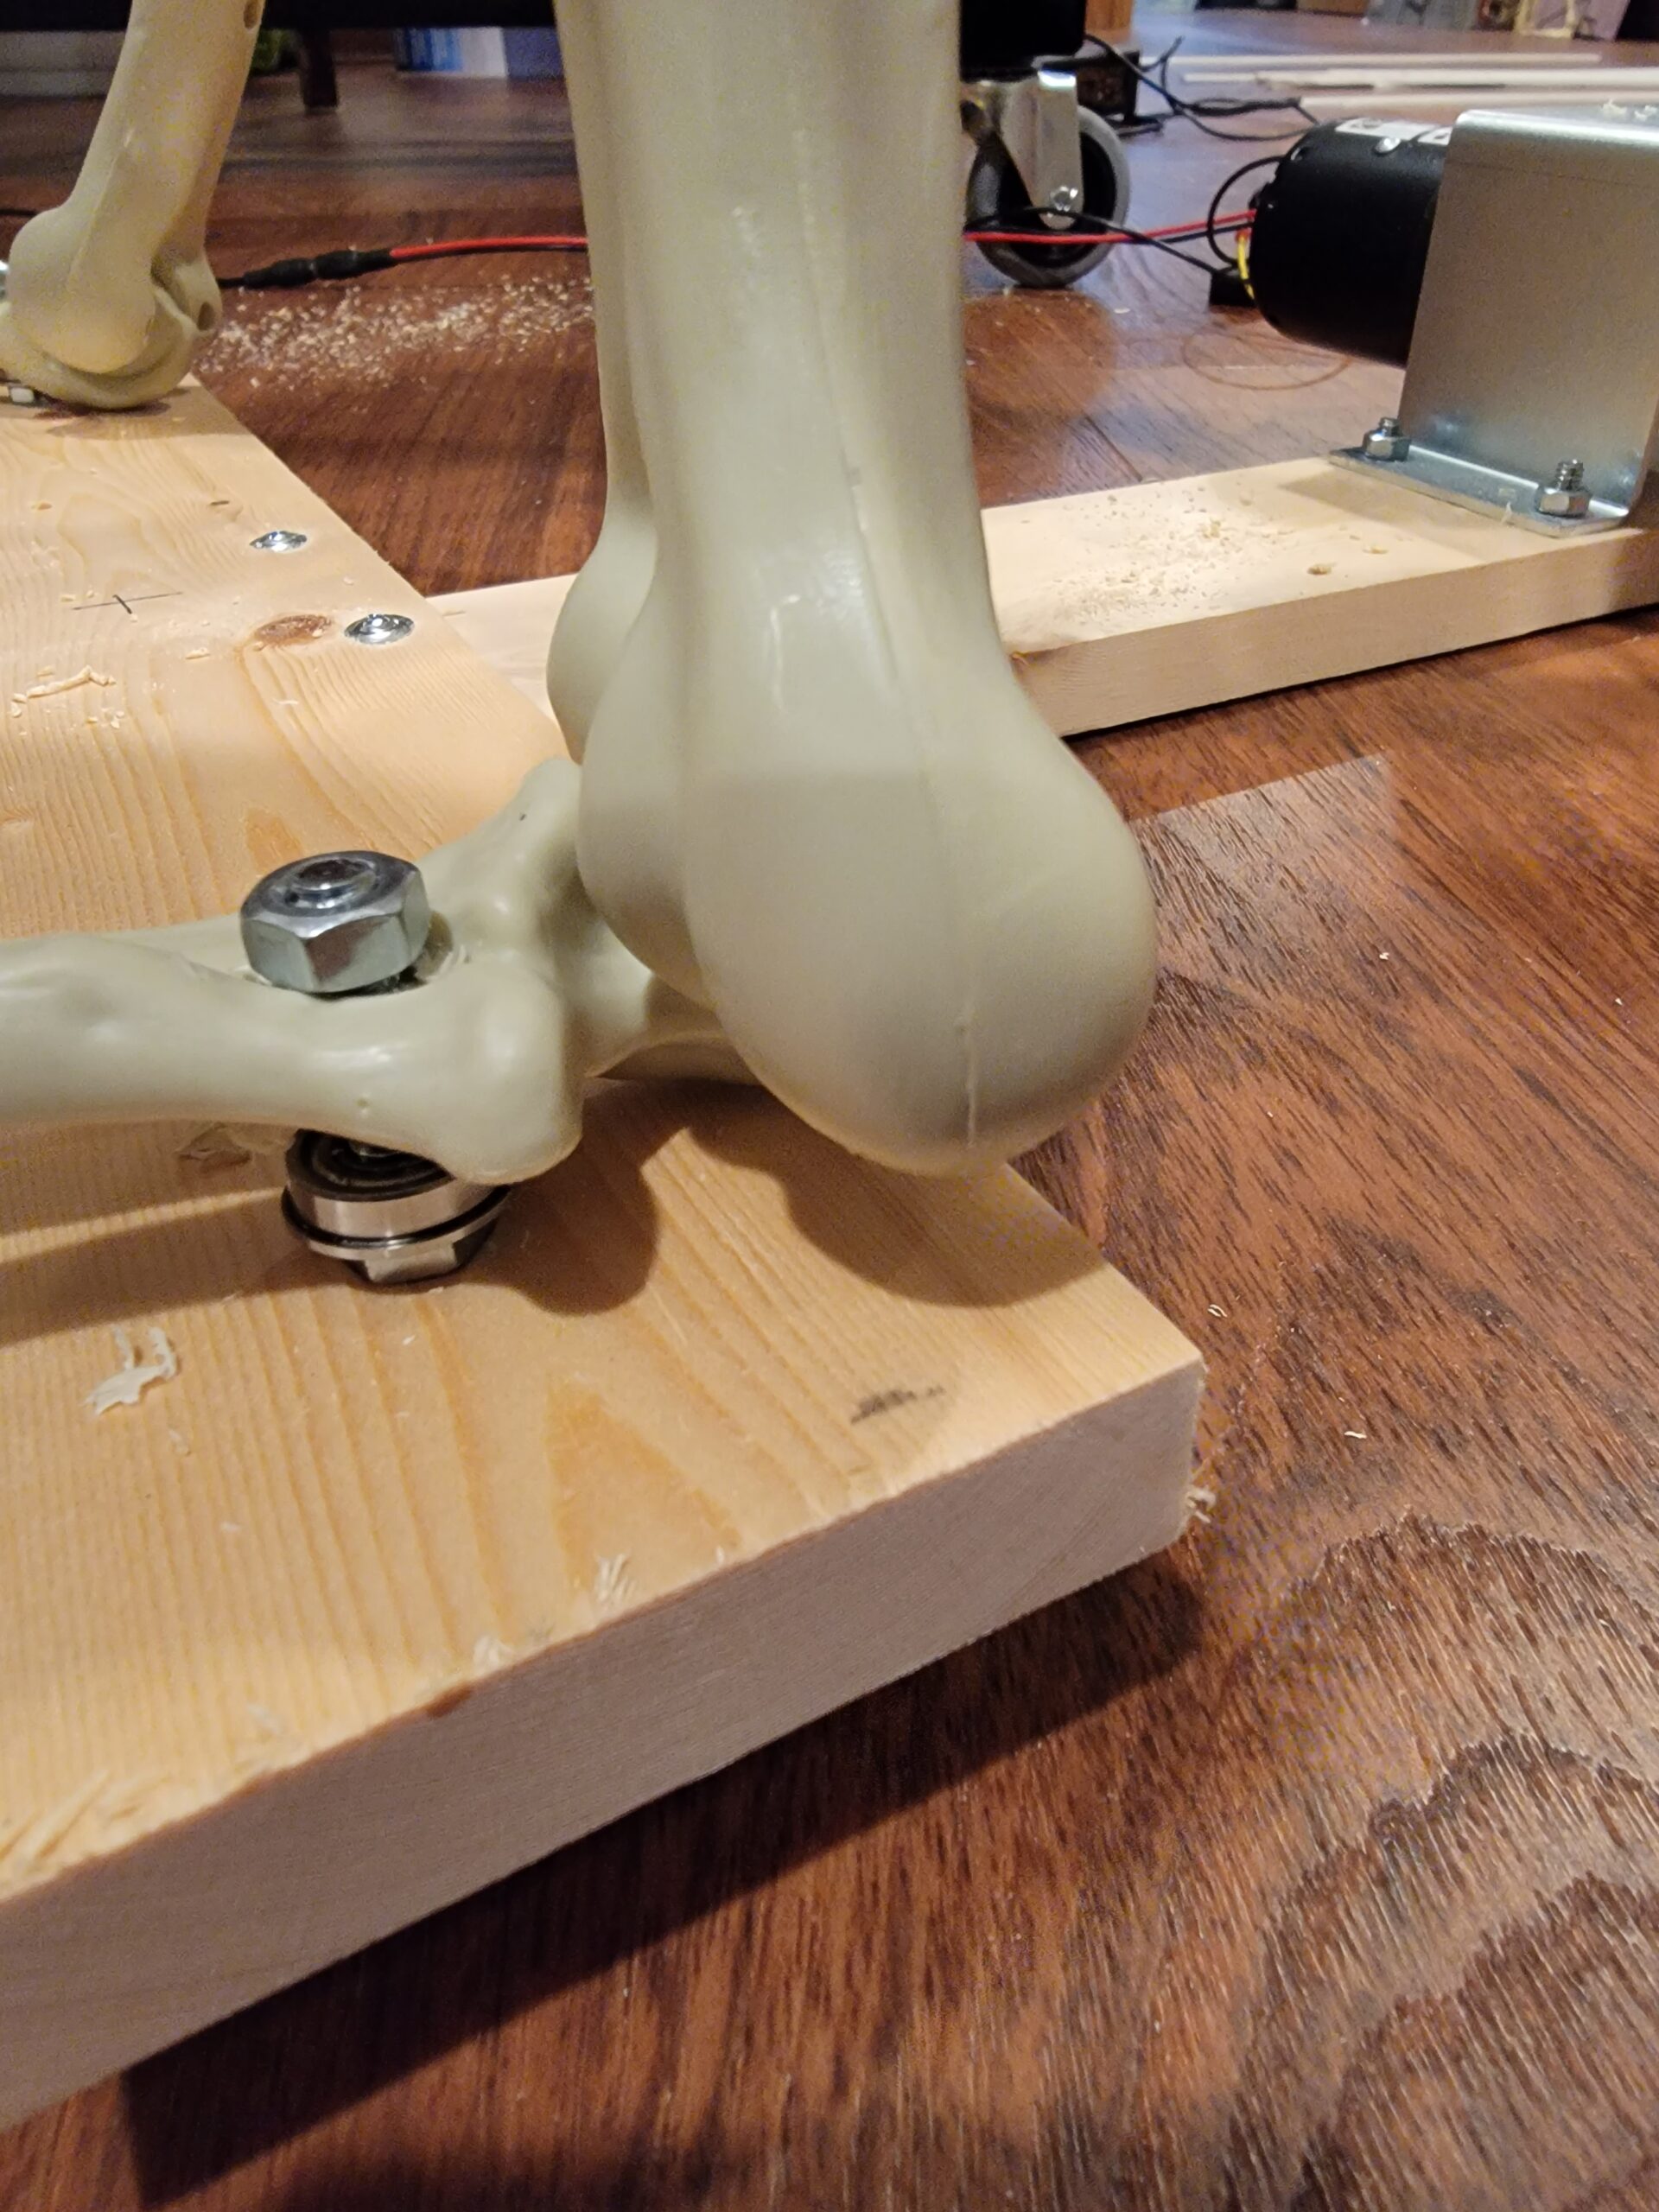
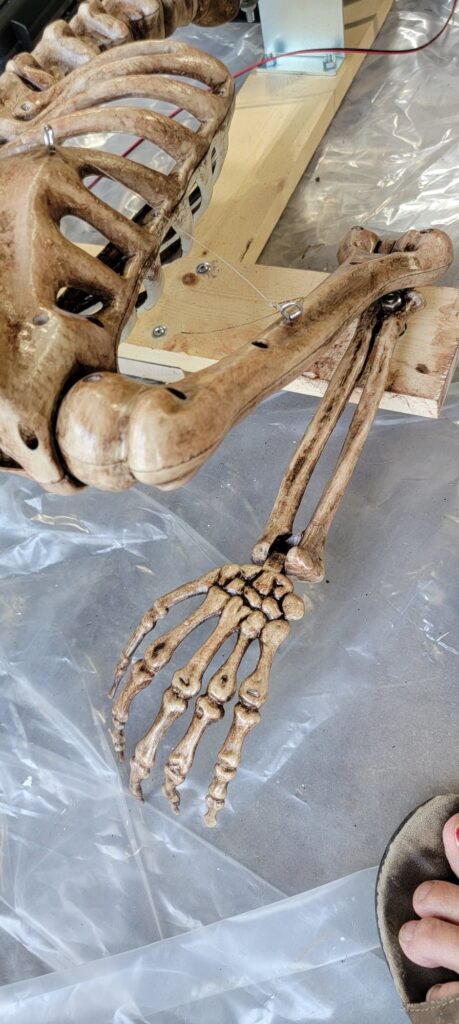
- Mount the elbows on pins. I added a bearing each to let them swivel smoothly.
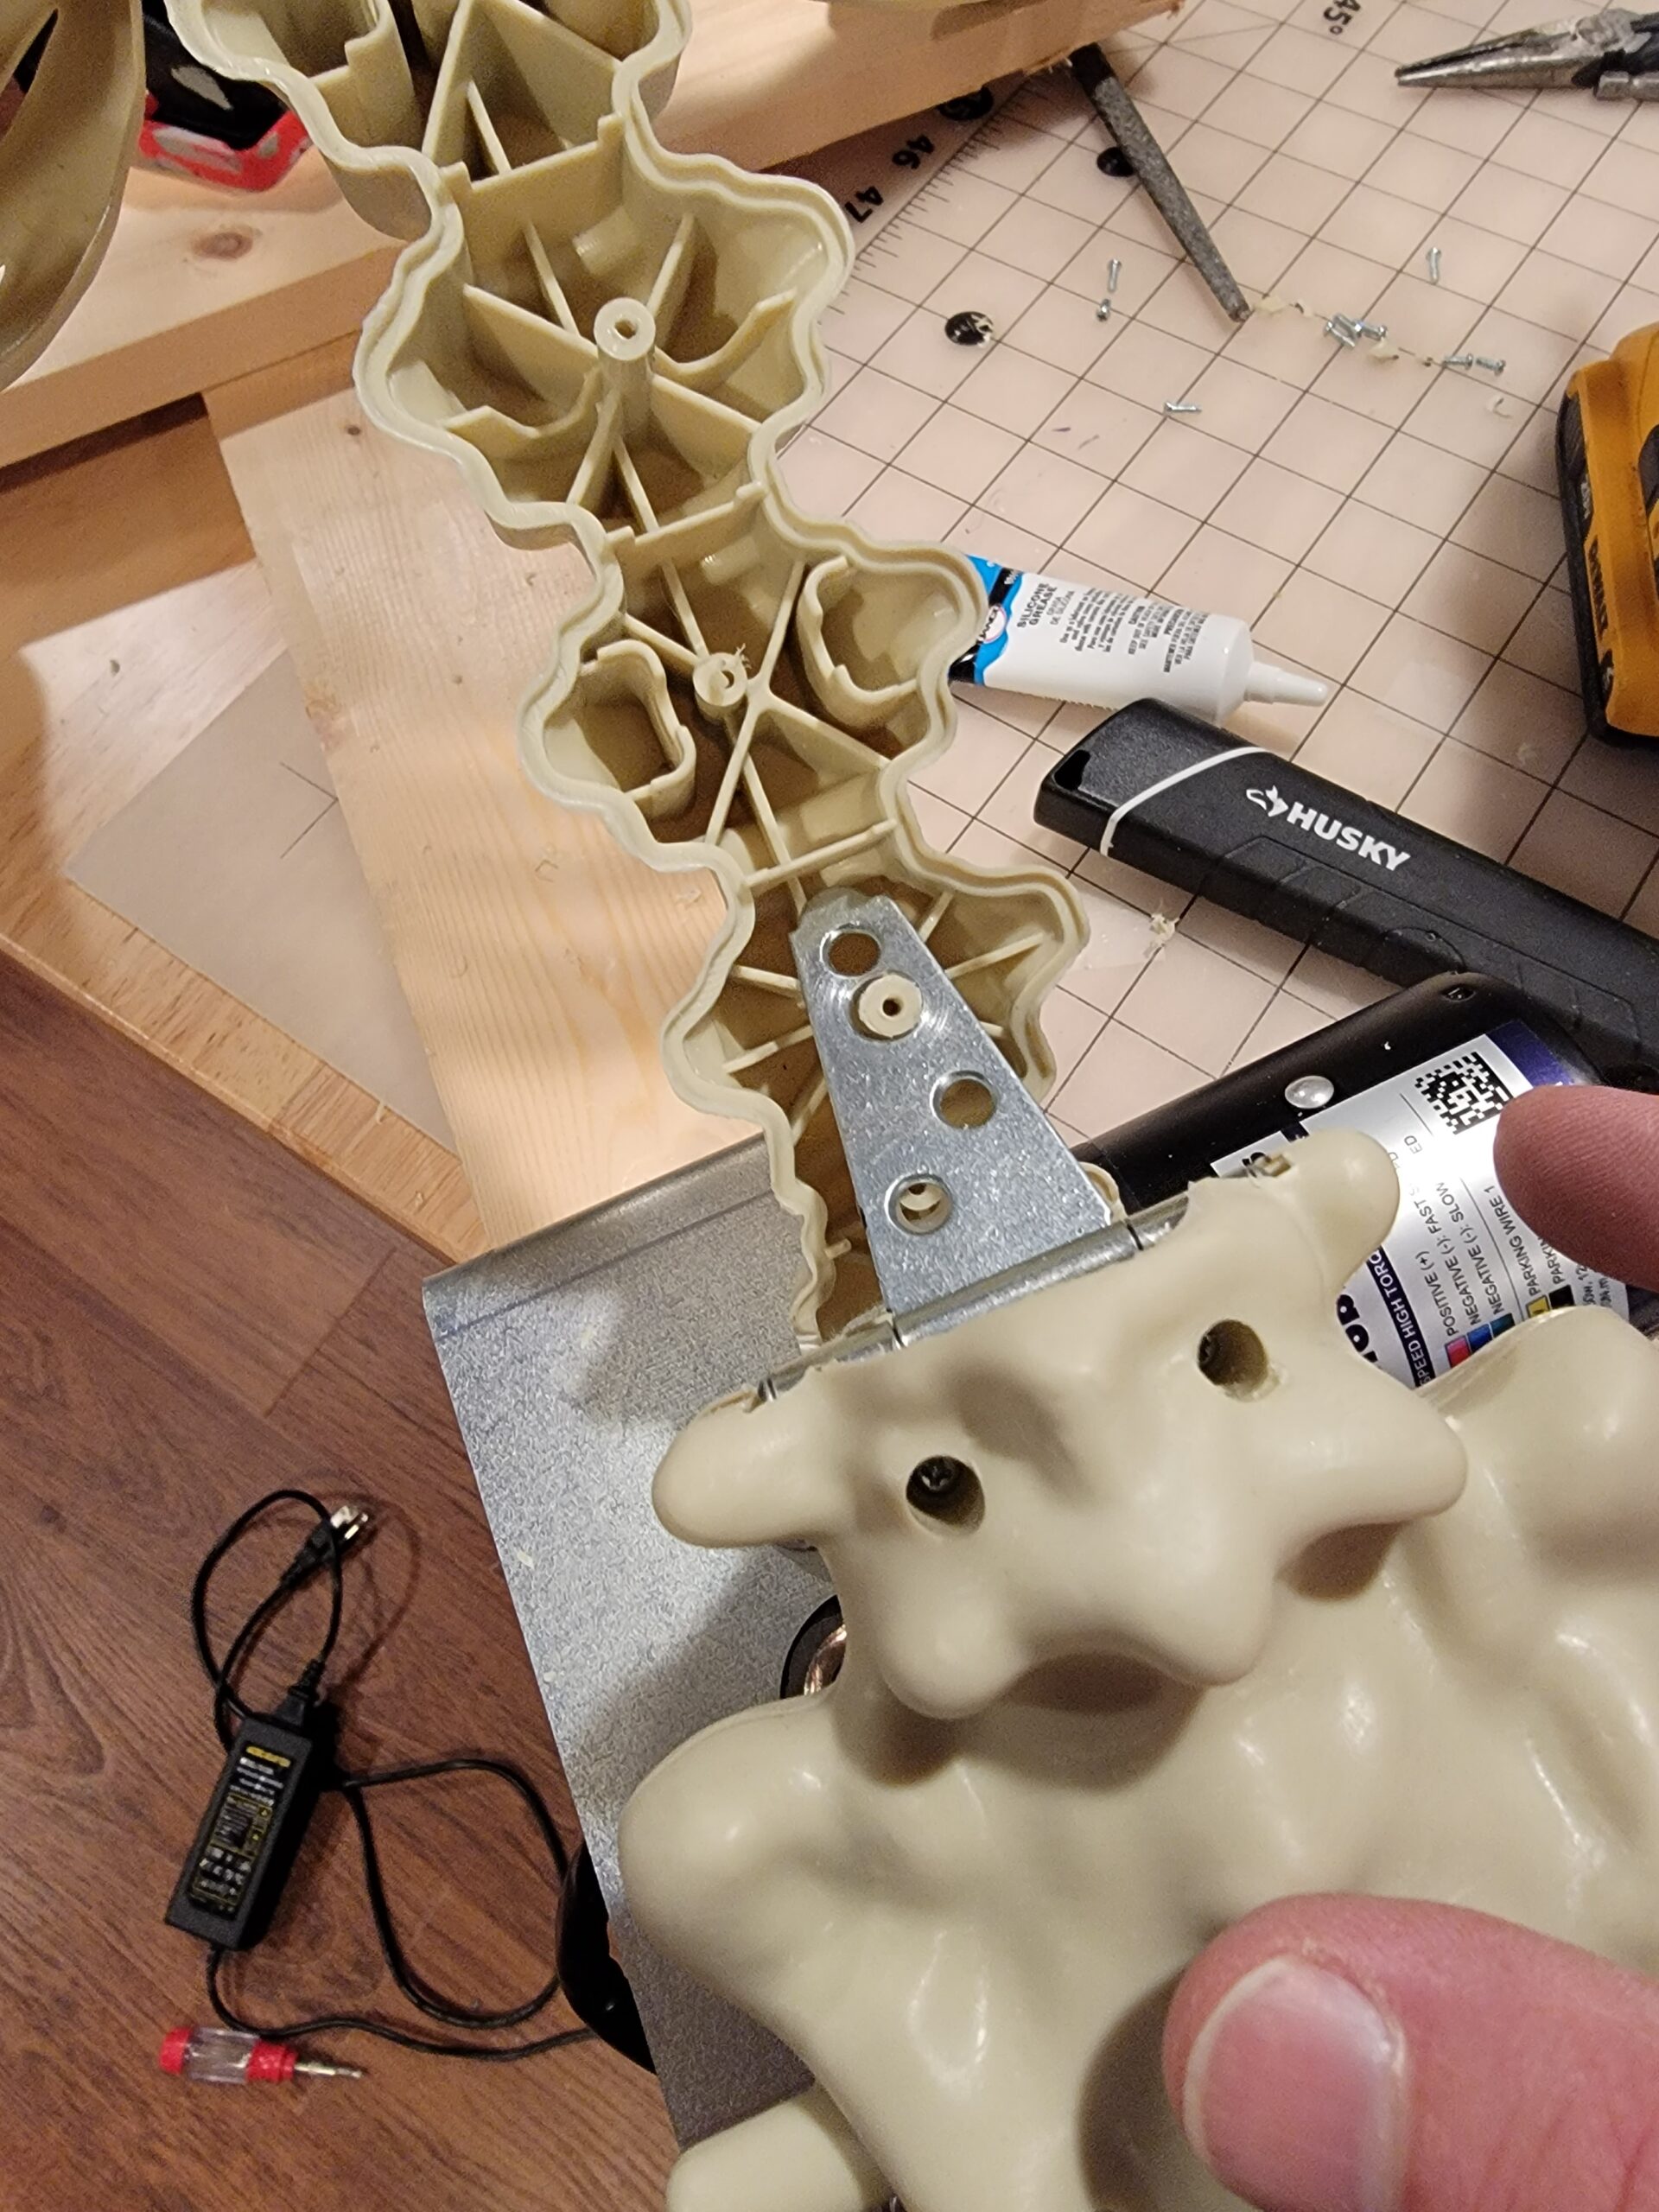
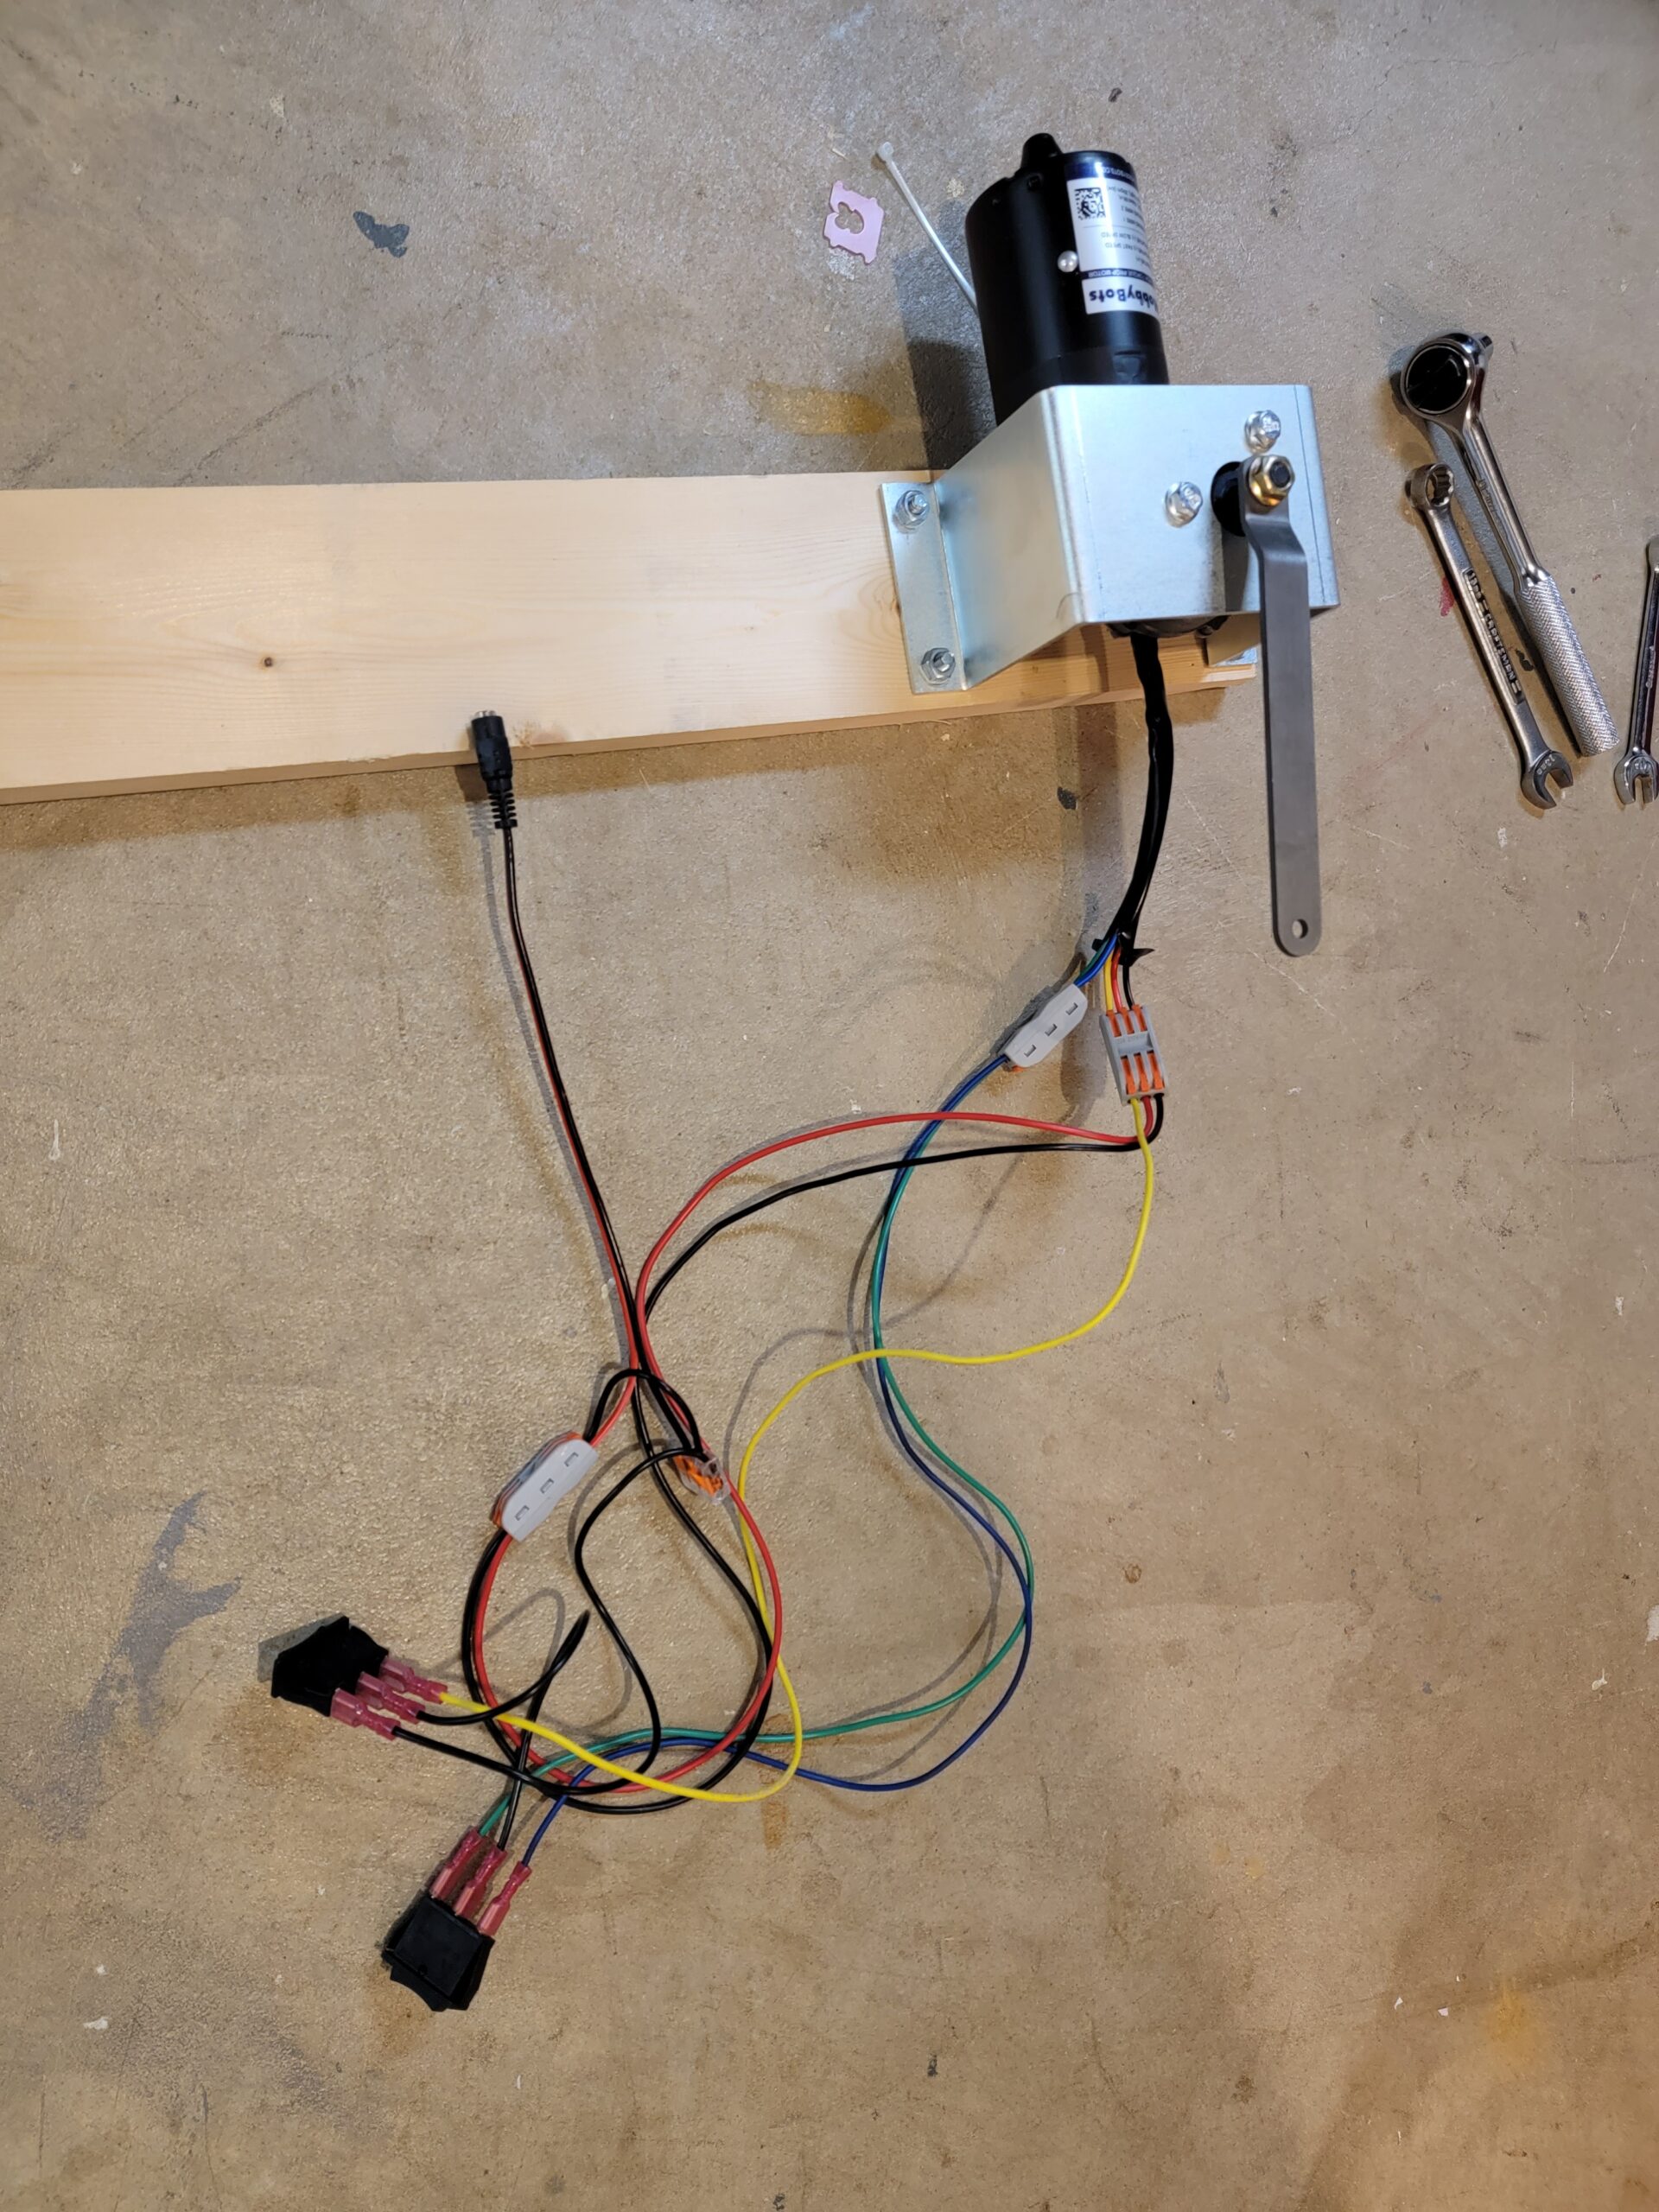
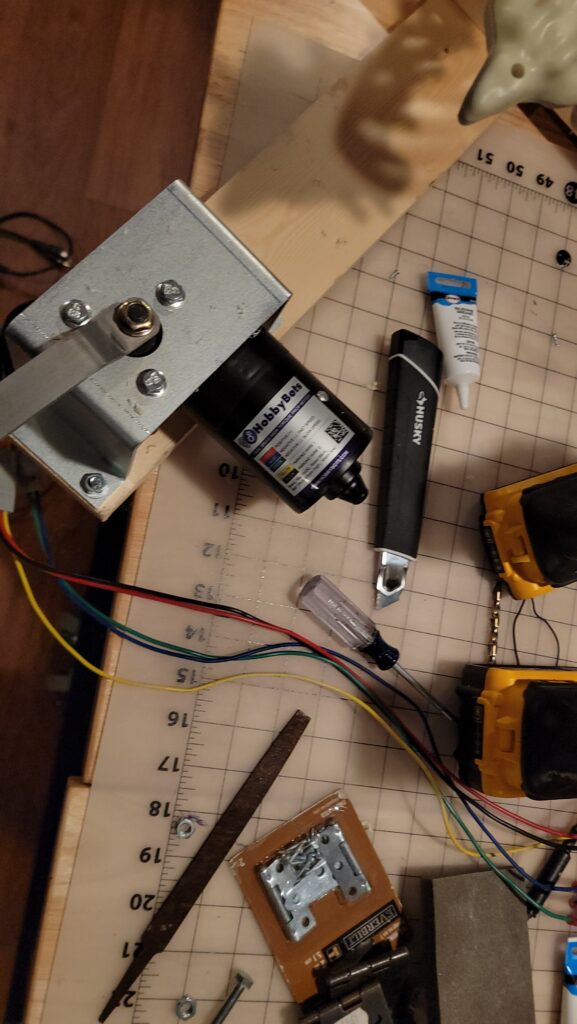
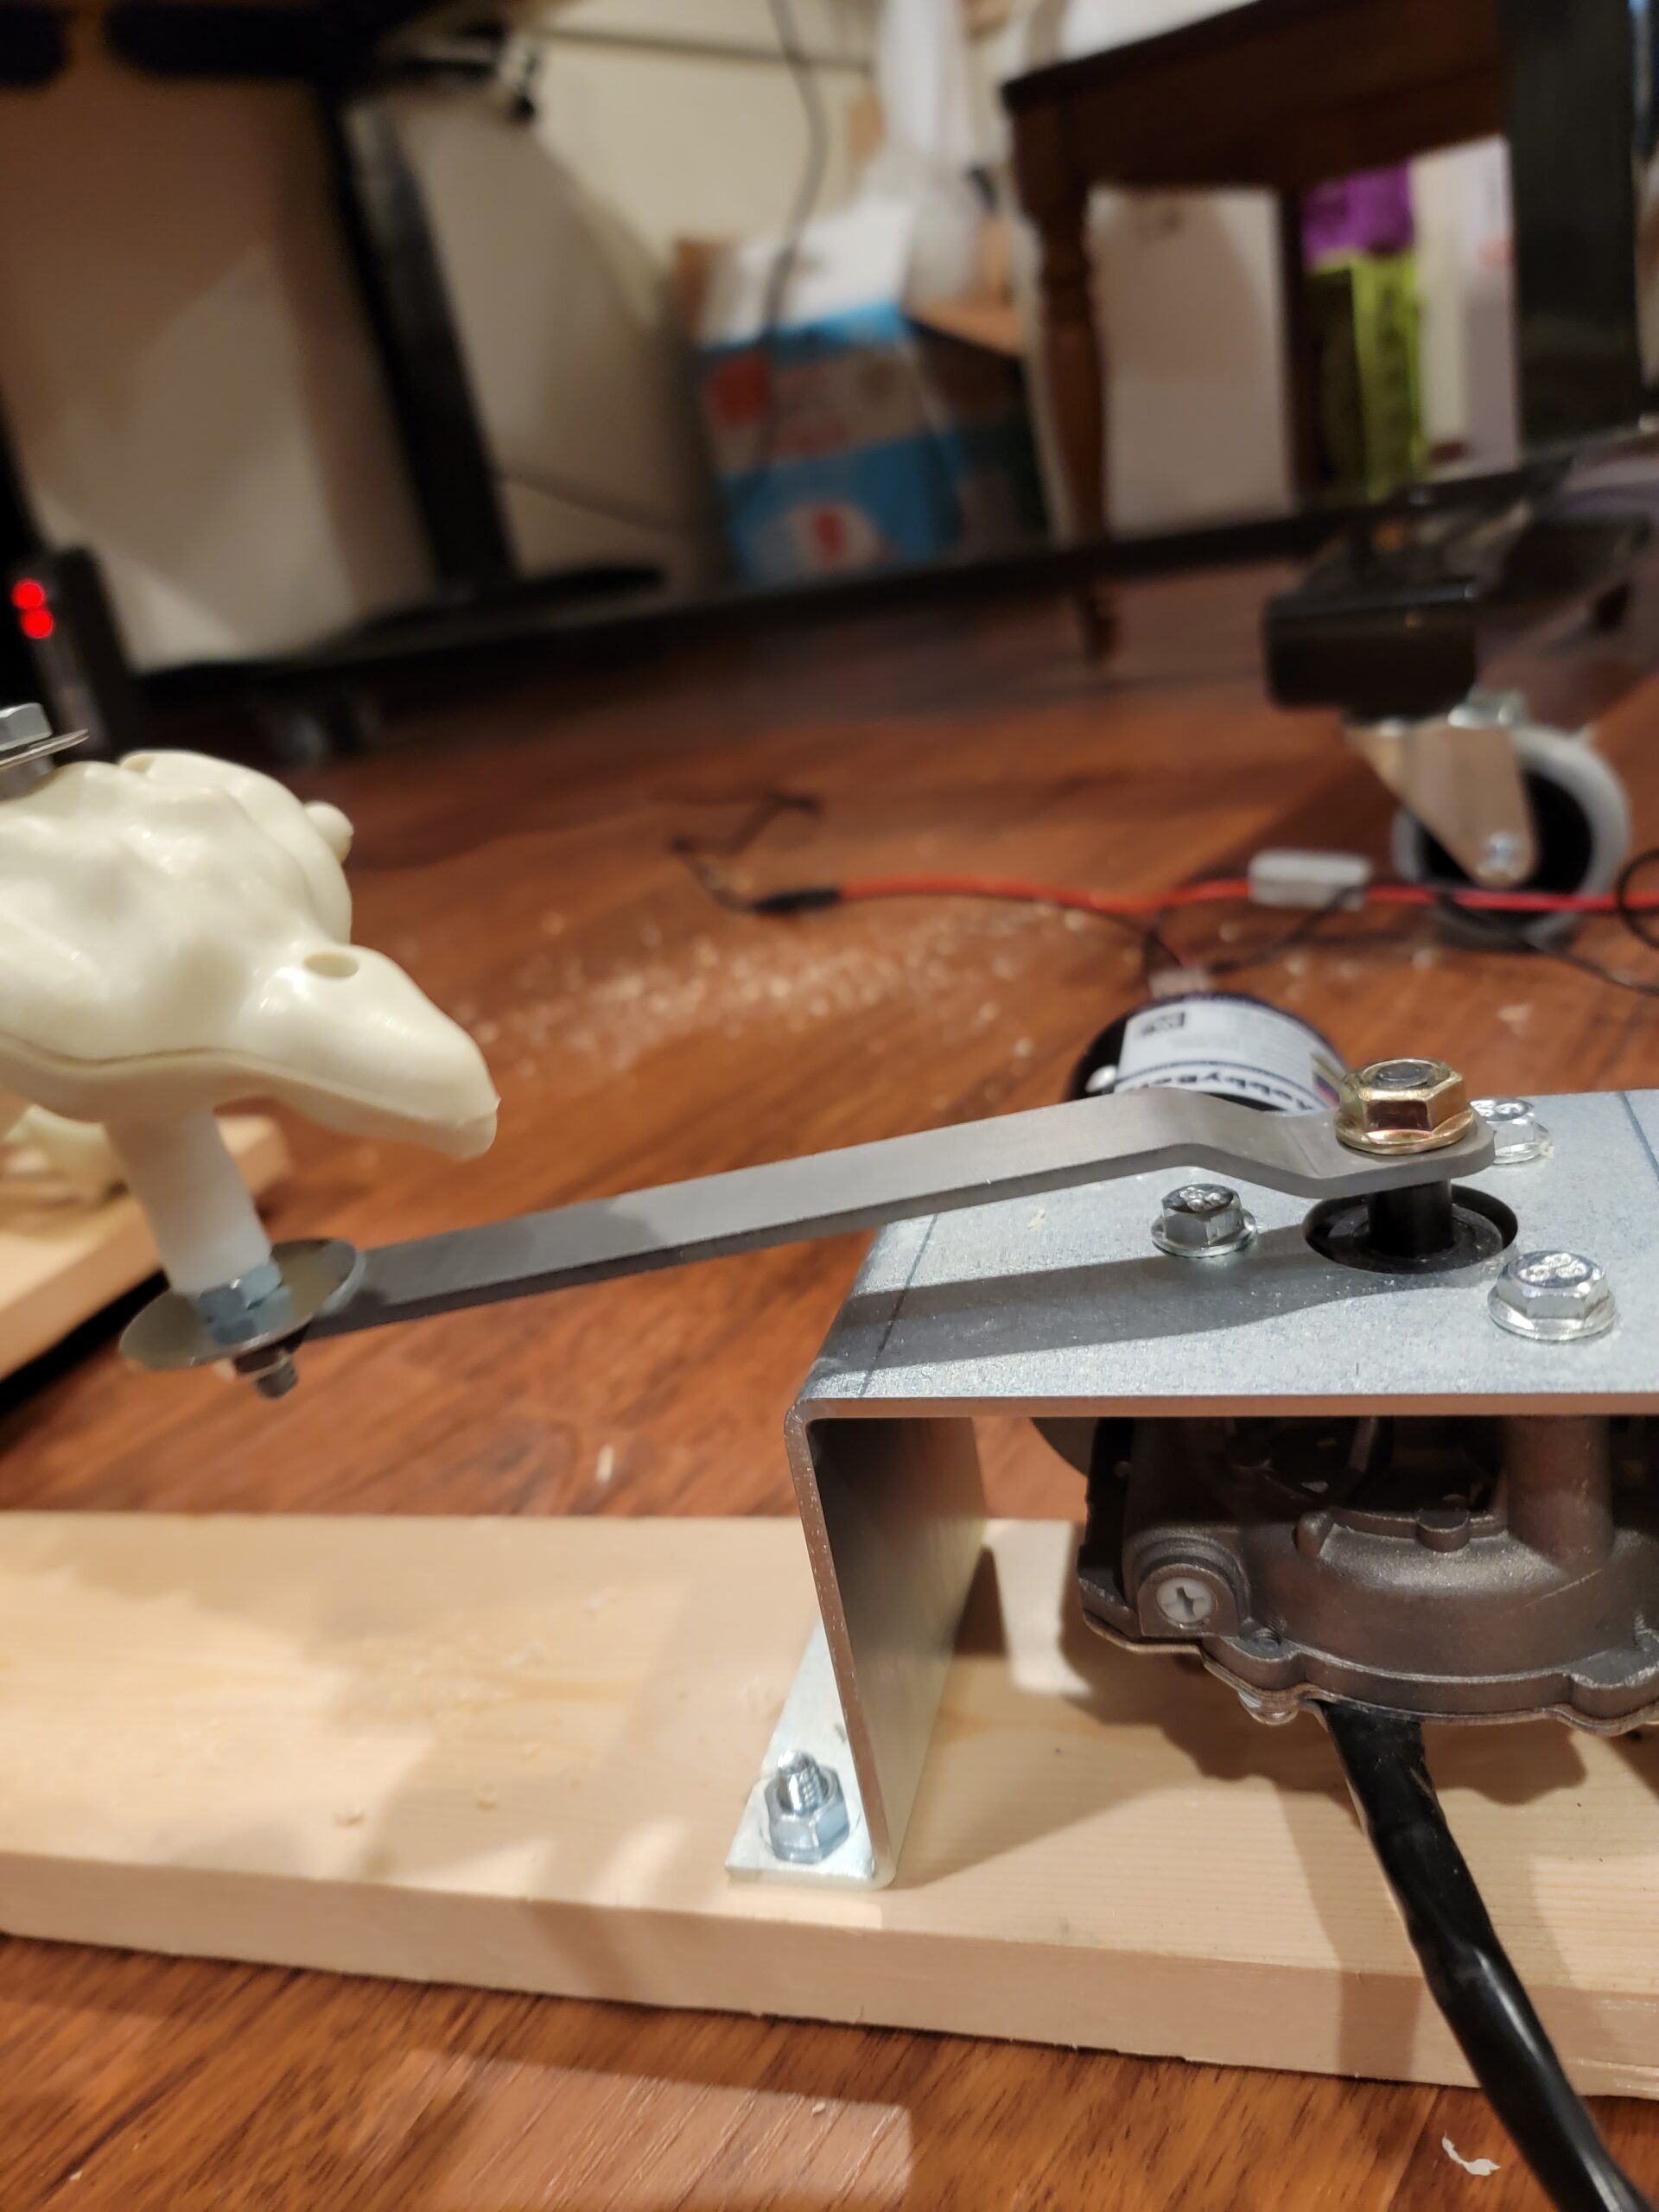
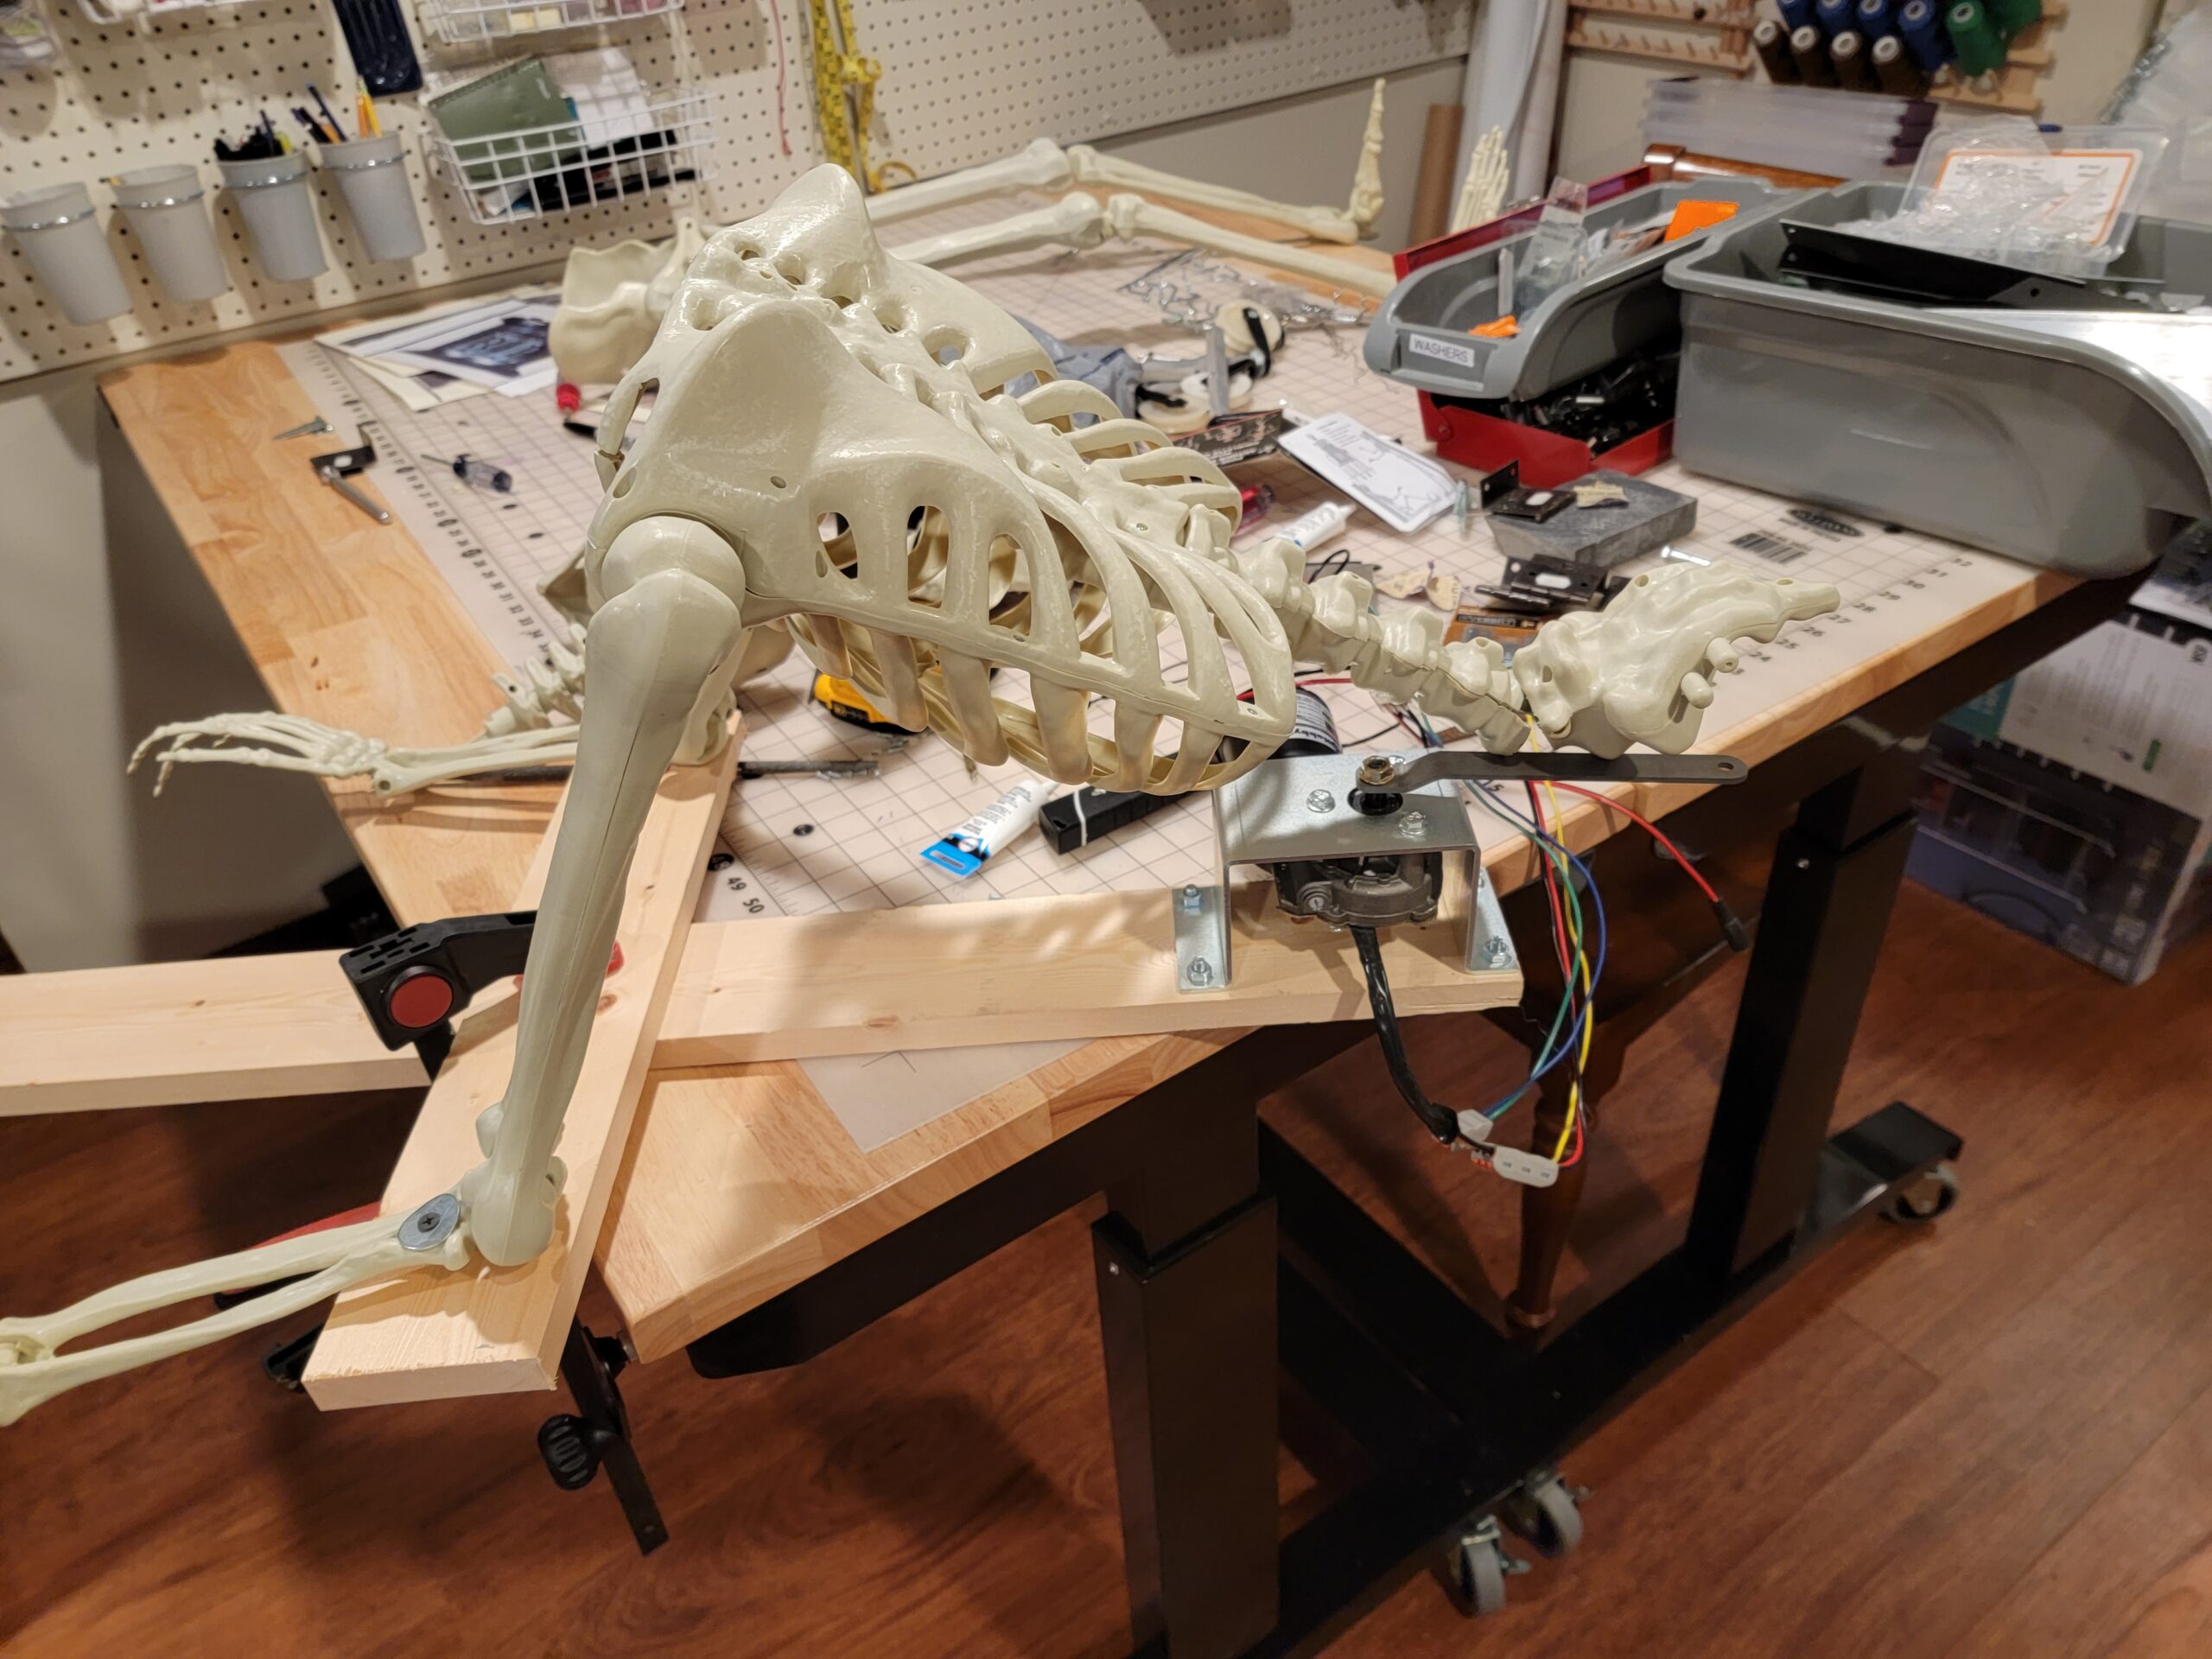
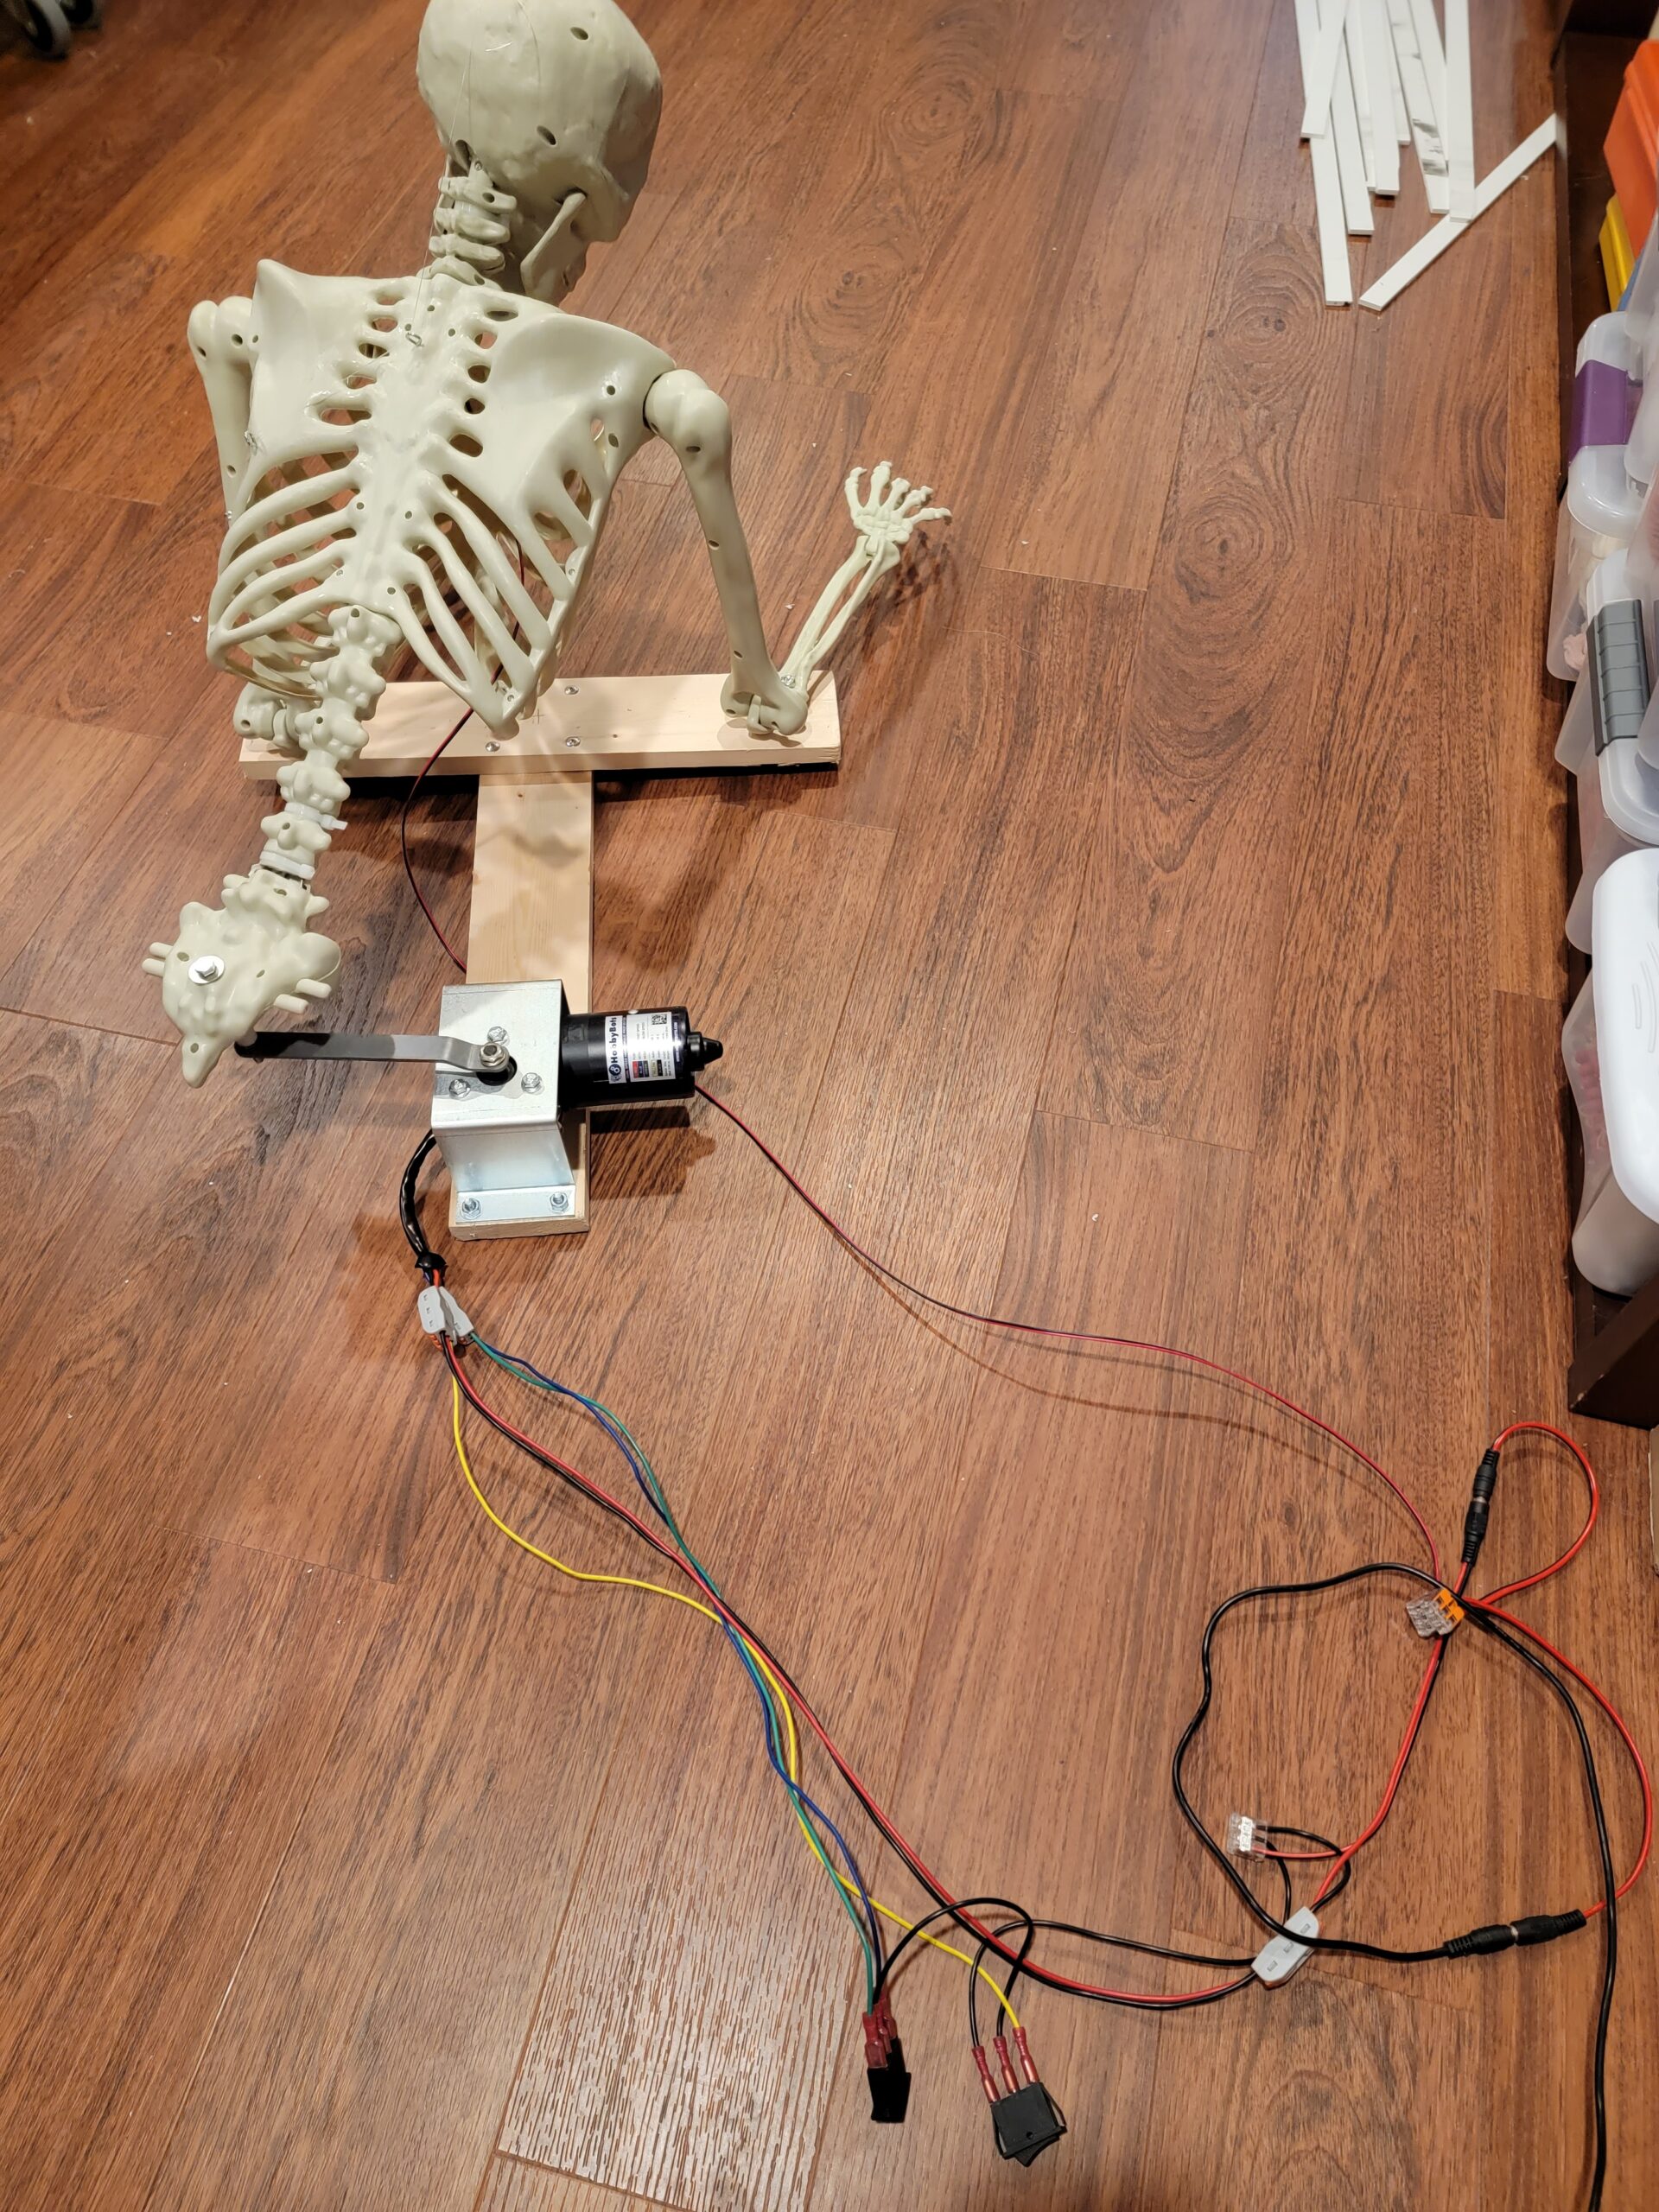
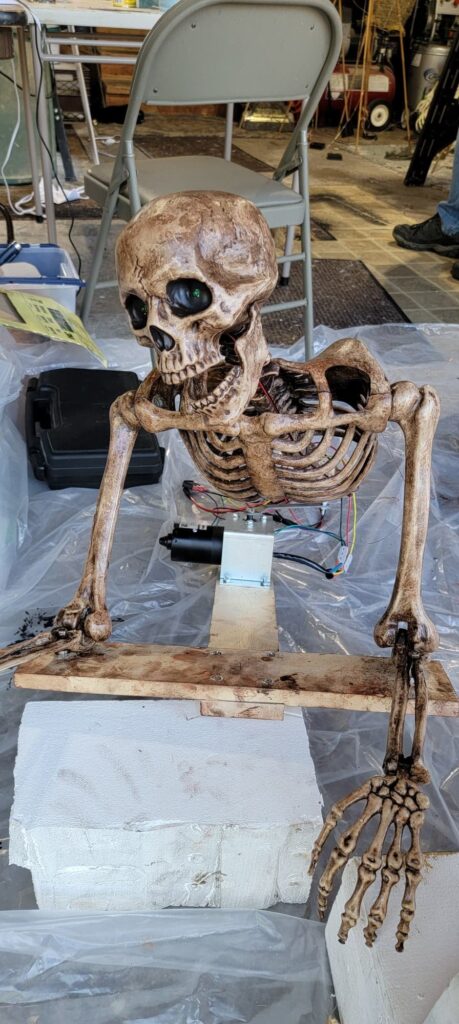
- I used a standard fright-props wiper motor, inverted bracket, and the six-inch arm.
- Cut the tailbone segment from the spine and reattach with a small strap hinge. This will allow the tailbone to mount to the motor and stay level while the spine can pivot up and down.
- Run a fish line from the back of the head, through eyelets to the space between the upper arm and the rib cage. This provided just enough travel to cause the head to pull back when the figure is fully extended forward.
The key to this figure is provide as much free movement as possible in the elbow, elbow pin, shoulder, neck and spine.
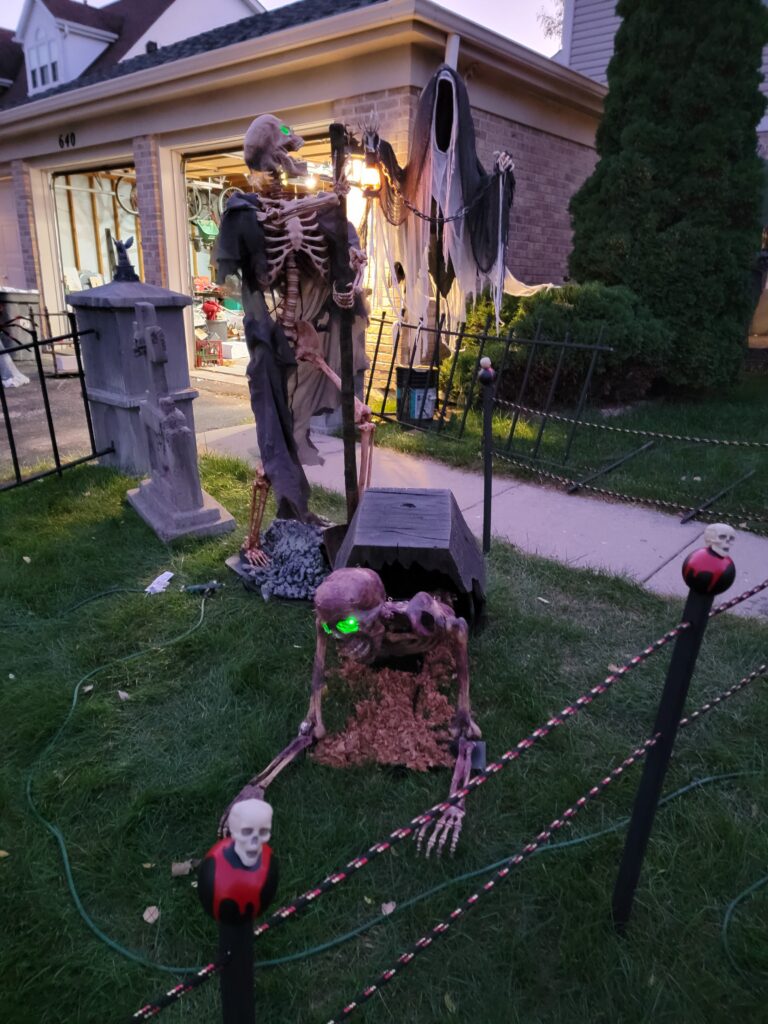
Puttin’ on the Ritz
Turned over to Rebecca and Christine to dress him up…
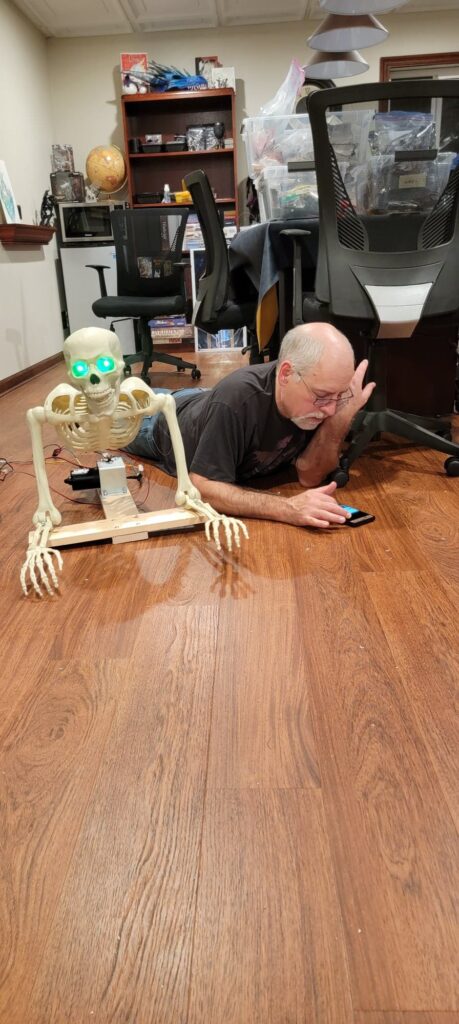
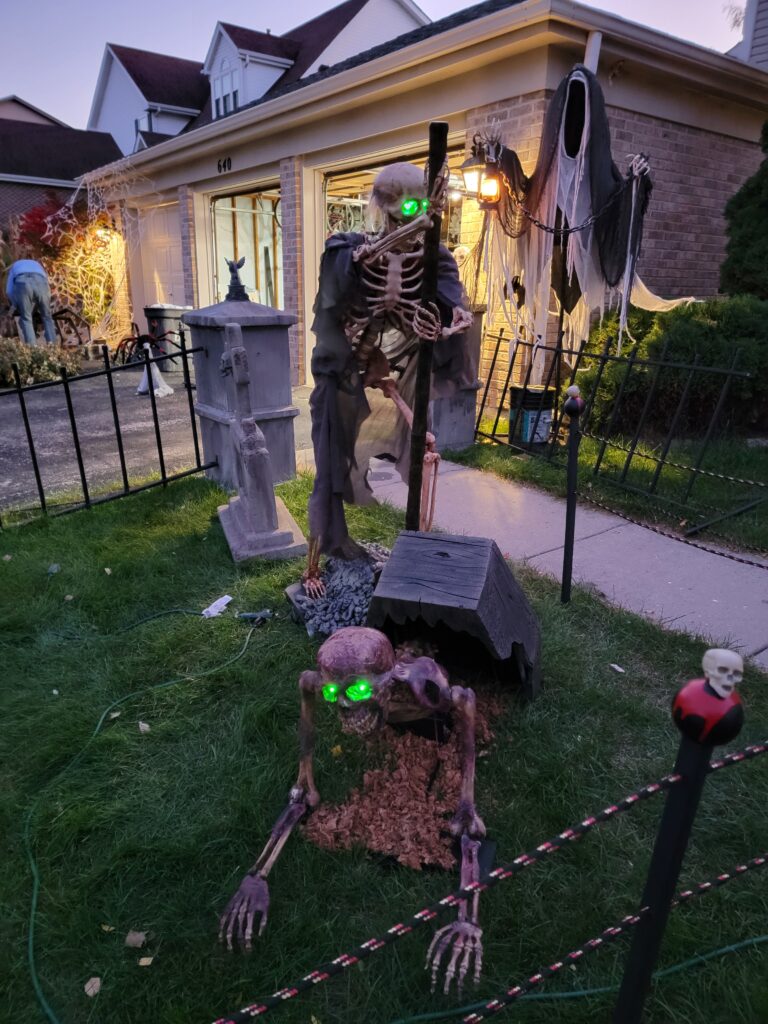
It’s Showtime!