Step by Step…
So, there’s this prop called an Animated Swaying Zombie, that basically is an upper body swiveling around from the hip. By now, you’ve probably figured out that I like taking an idea, and “Yes and-ing” it until it turns into something no sane person would commit to doing.
A note to the MHC crowd: Lasher keeps evolving. He is an eternal prototype — basically our test-bed for new motion ideas. We started with a swaying zombie and added the ability to start and stop the motor at random. Then we added the ability to reverse its motion at random times. Then we added variability to the speed of that motion. With each combination, he got less and less predictable, and more and more “uncanny” in his movement. Next, we installed a shoulder-rocking mechanism that can do random starts and stops, and reversals. The result is that with only two motors working independent of each other, we created a near-infinite combination of positions. One arm is fixed to the armature and the other dangles. The head swivels based on whatever way the shoulder is leaning at the time, with springs in the neck to dampen the motion a little. The jaw is just loose — when he leans forward, gravity closes the jaw. When he leans back, gravity opens the jaw. When you pull all these concepts together, he takes on a life of his own. The uncanny valley is strong with this one!
So this year, we created a new character based on the Rocking Torso Mech v2, the Upper Body/Shoulder Mech, and the RGB LED eyes. We turned it on, and went. “Oh. No. That’s not what we’re going for at all.”
And that’s when the fun began. He has evolved over the last 3 weeks. A little at a time. With each iteration, he gets closer to the vision we started with.
- Phase 1: Mechanicals
- Phase 2: Sinister Stick
- Phase 3: Glue
- Phase 4: Eyes
- Phase 5: Corpsing
- Phase 6: Clothes
- Phase 7: Further Evolution
There are a lot of pics…
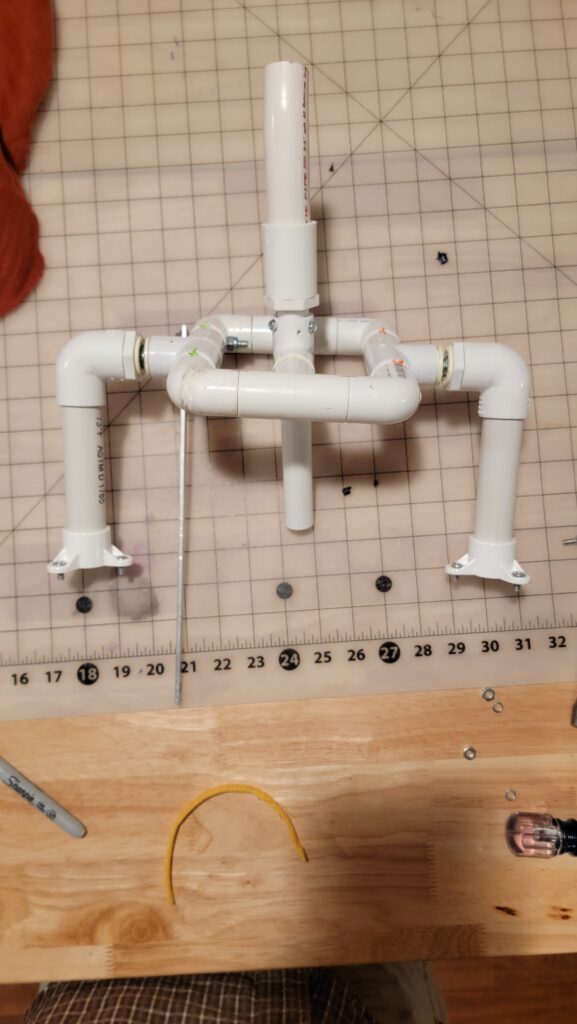
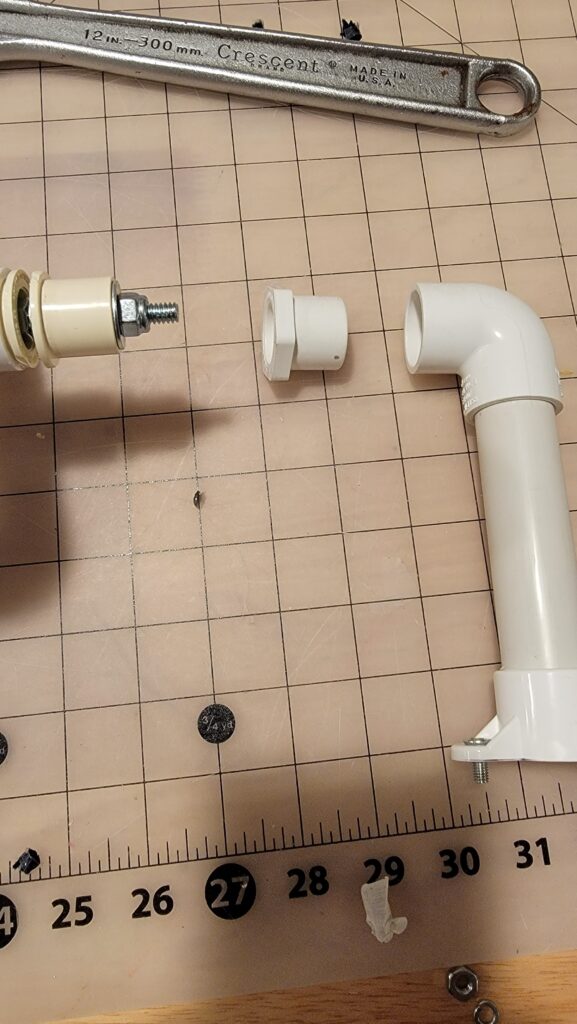
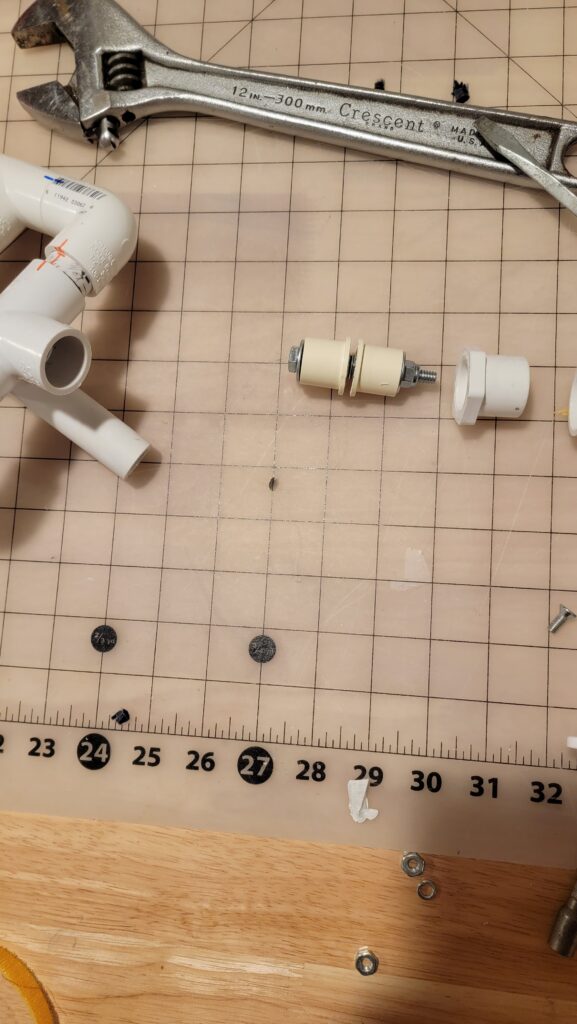
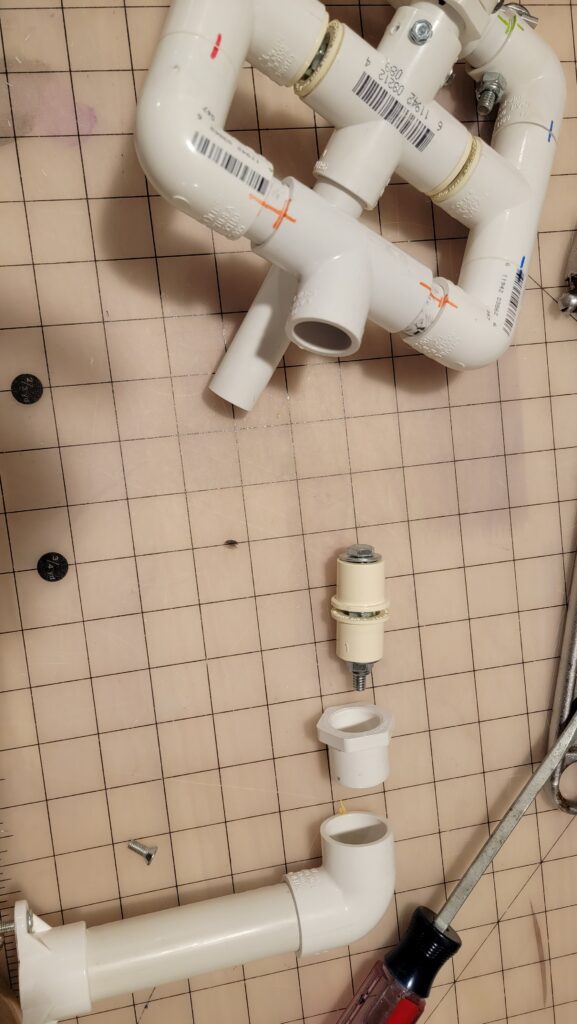
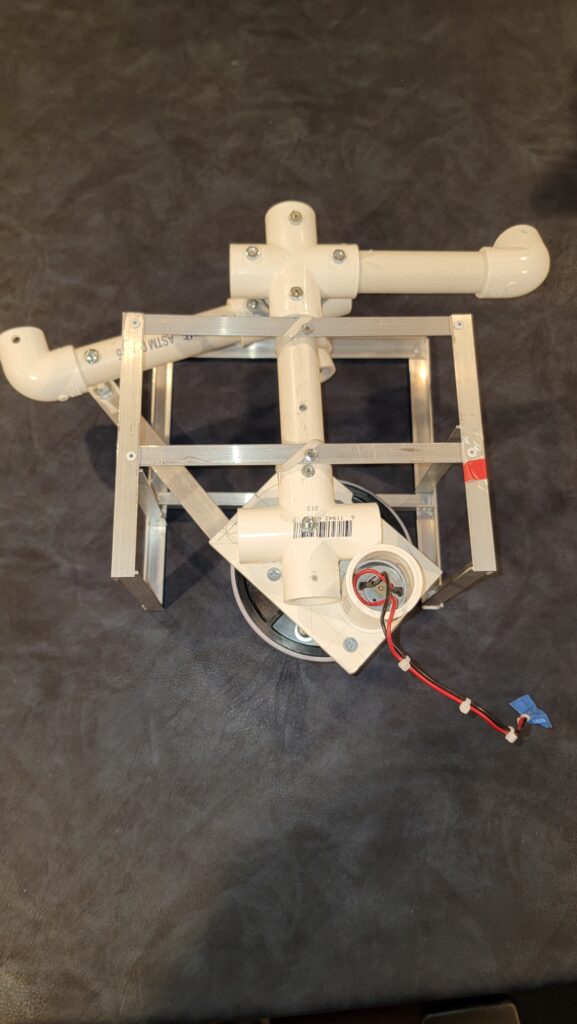
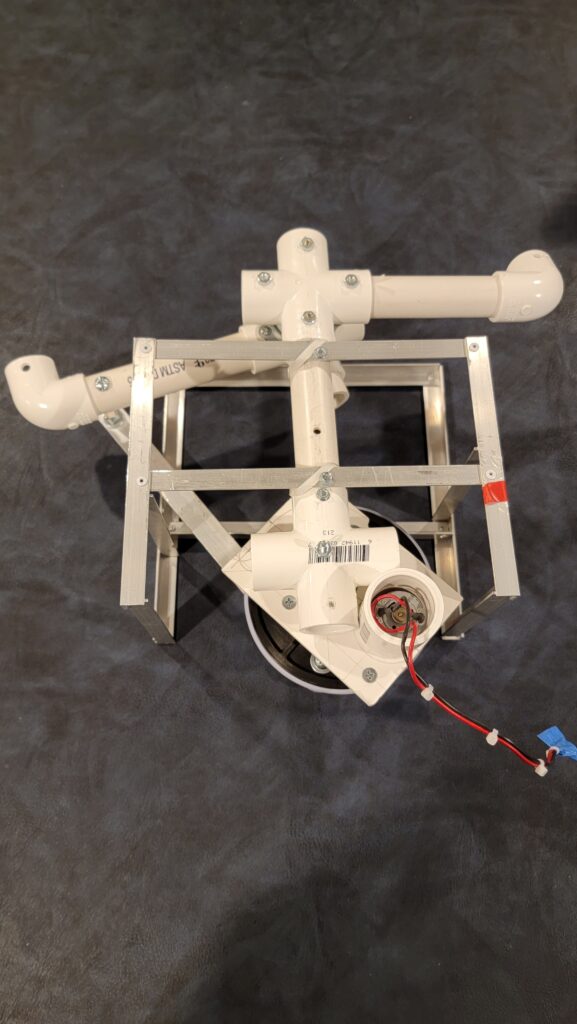
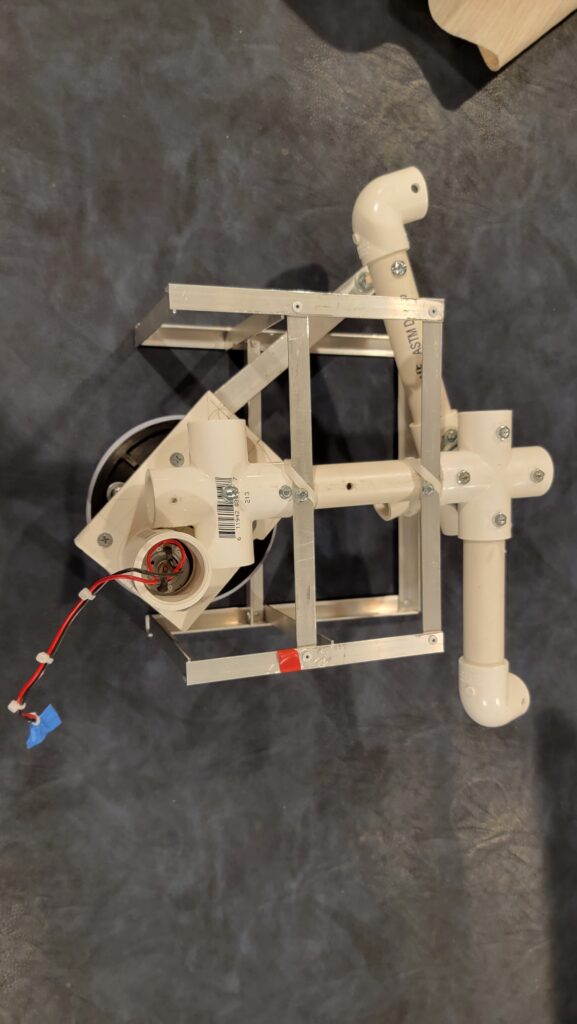
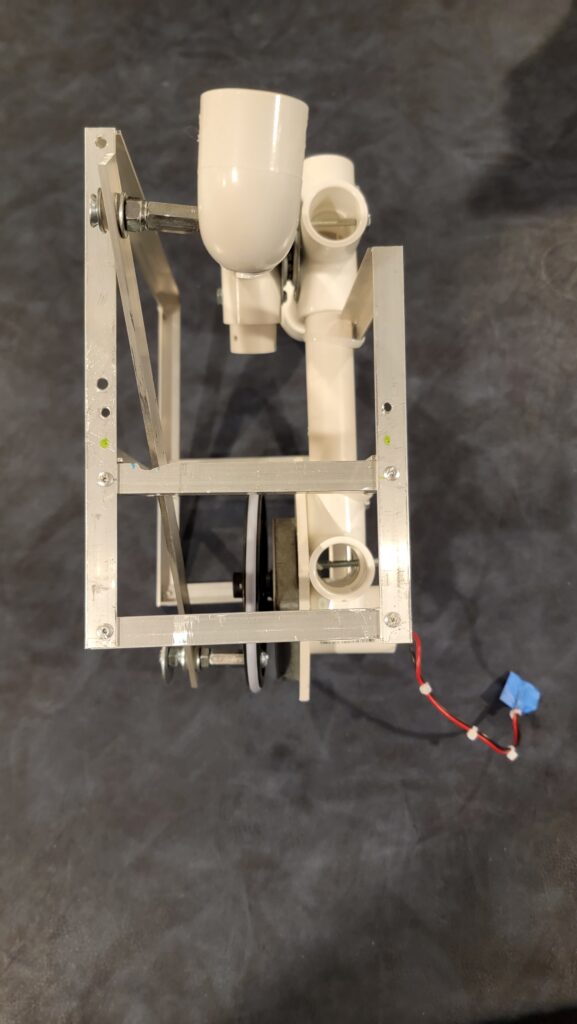
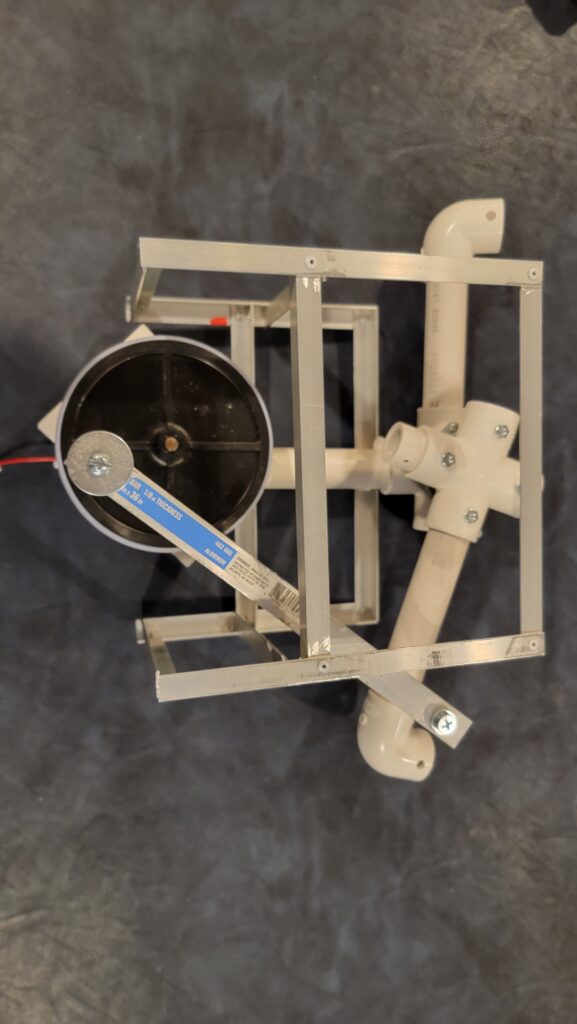
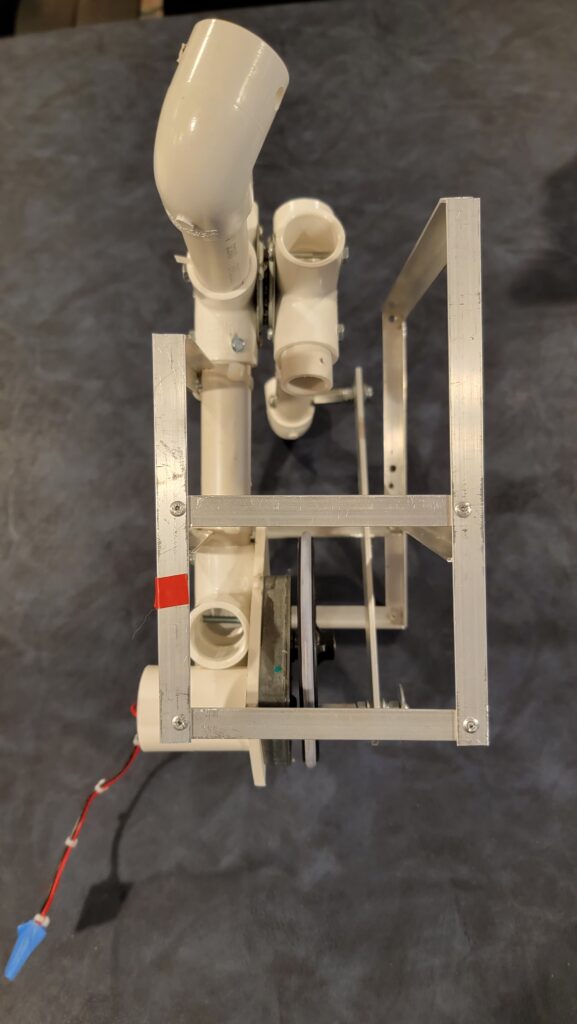
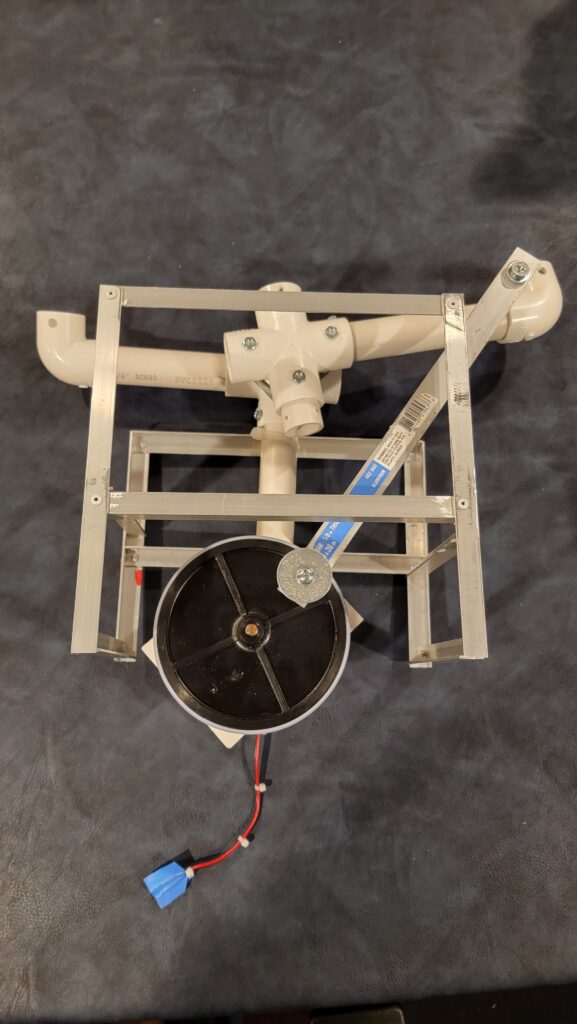
Phase 1: What if we just put the components together and turn the dang thing on?
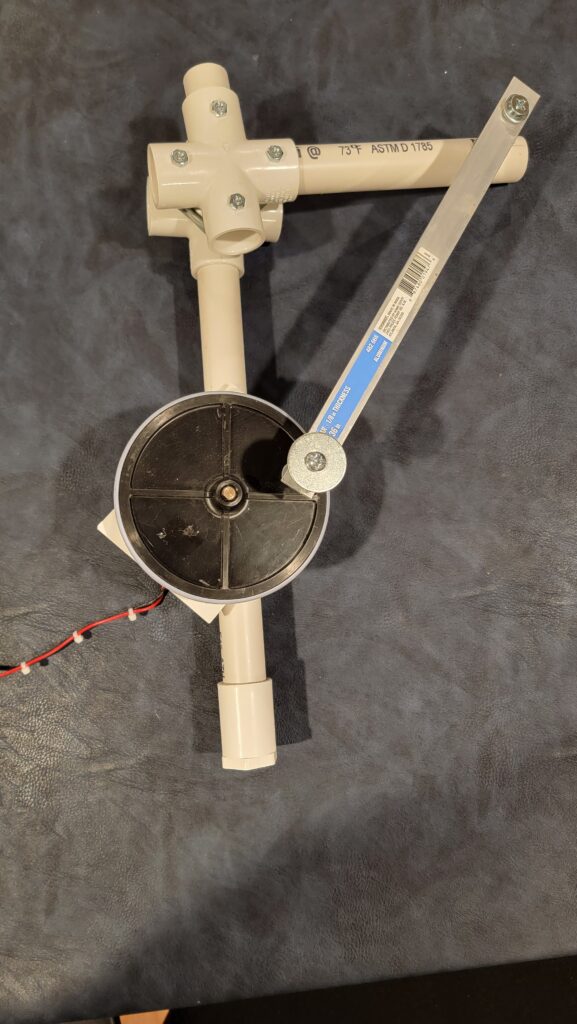
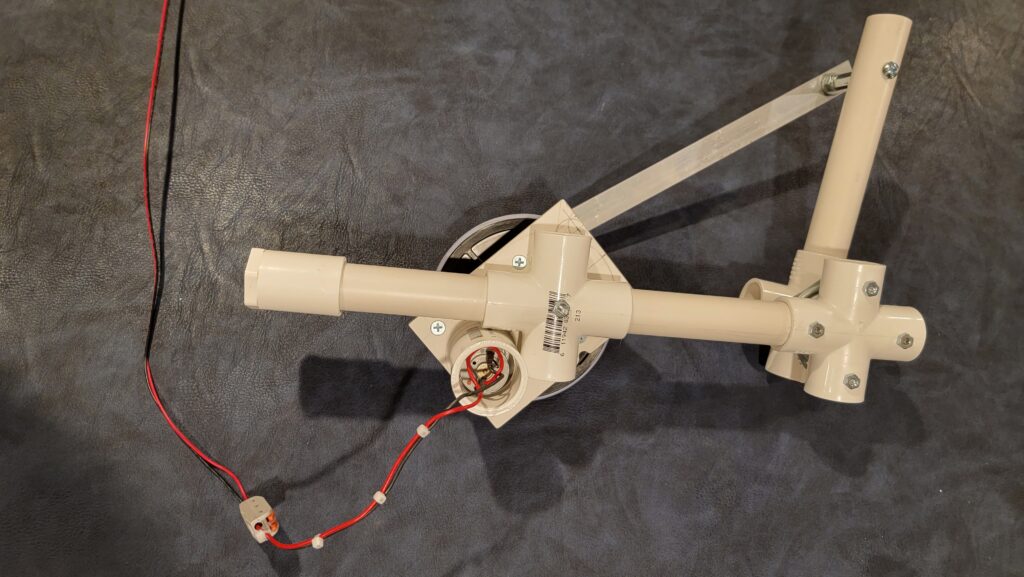
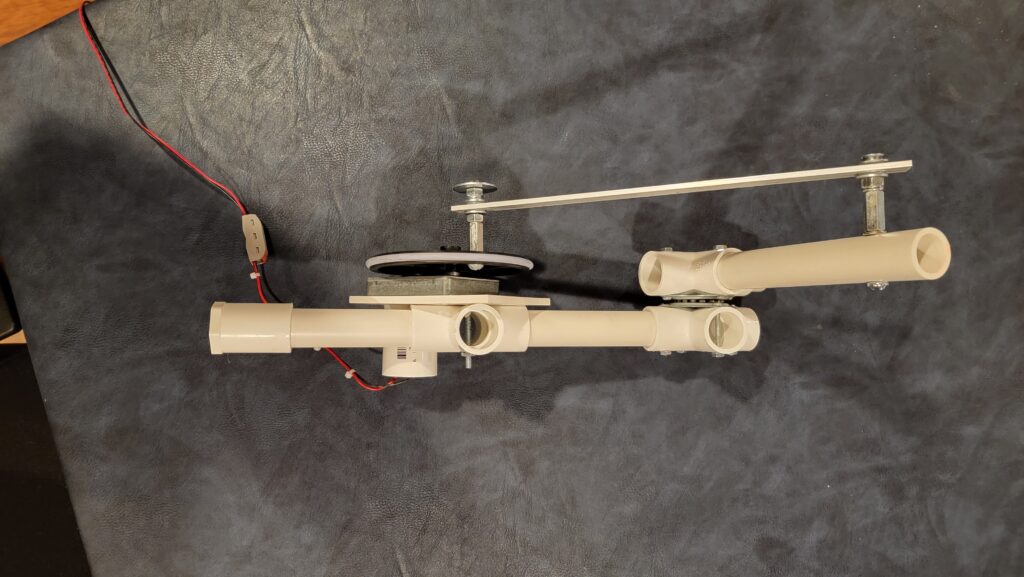
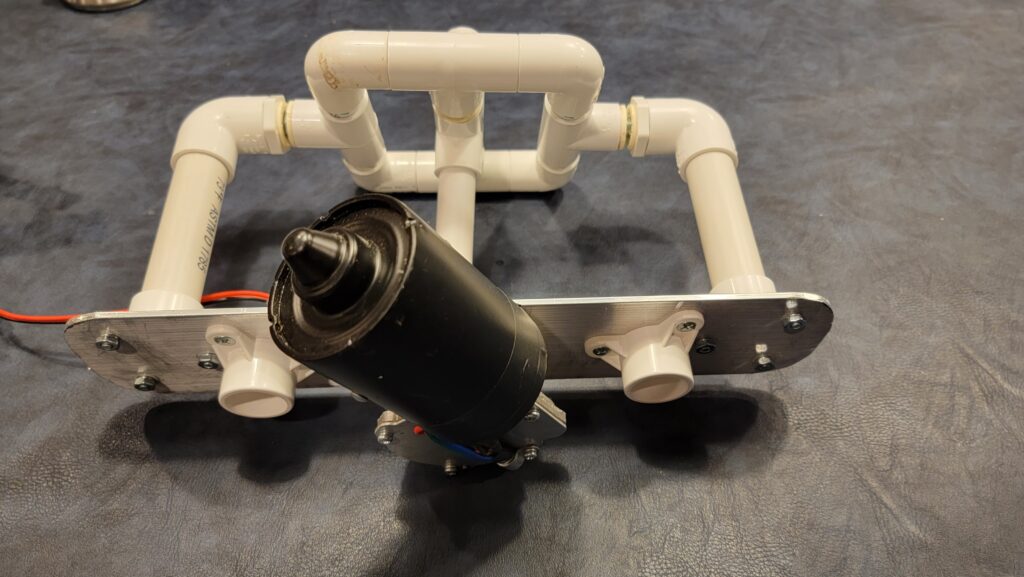
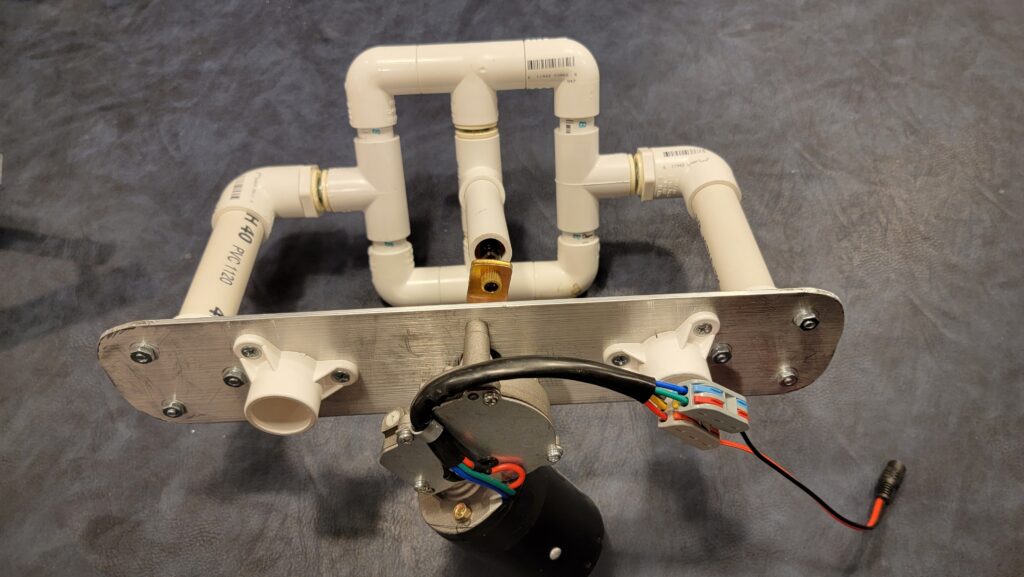
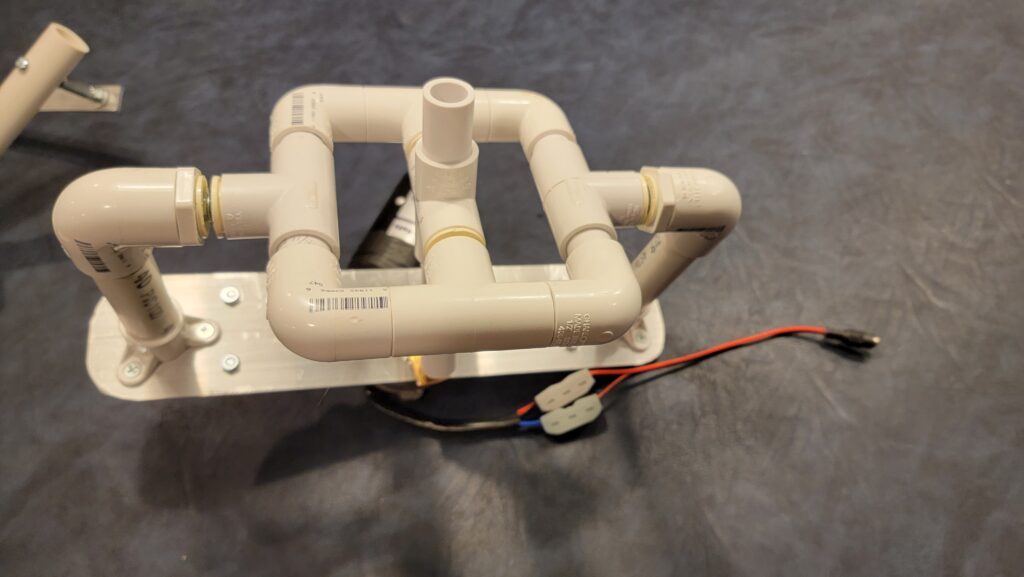
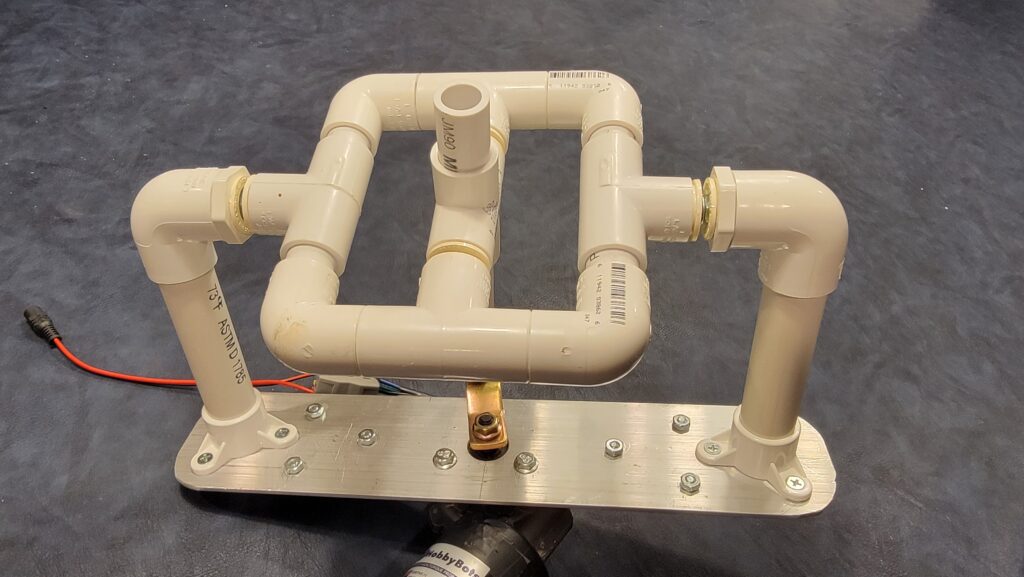
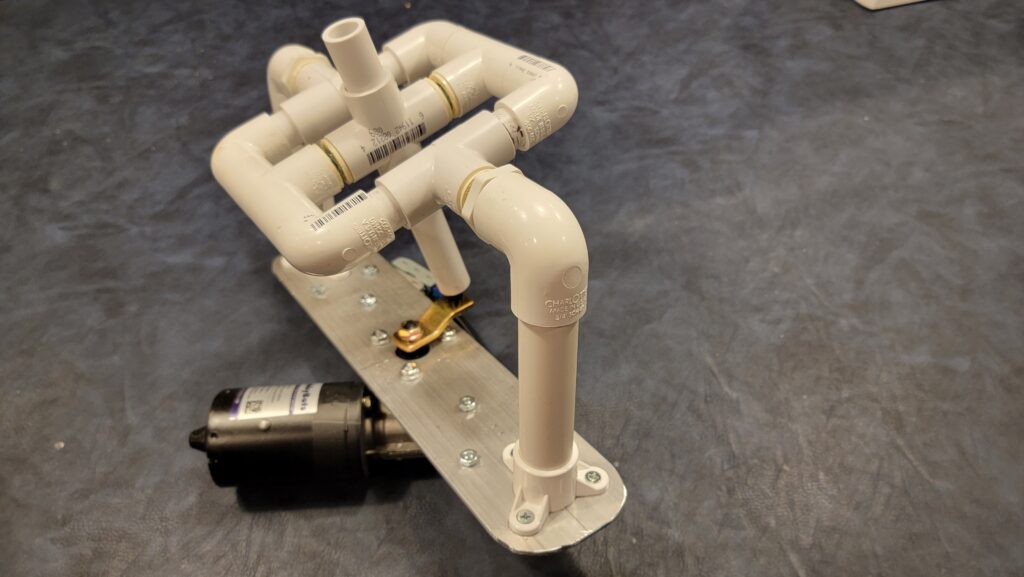
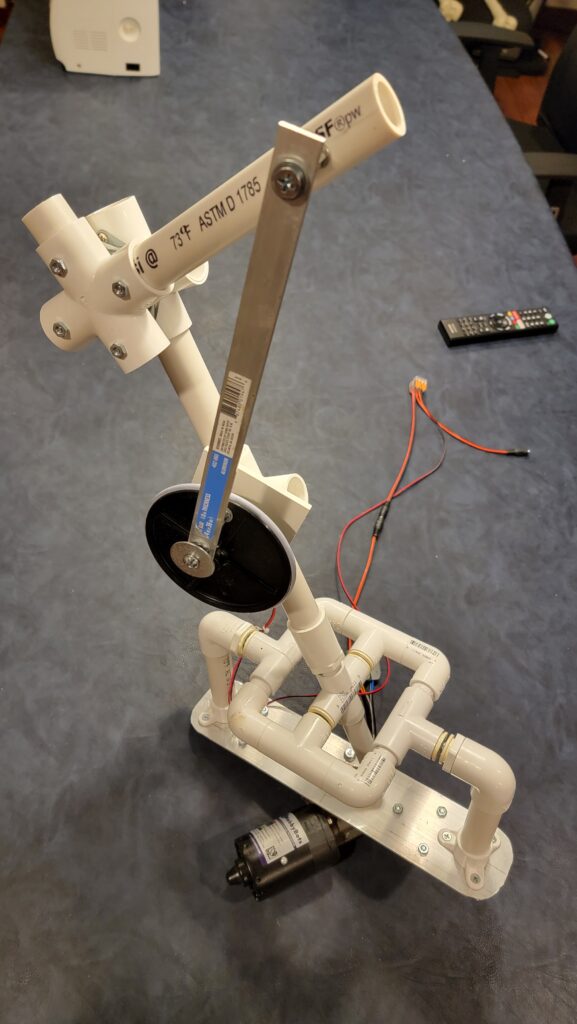
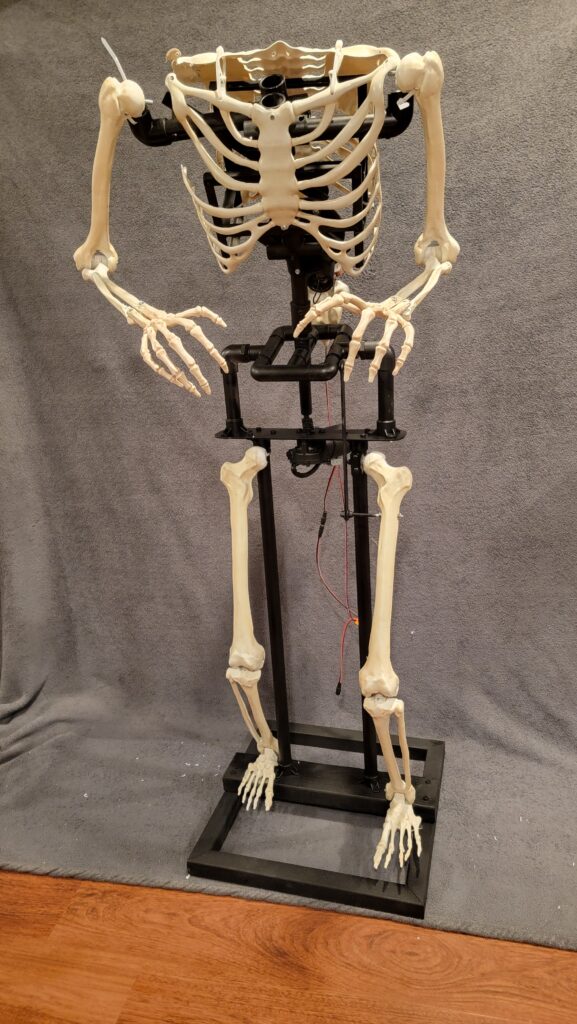
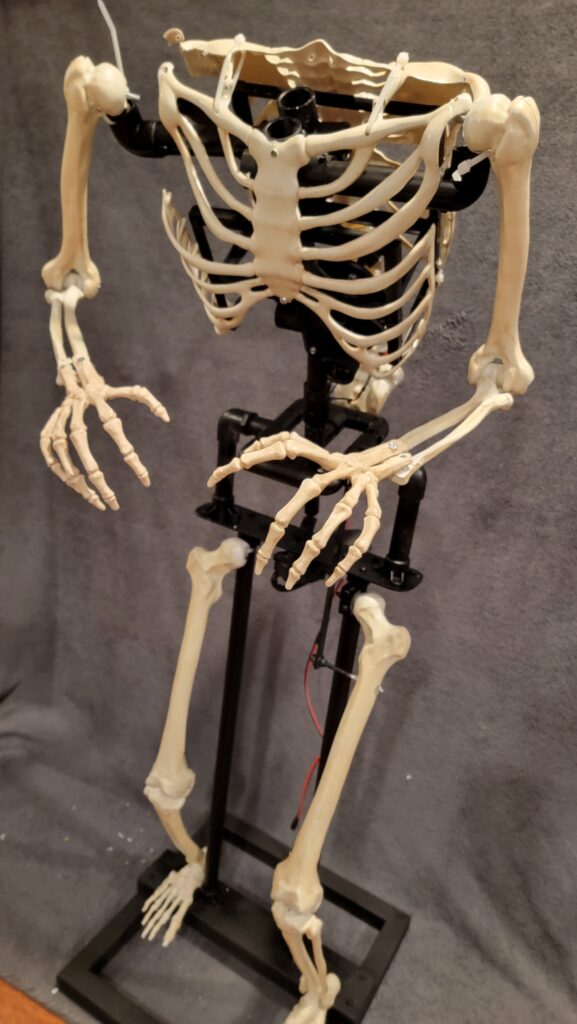
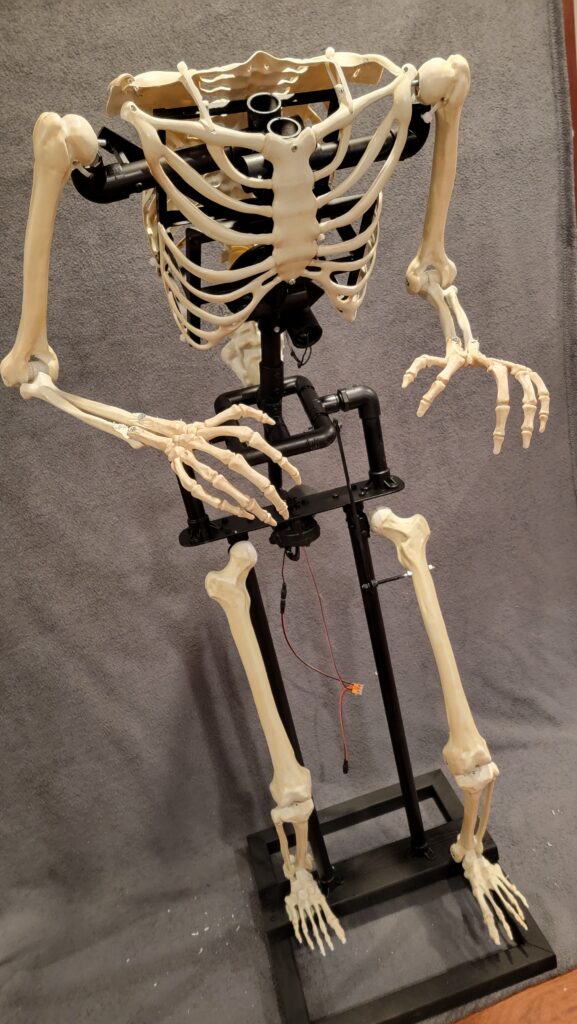
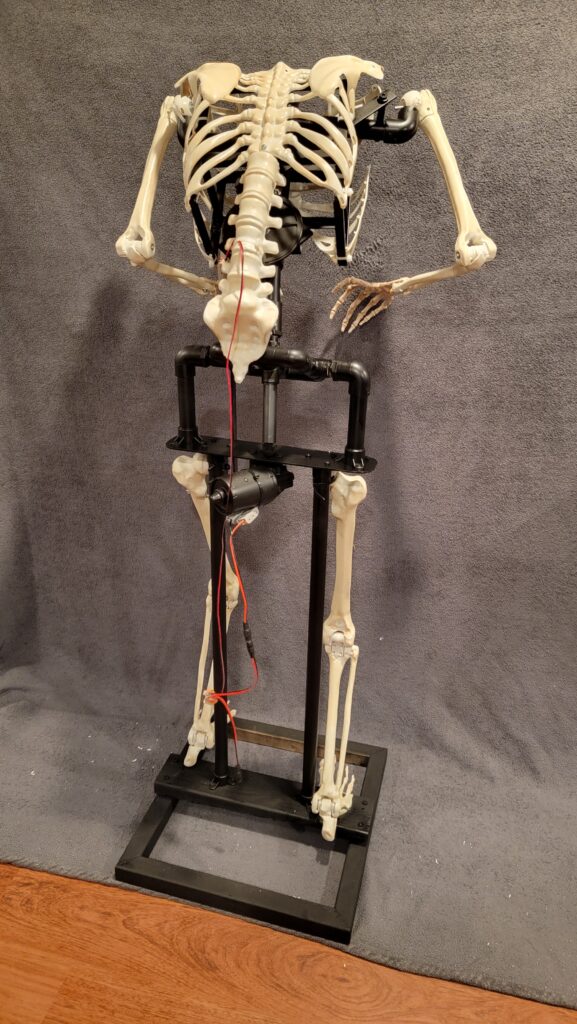
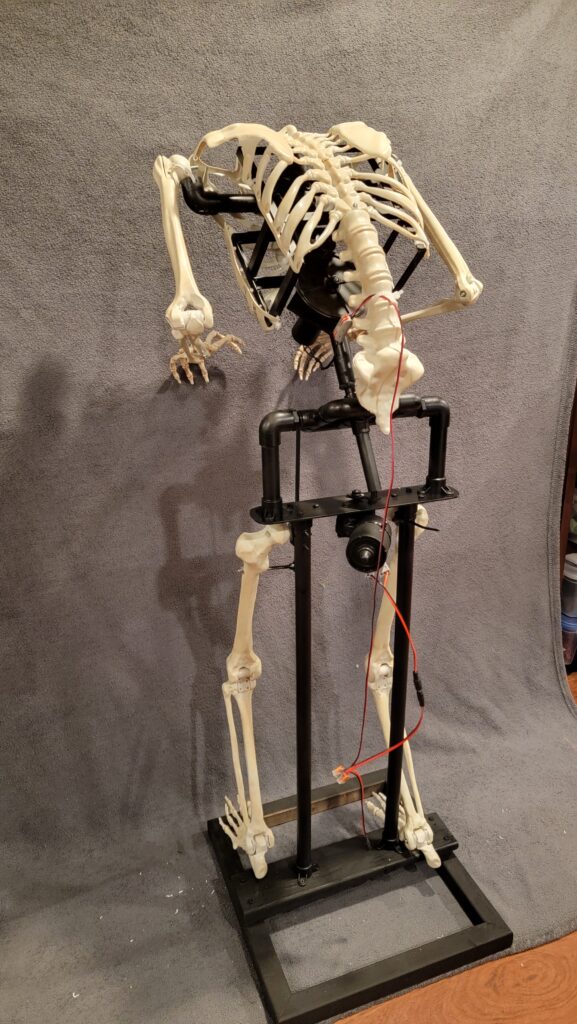
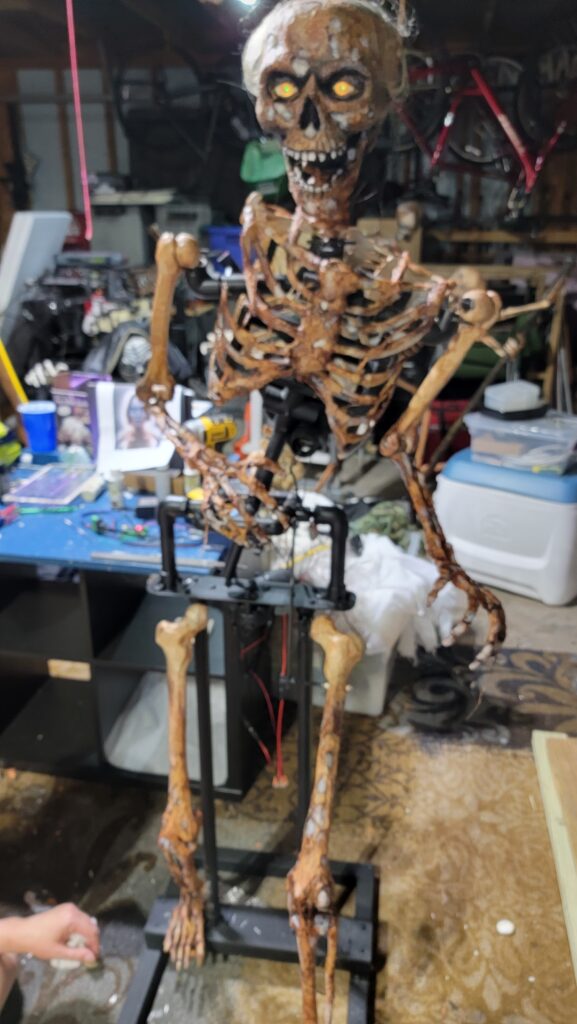
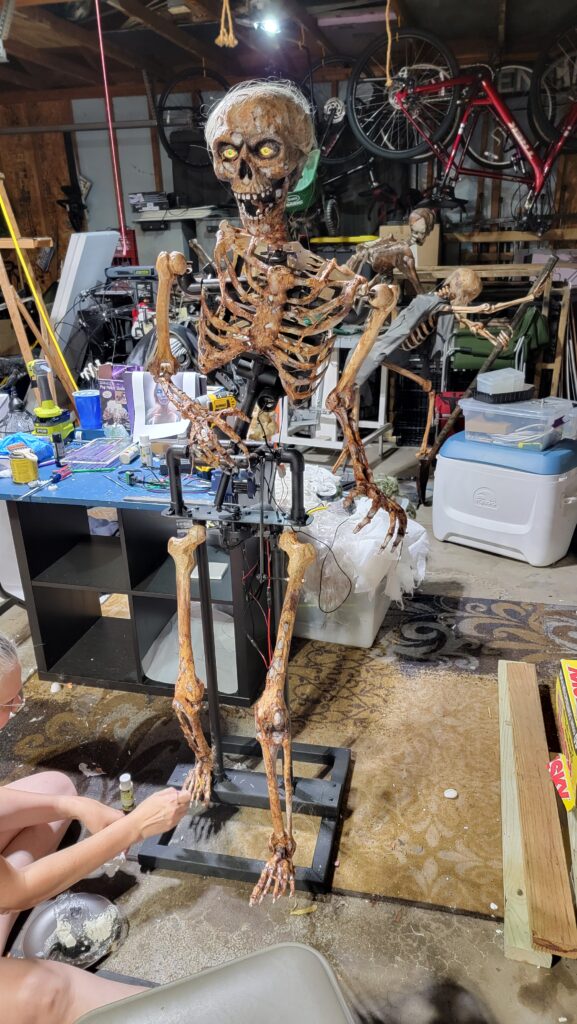
Okay, that thing just moves a lot, and keeps trying to pinch my fingers. I think I need to put it on a stand. And while I’m at it. I’m going to slap a rib cage on the front, and mount a head on the neck-swivel. And I guess I’ll zip-strip a couple arms to the end of the shoulders. Oh yeah, and prop the bottom half of that skeleton against the bottom. Just for effect.
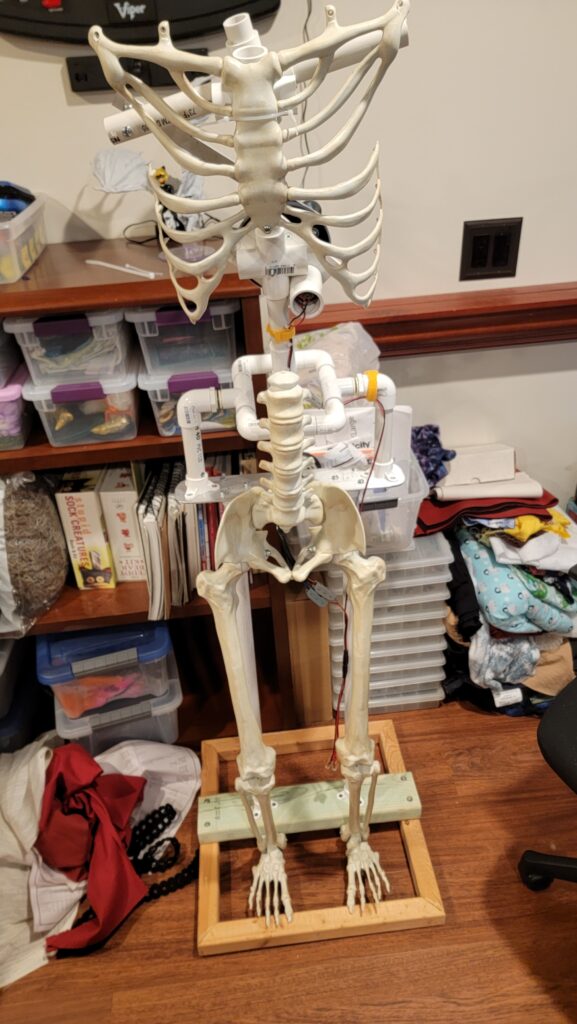
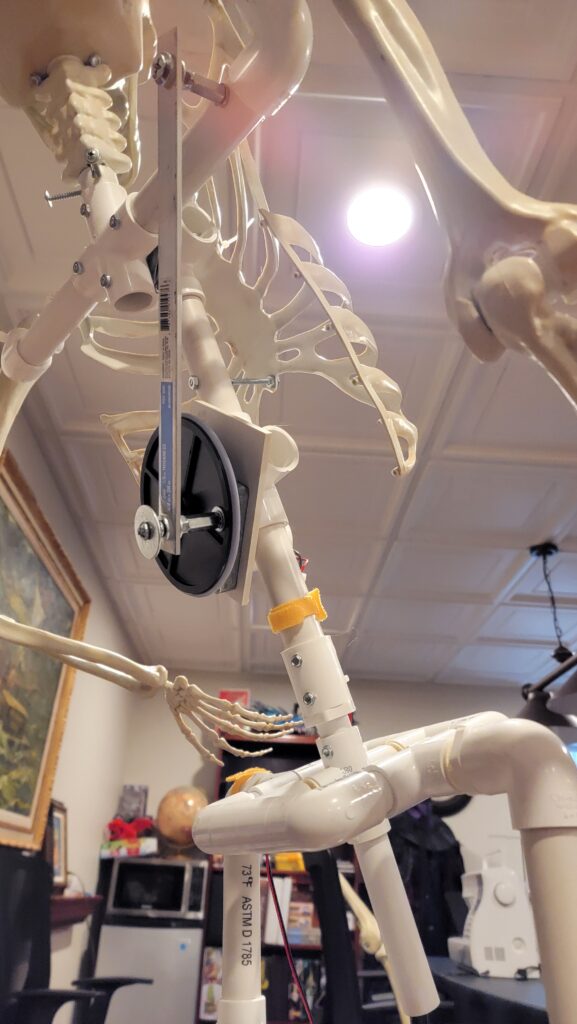
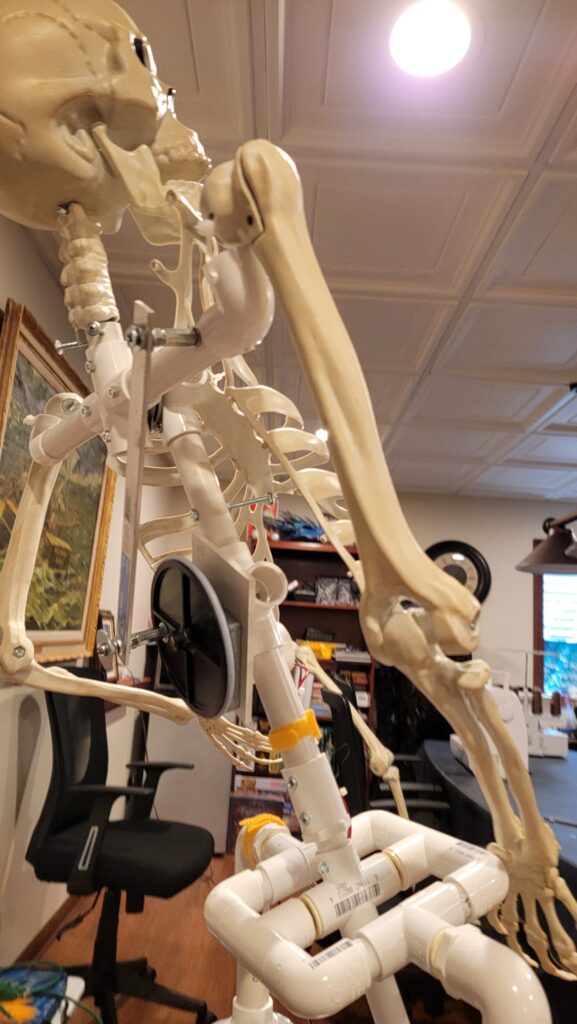
That was far enough to see what we were dealing with. Rebecca asked if there was a way to add movement to the legs. I looked at the rocker mechanism, and thought, “why not?”. While I’m at it, I’ll put the head on a swivel…
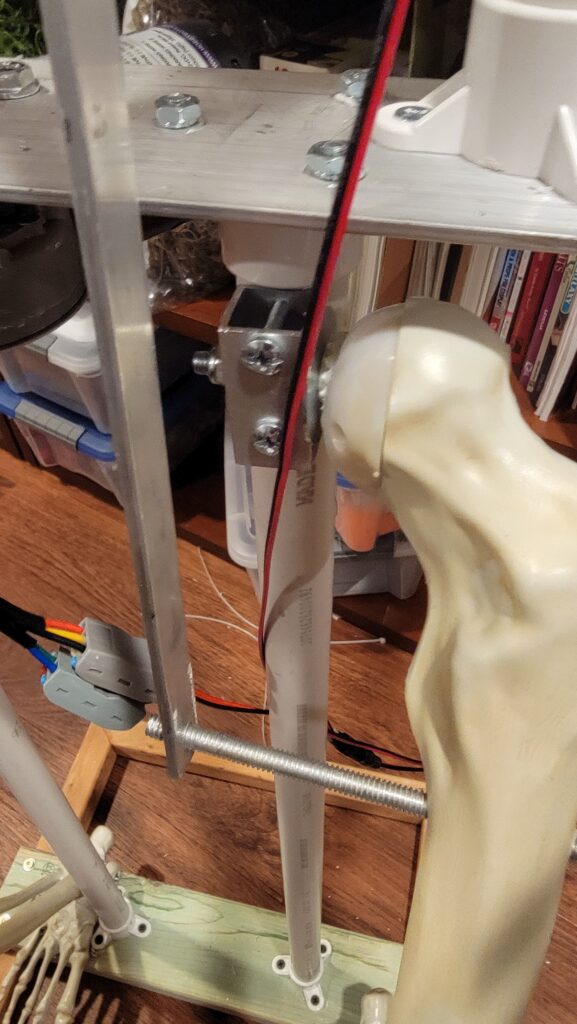
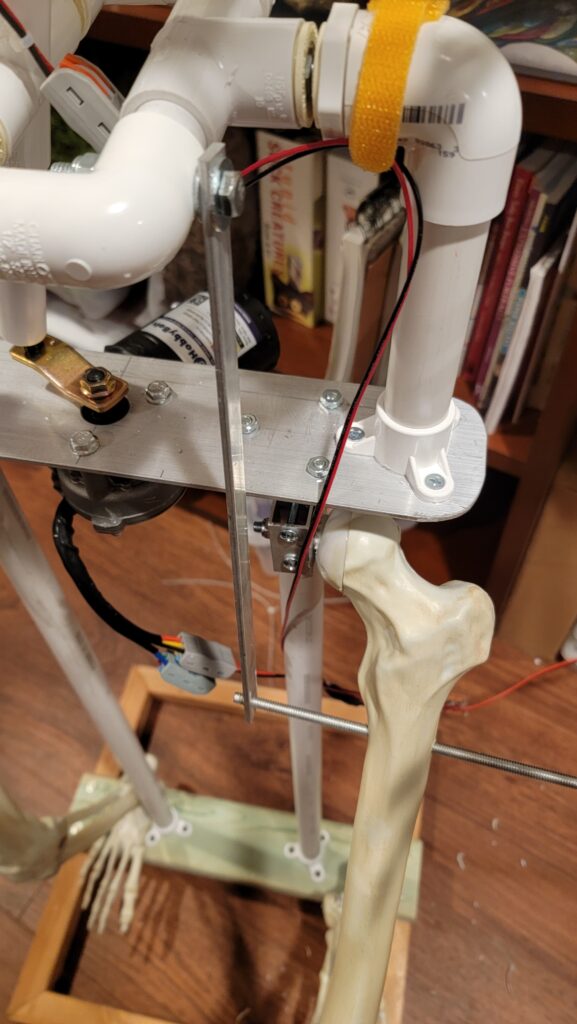
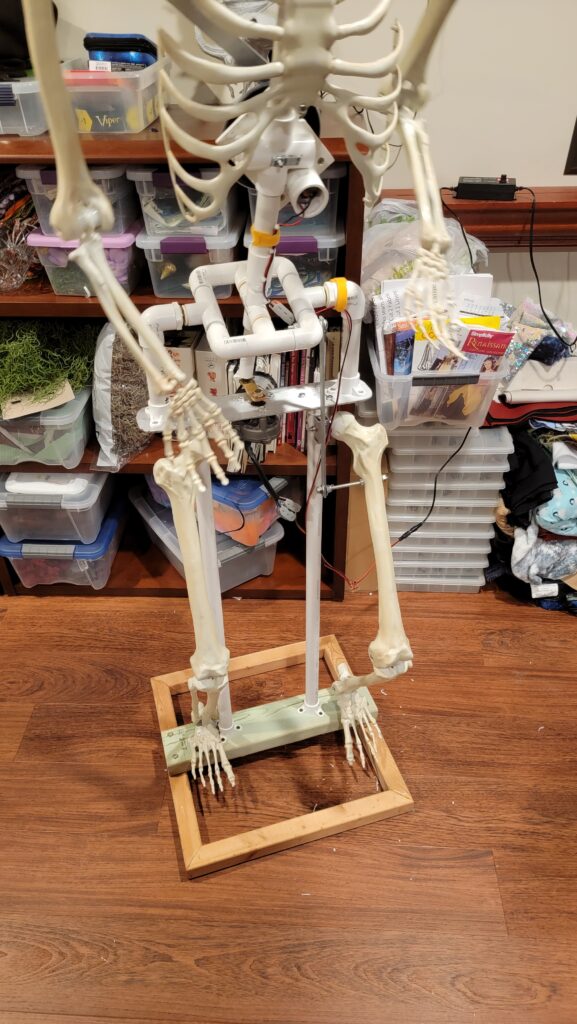
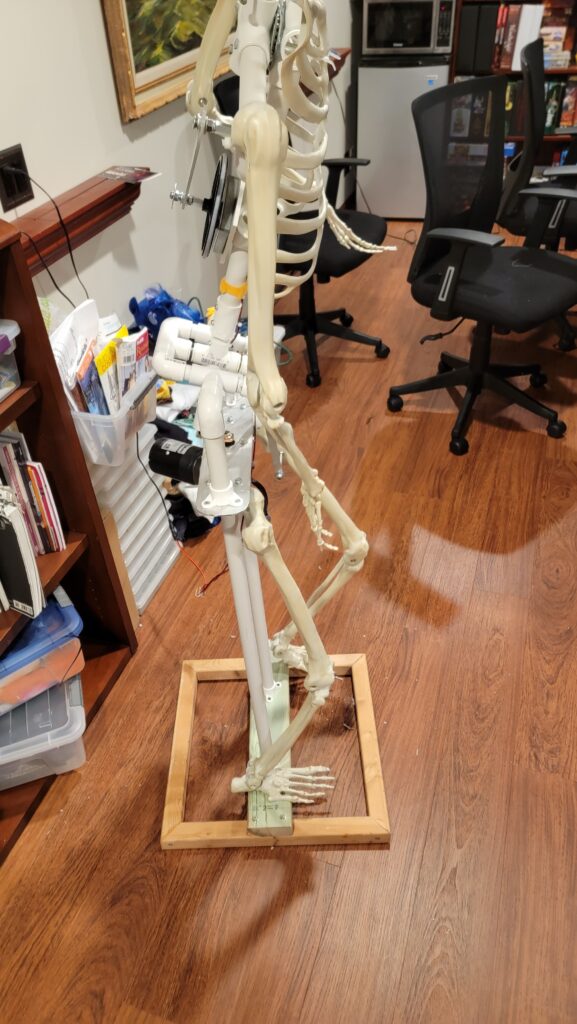
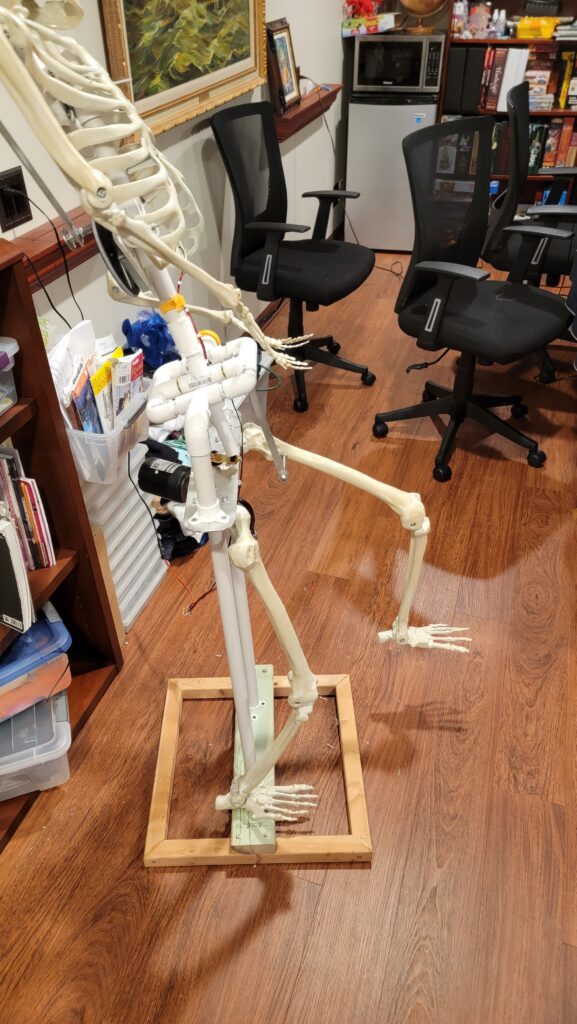
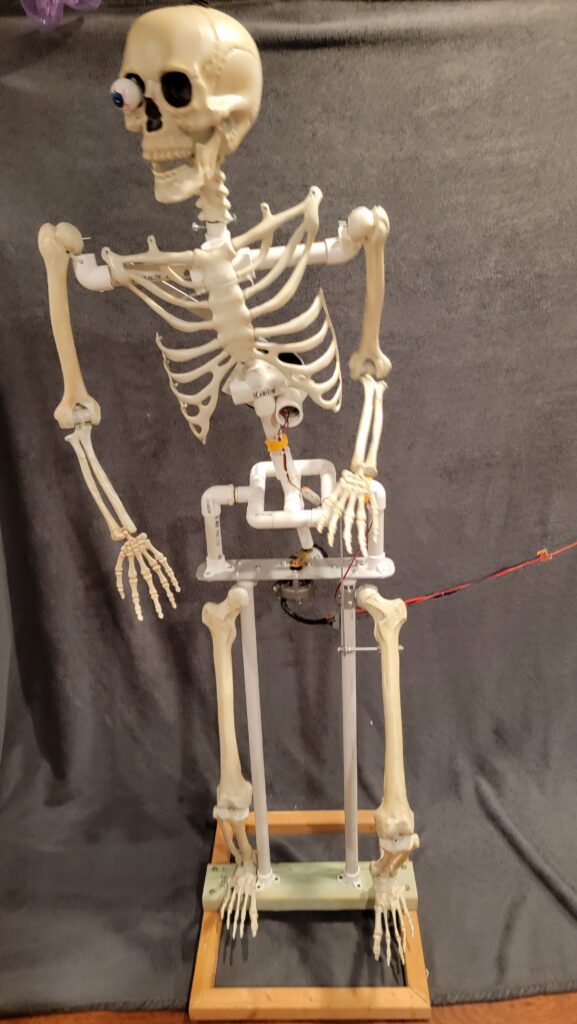
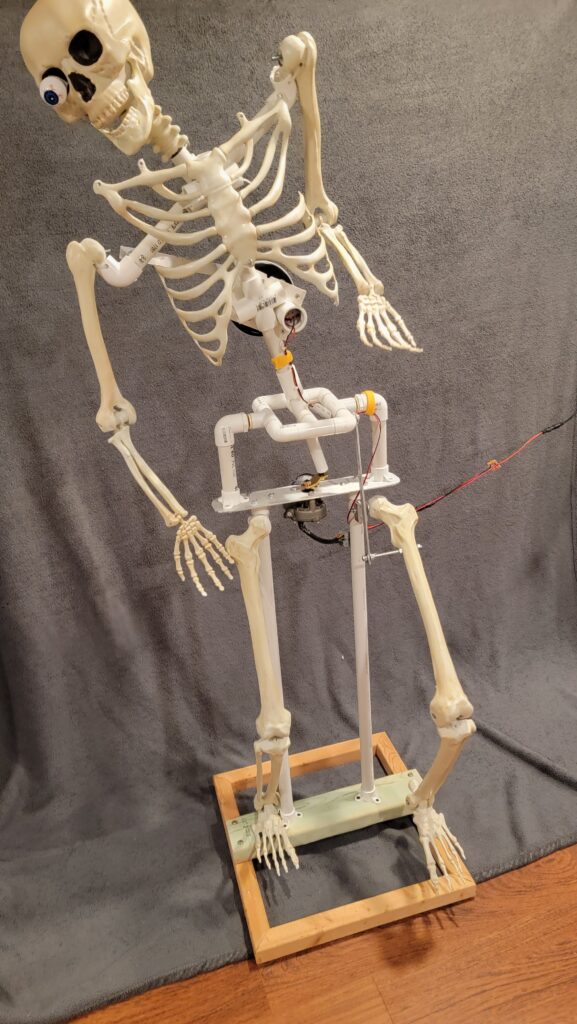
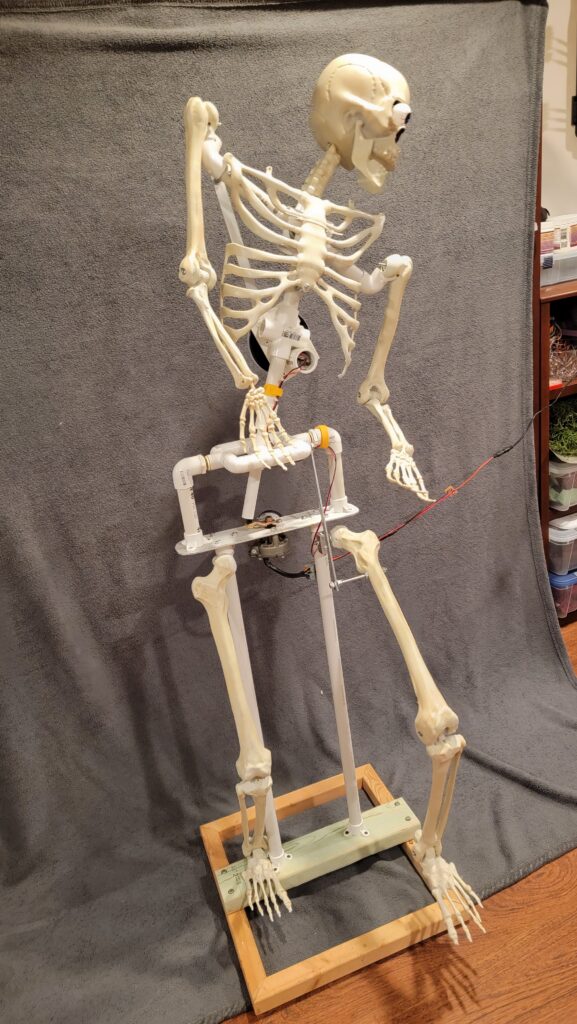
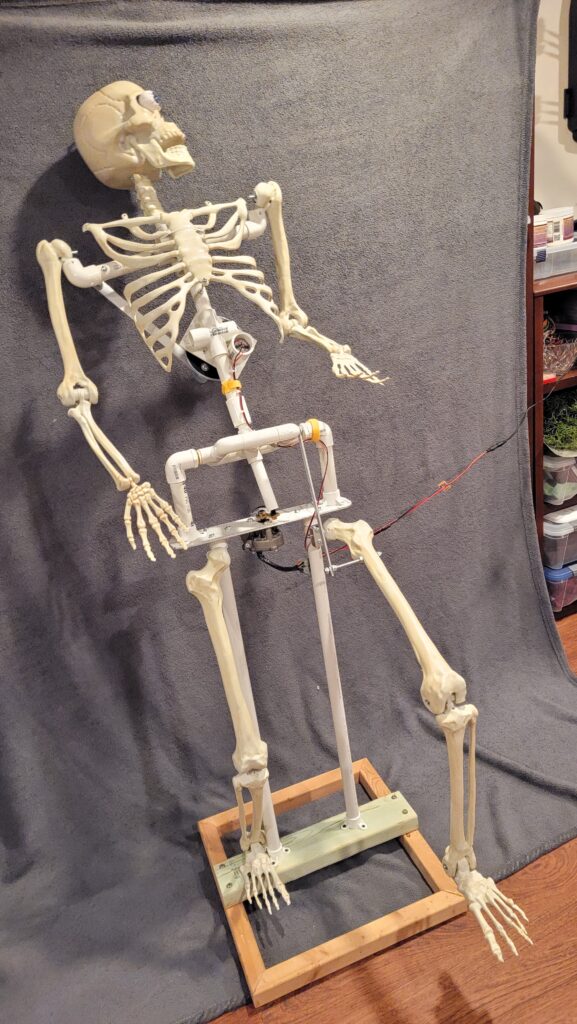
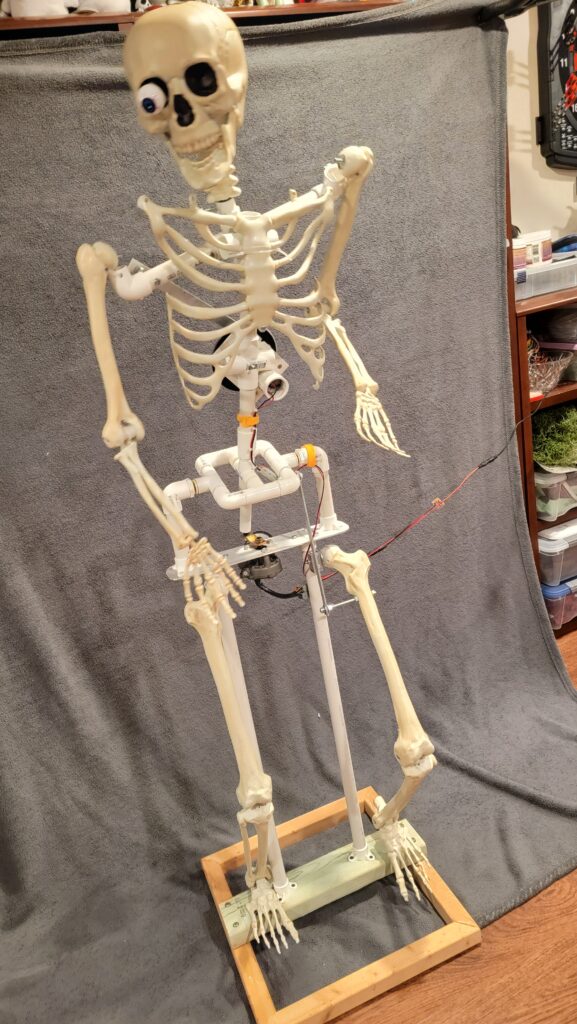
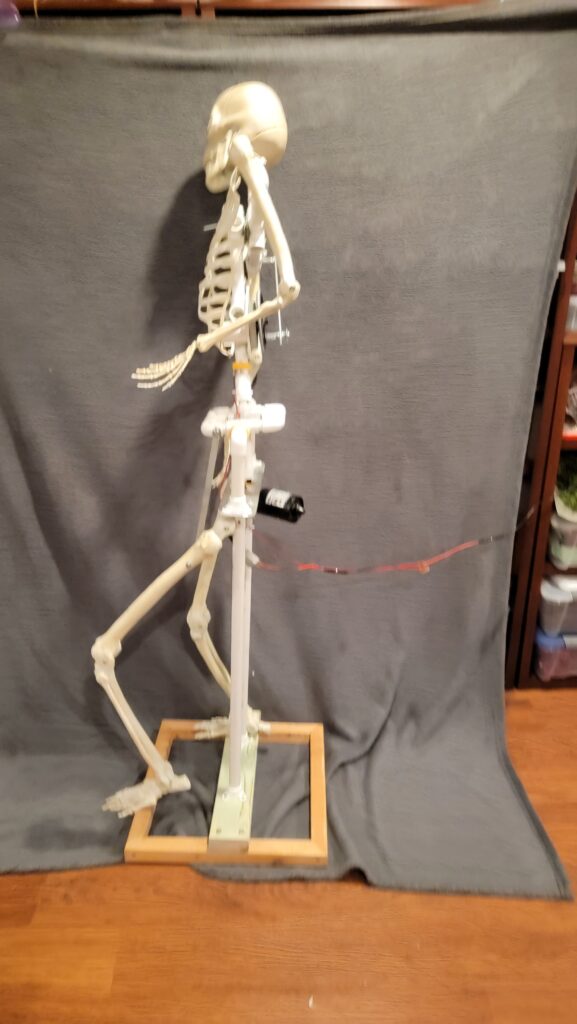
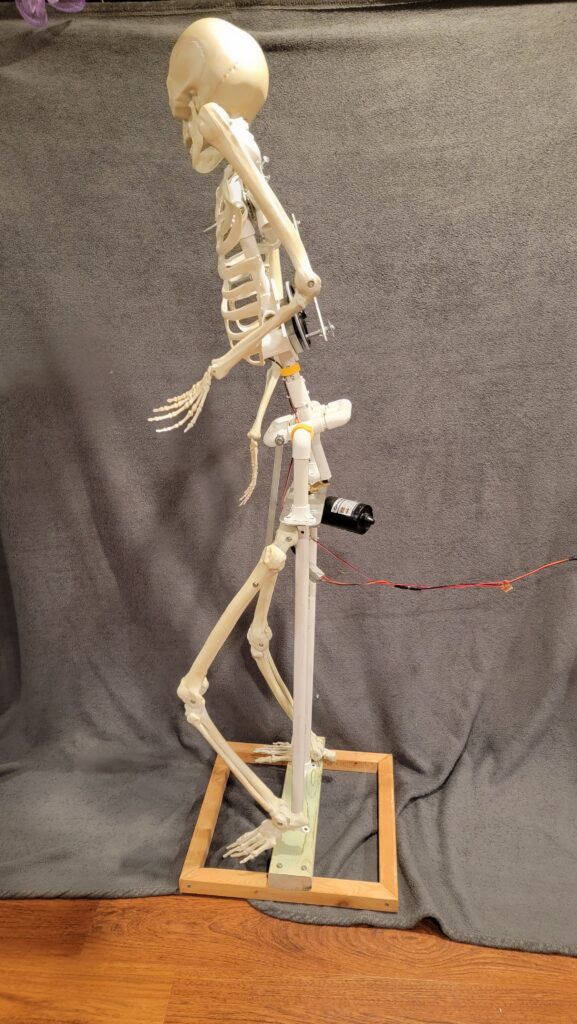
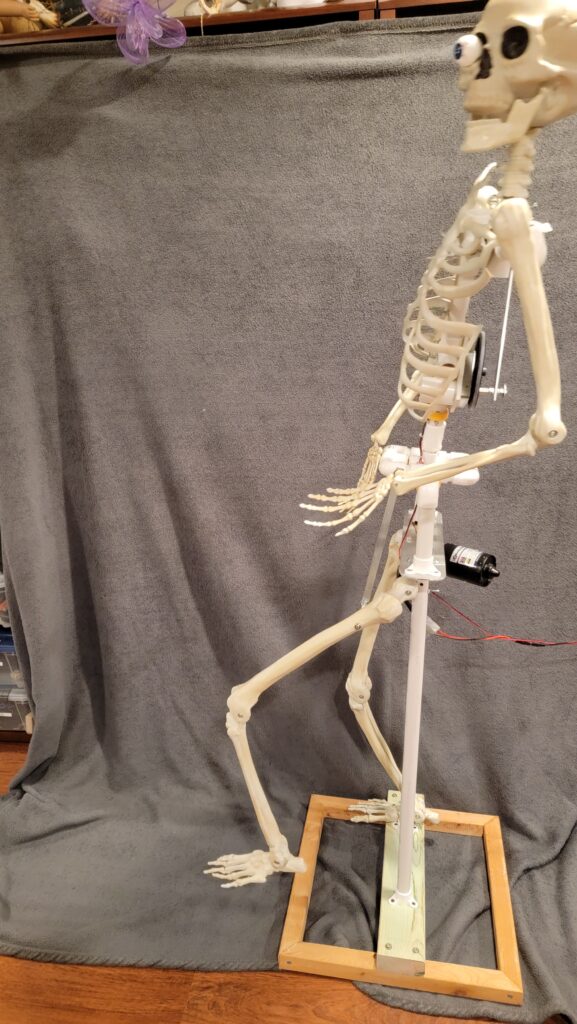
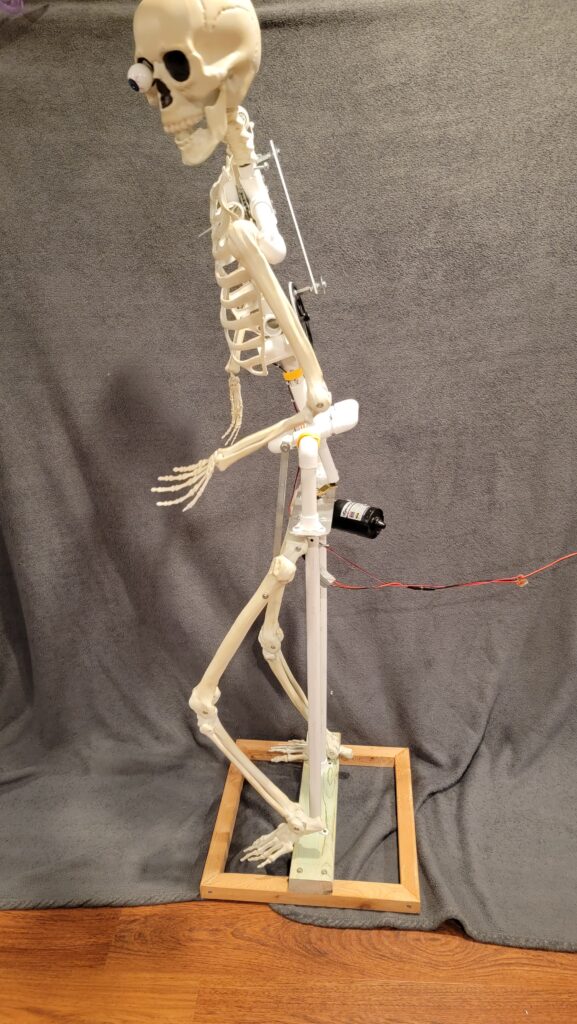
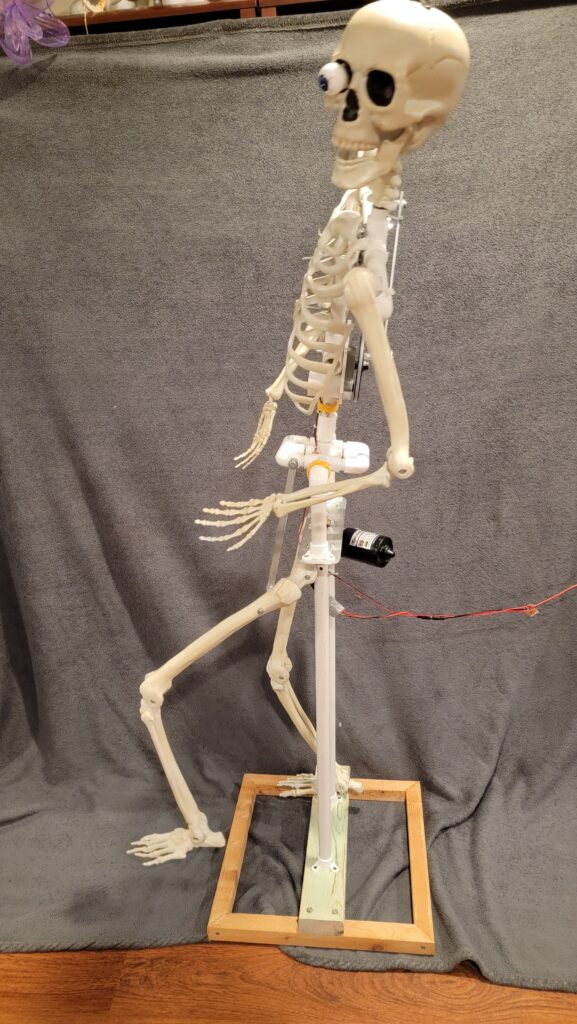
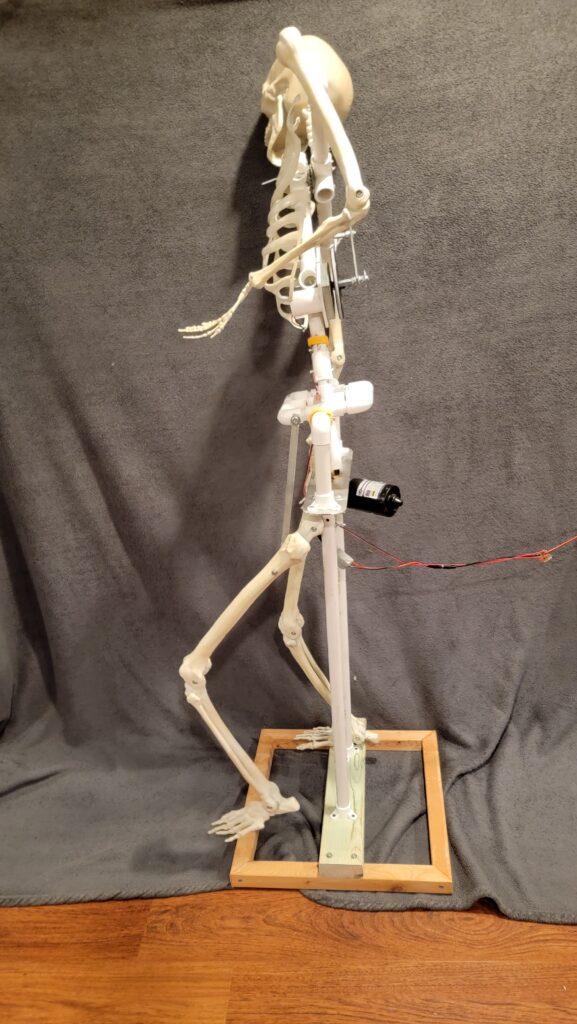
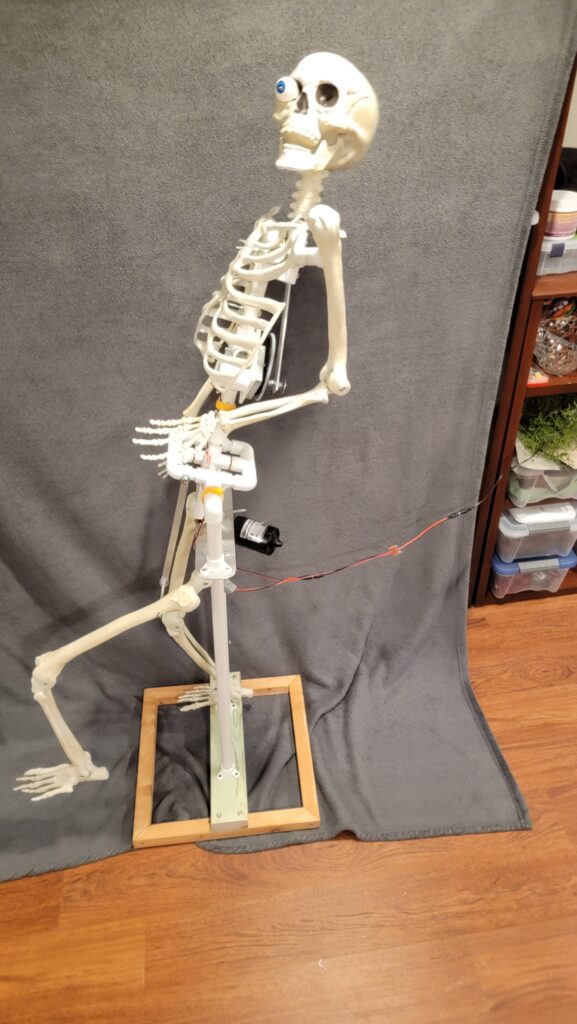
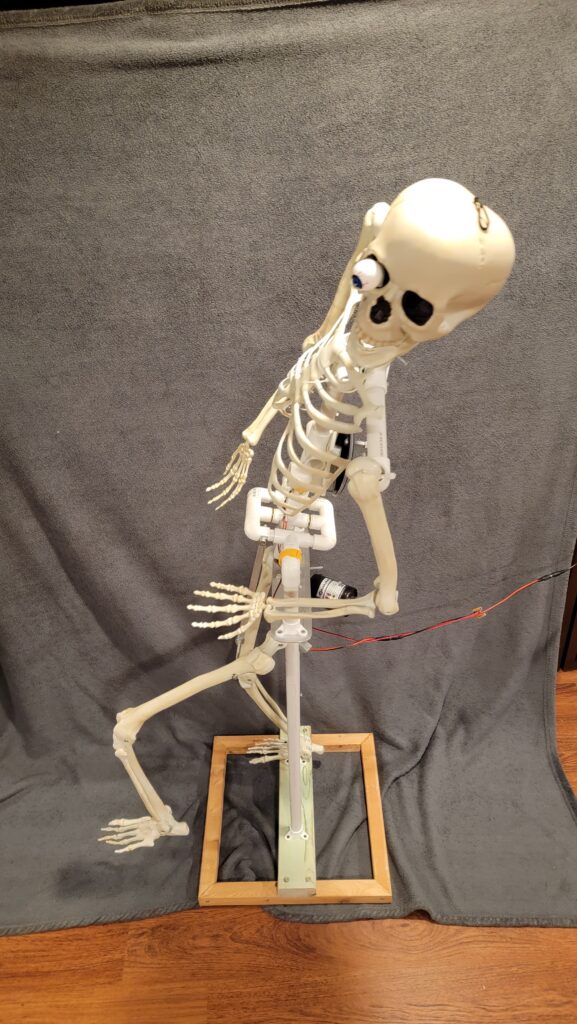
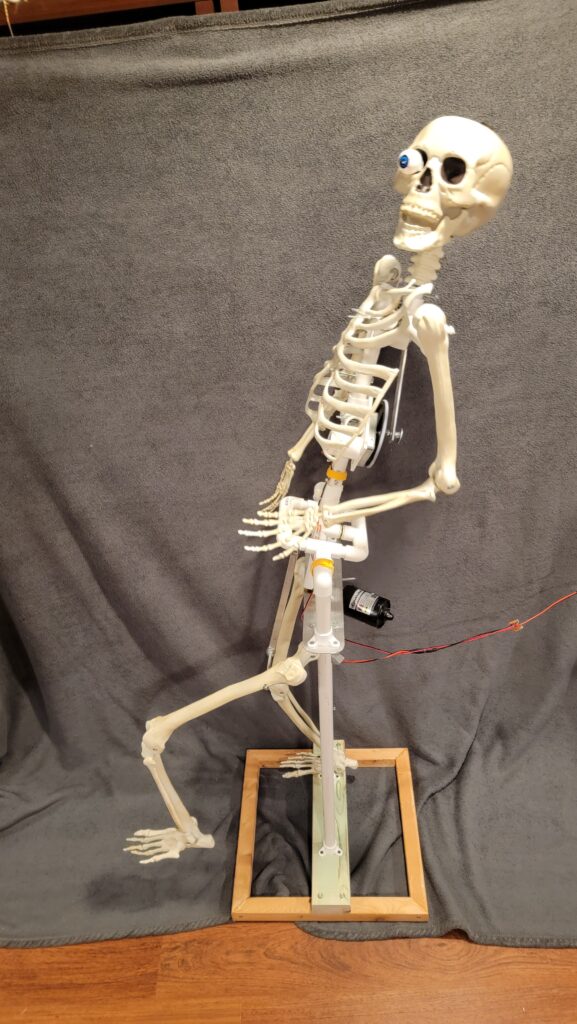
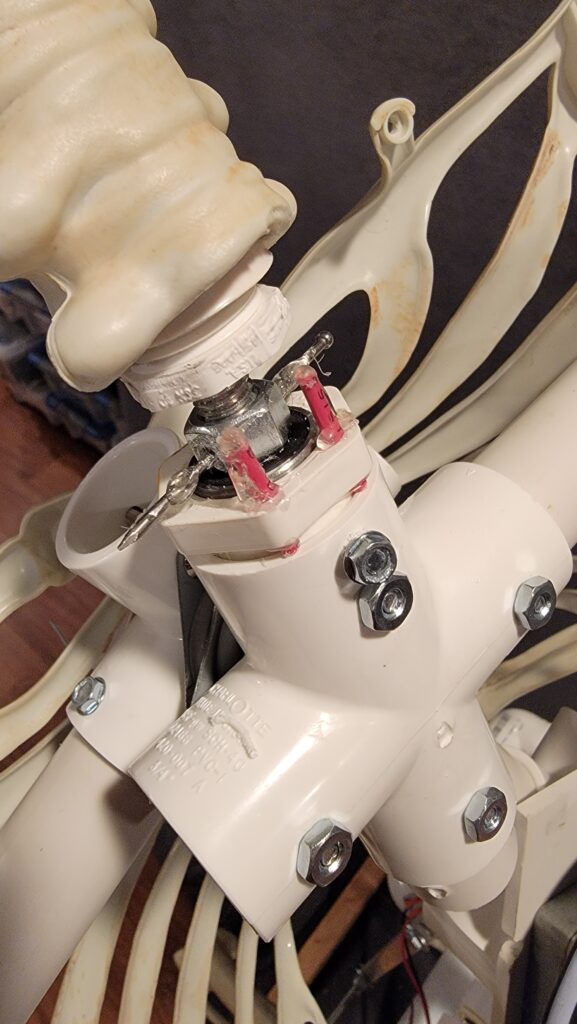
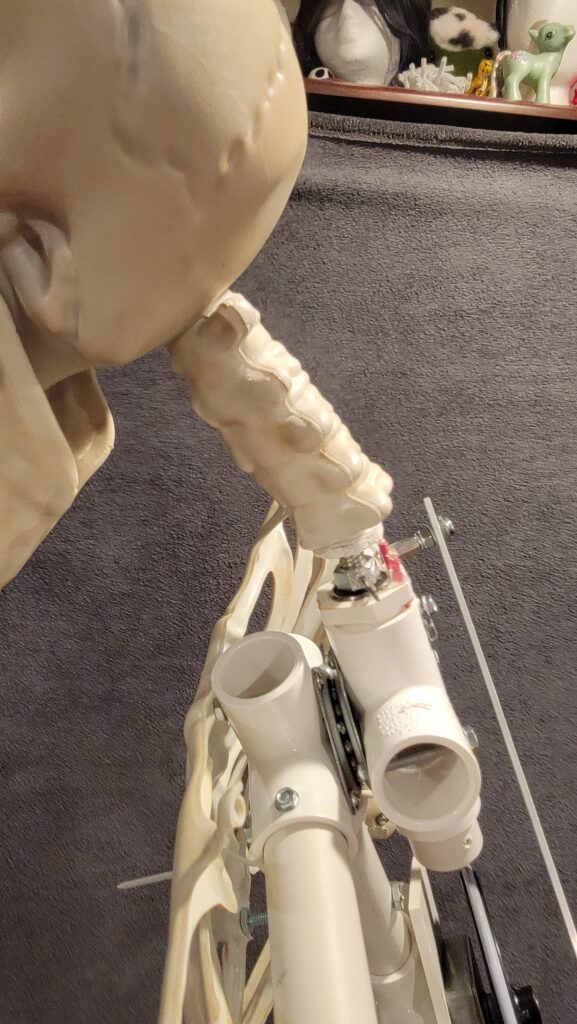
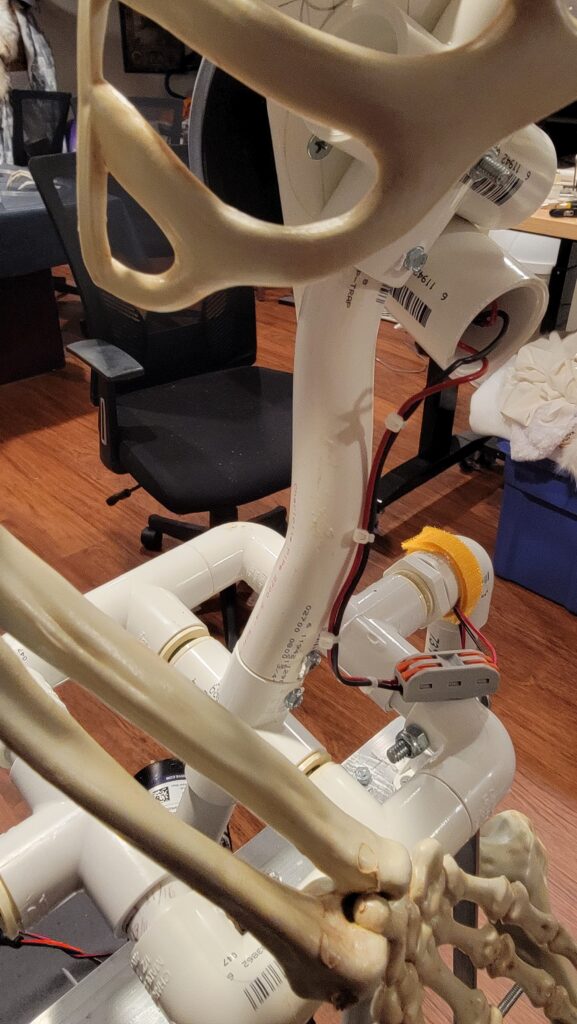
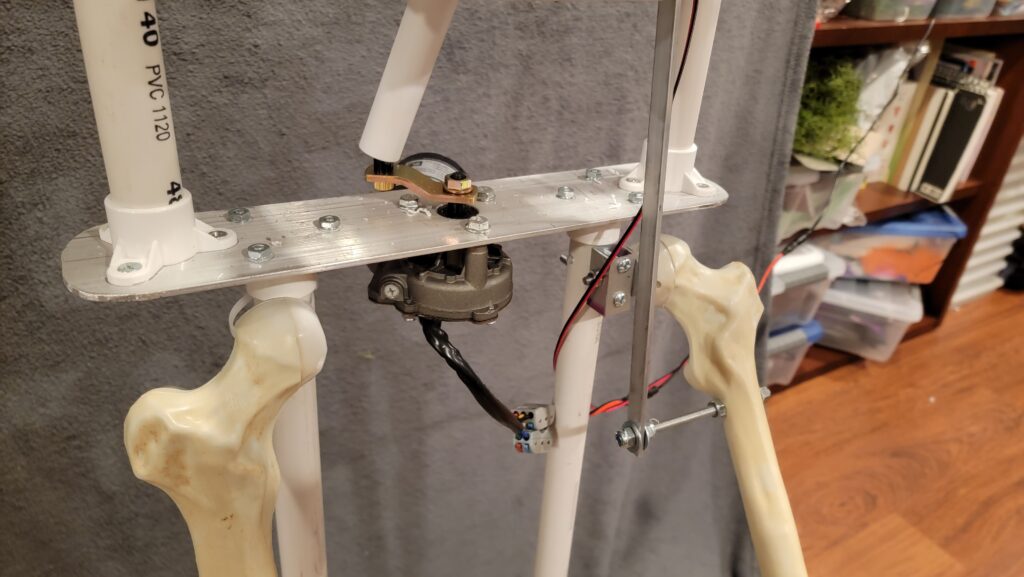
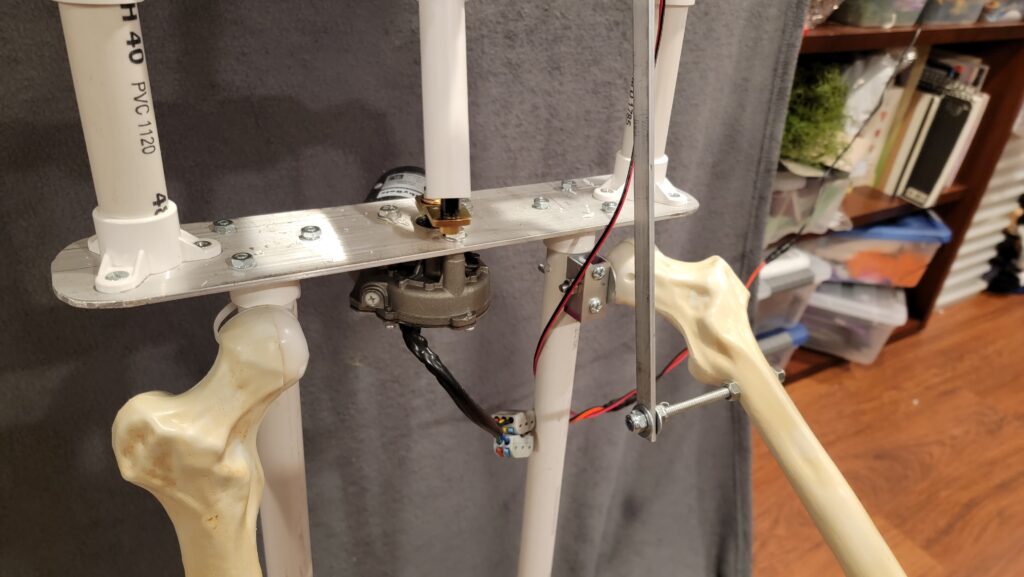
We put this initial effort out into the world for feedback. Everyone said he looked like a drunken pirate. Well…not everyone. Someone said he looked the way that Elaine dances on Seinfeld. Definitely not what we were going for…
Phase 2: We smack him with the Sinister Stick
New hands, a little more curvature in the spine, we start to box in the shoulder motor, and most importantly, he gets a facelift: New features and a freely-moving jaw…
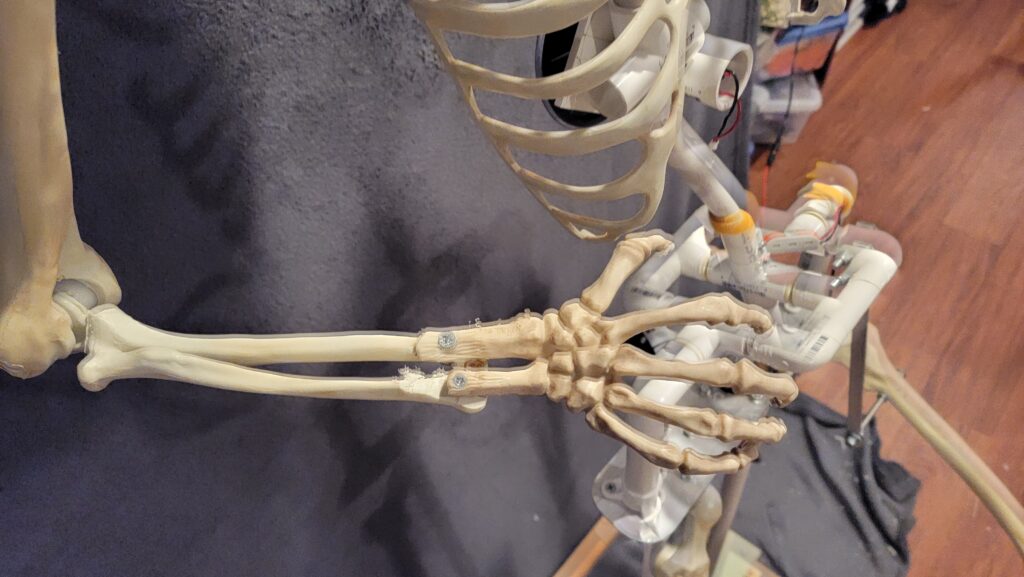
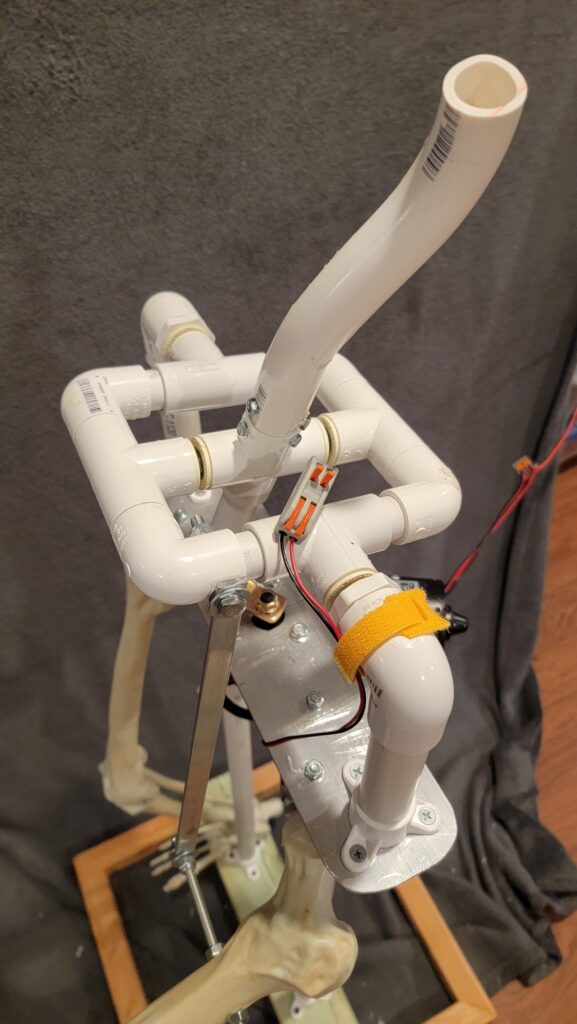
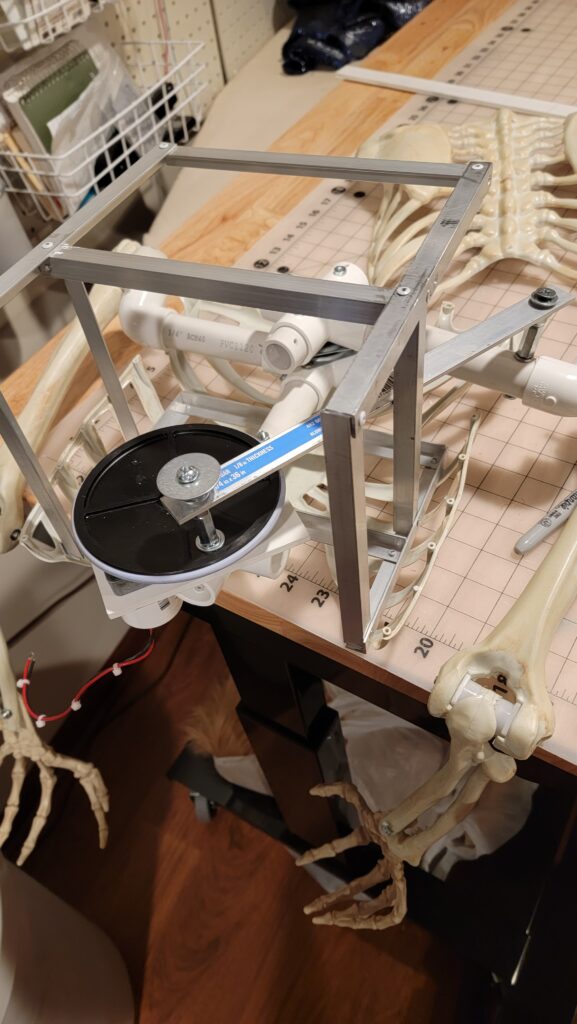
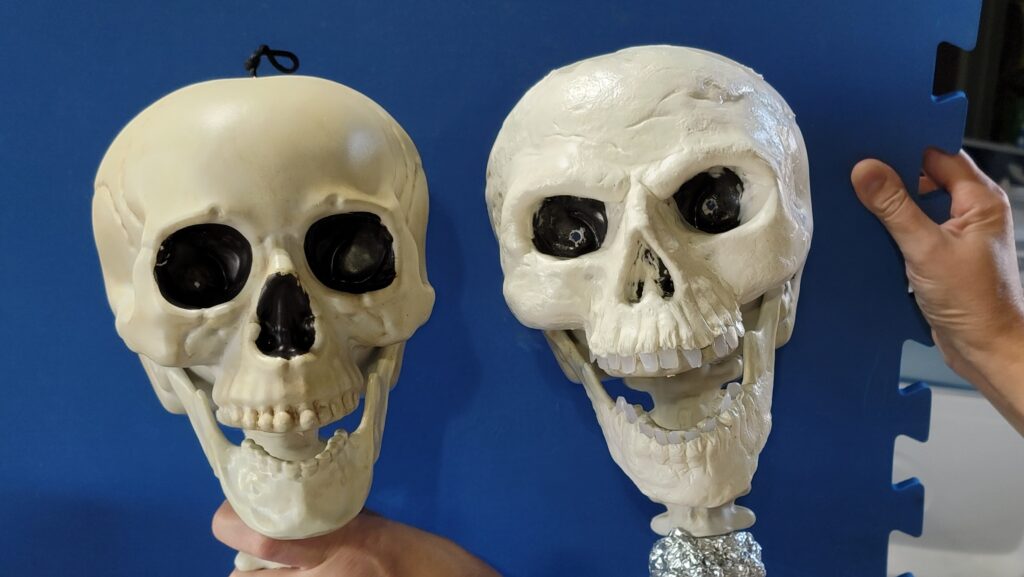
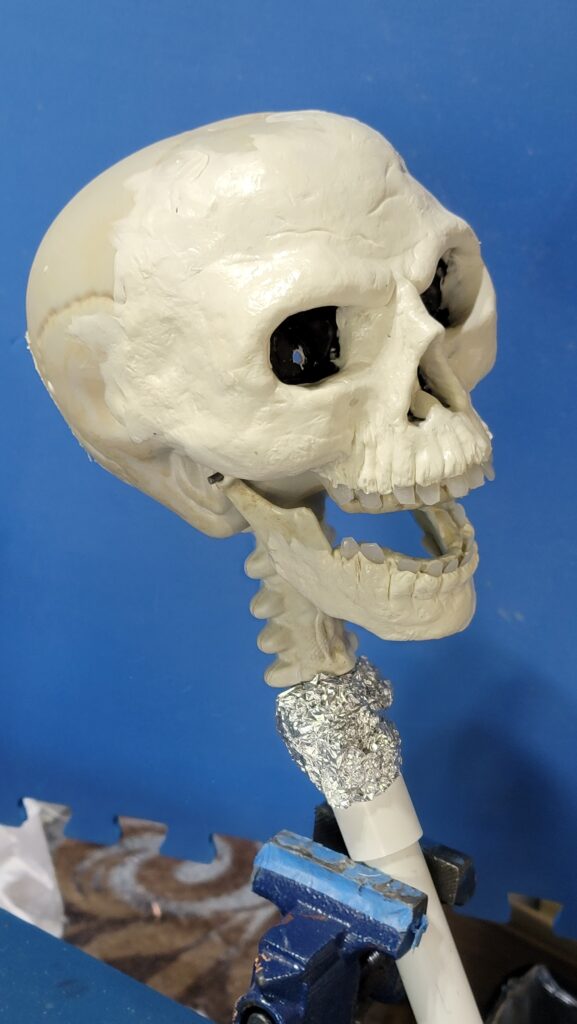
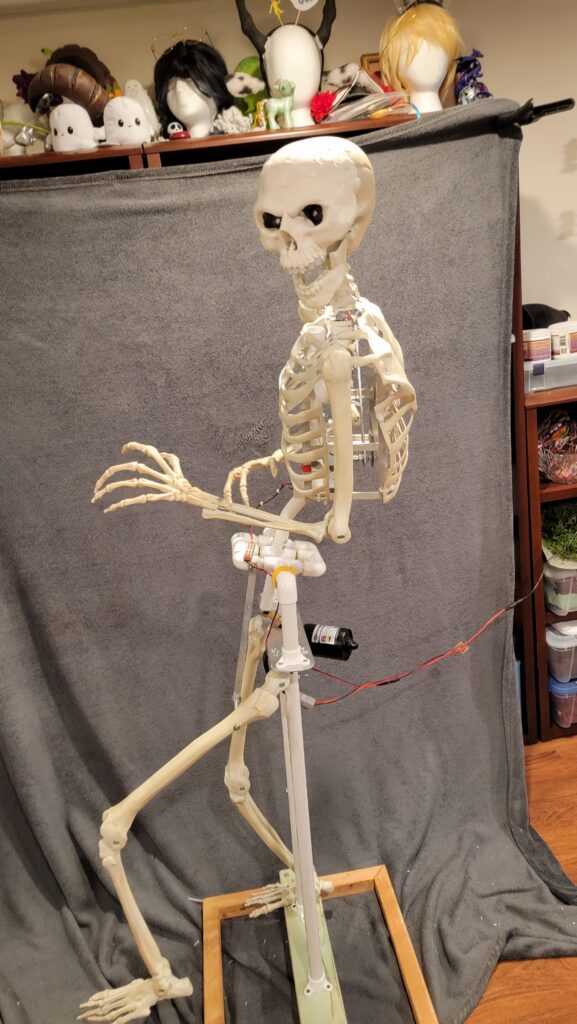
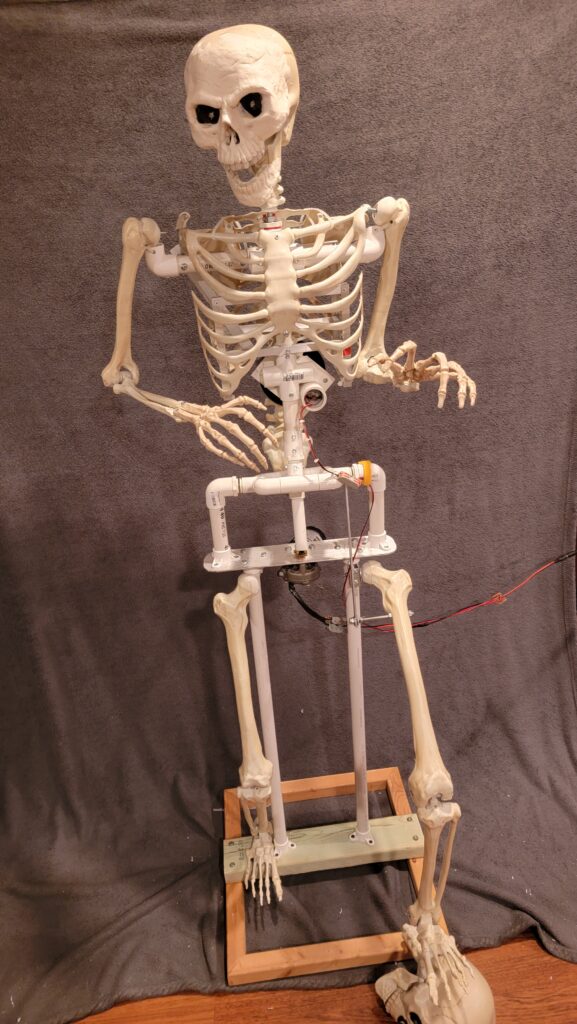
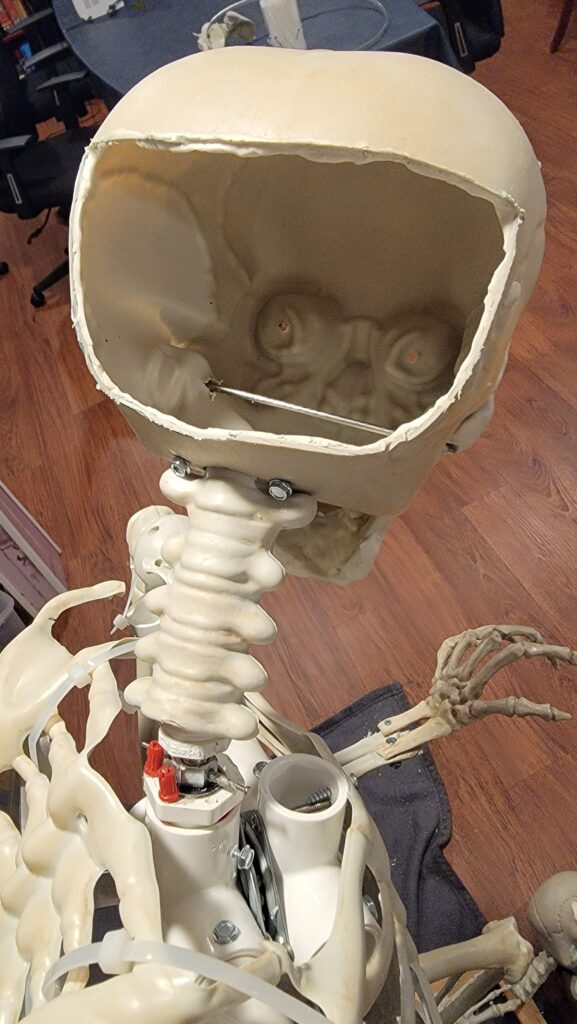
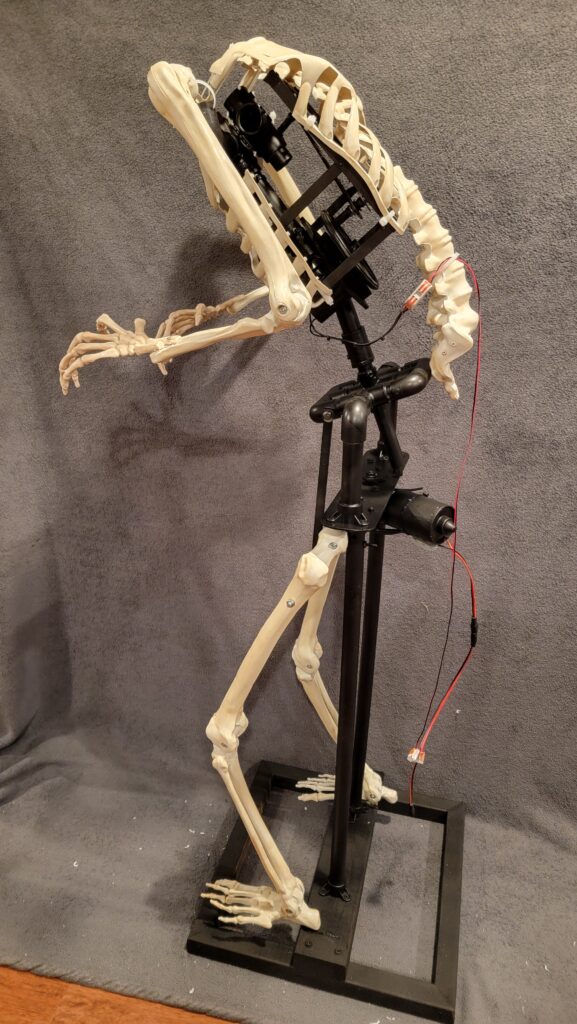
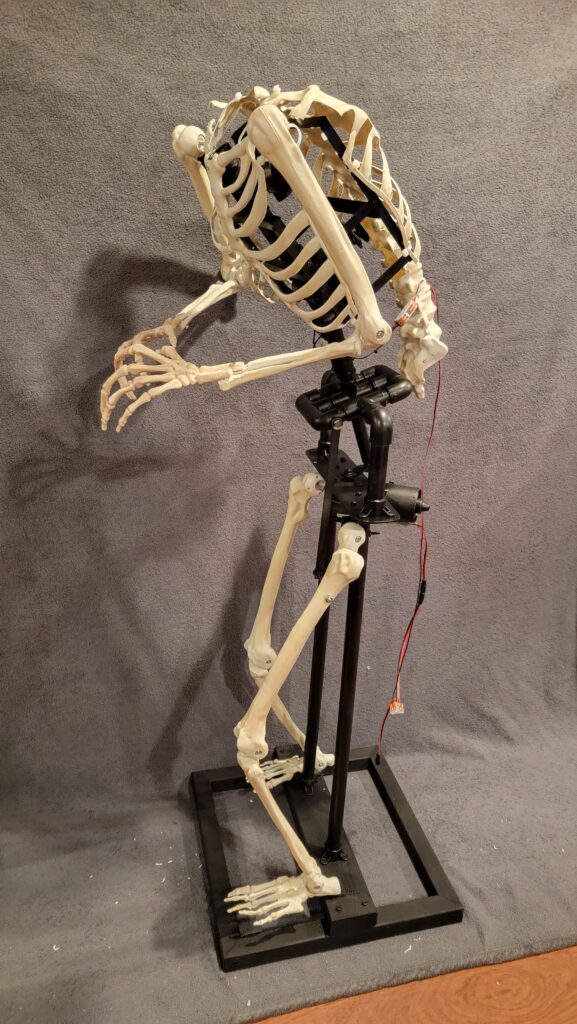
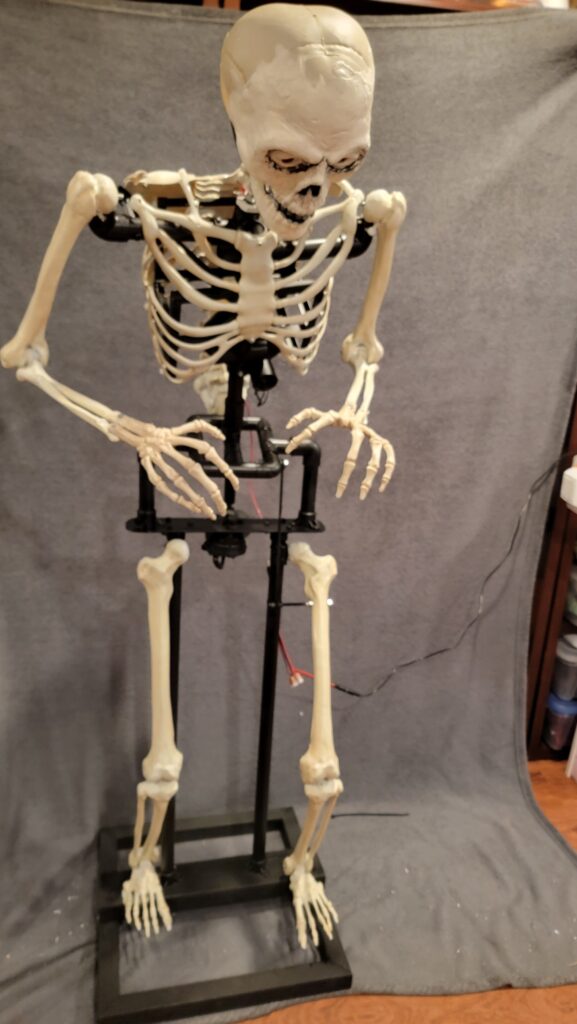
Better, but he’s leaning too far back. The curvature of the spine needs to tilt more forward… Finally, after a lot of experimenting, we decided to lock in the design. Time to replace all the dry-fit PVC with glue…
Phase 3: Let’s get sticky with it…
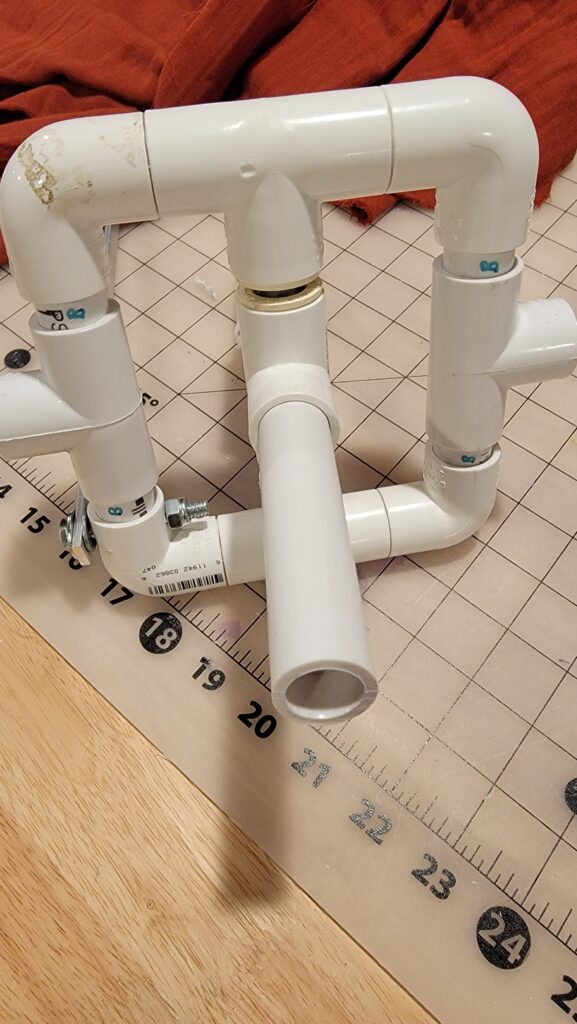
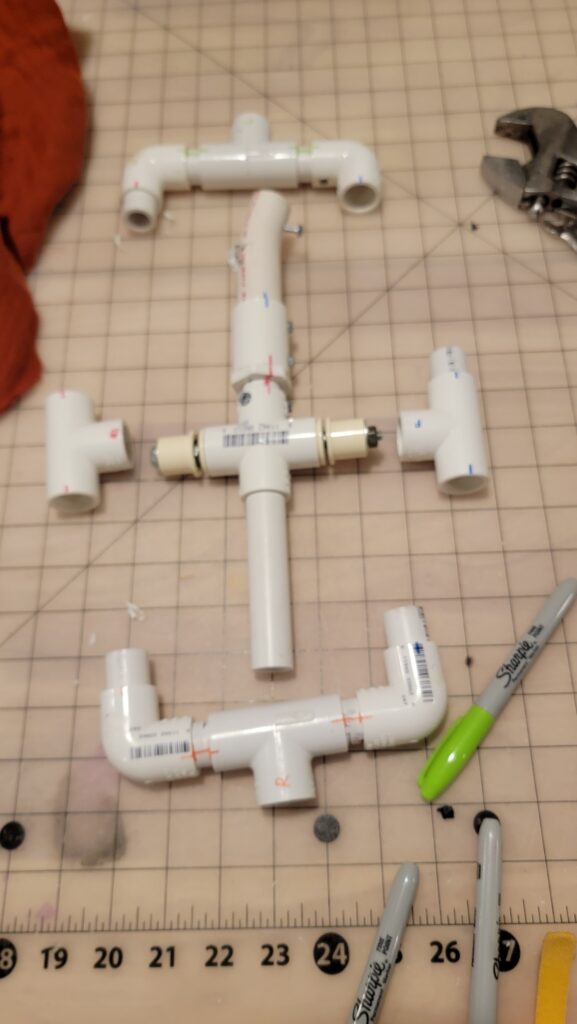
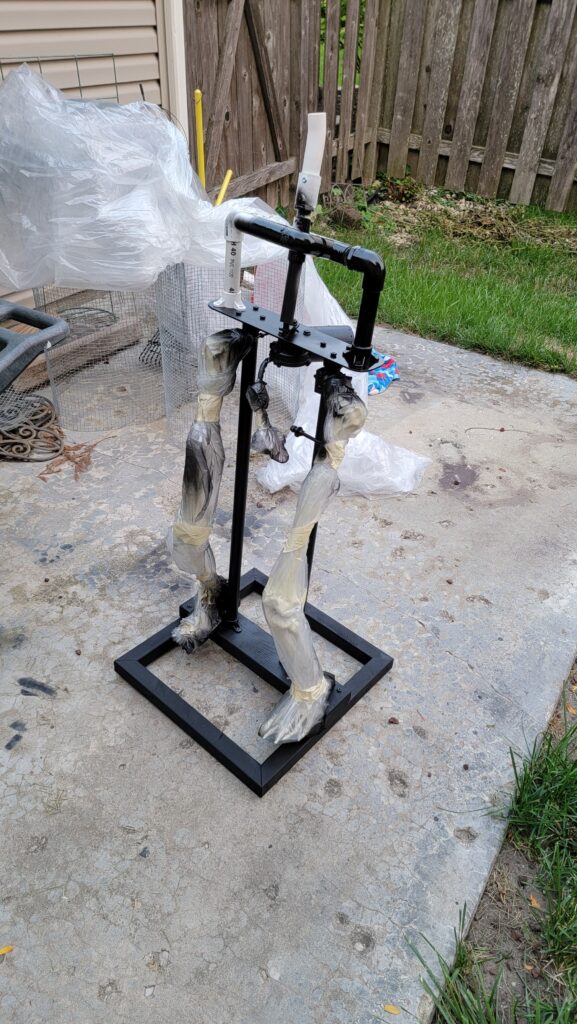
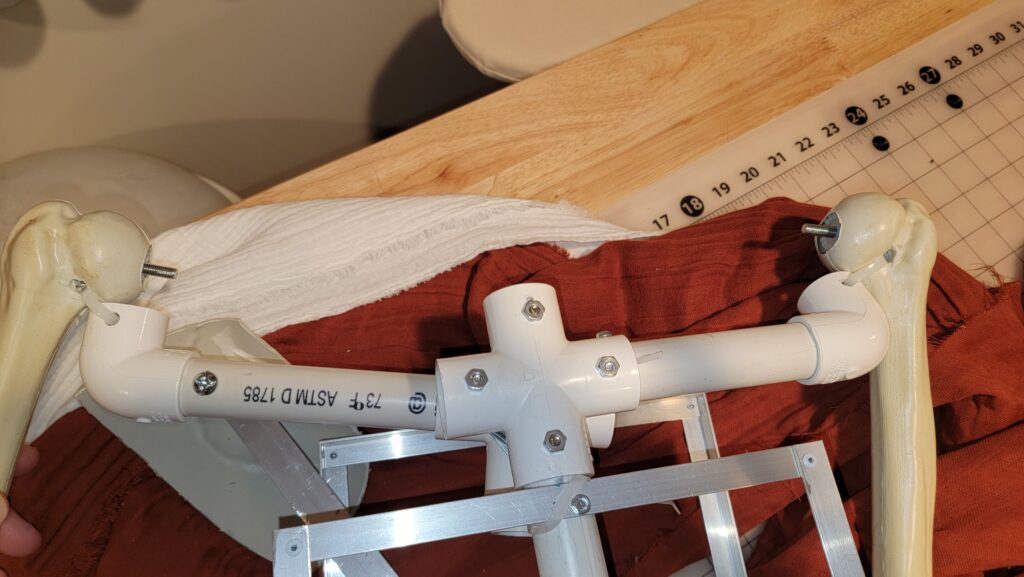
Here we glue all the connections, and paint anything that isn’t his bones…
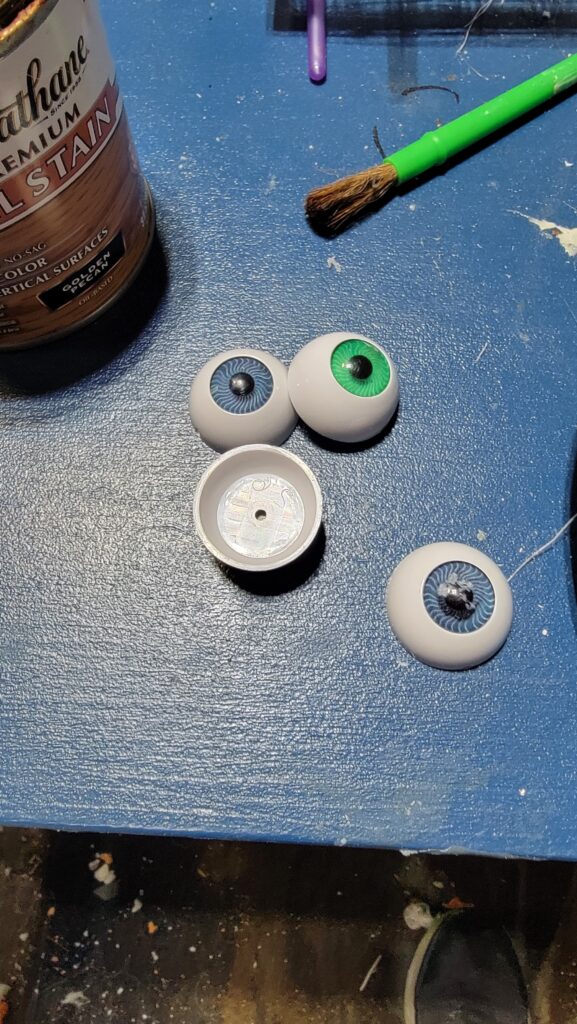
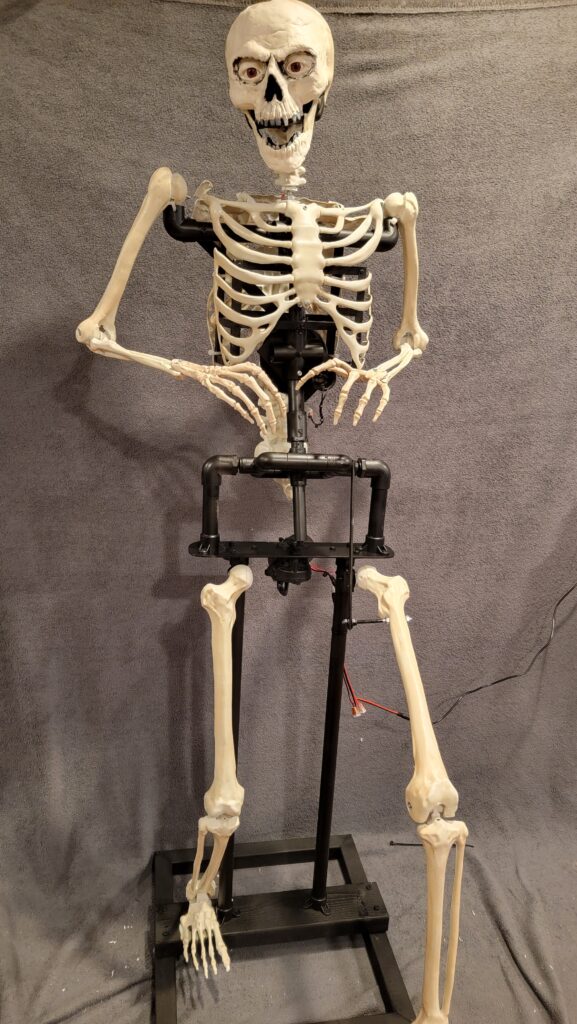
Phase 4: Lighting the Eyes
He needs to work a little better. And then he needs to get dressed.
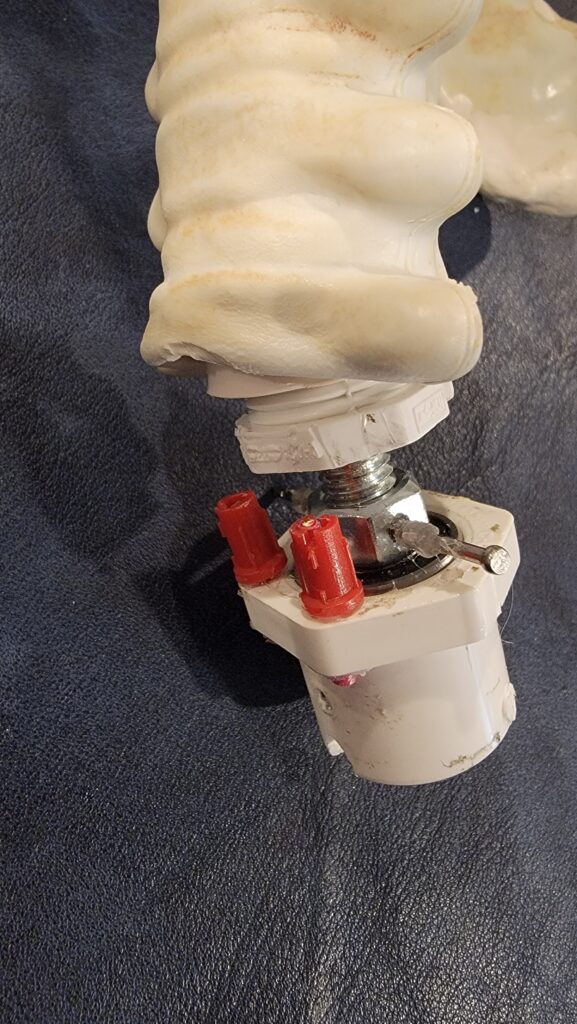
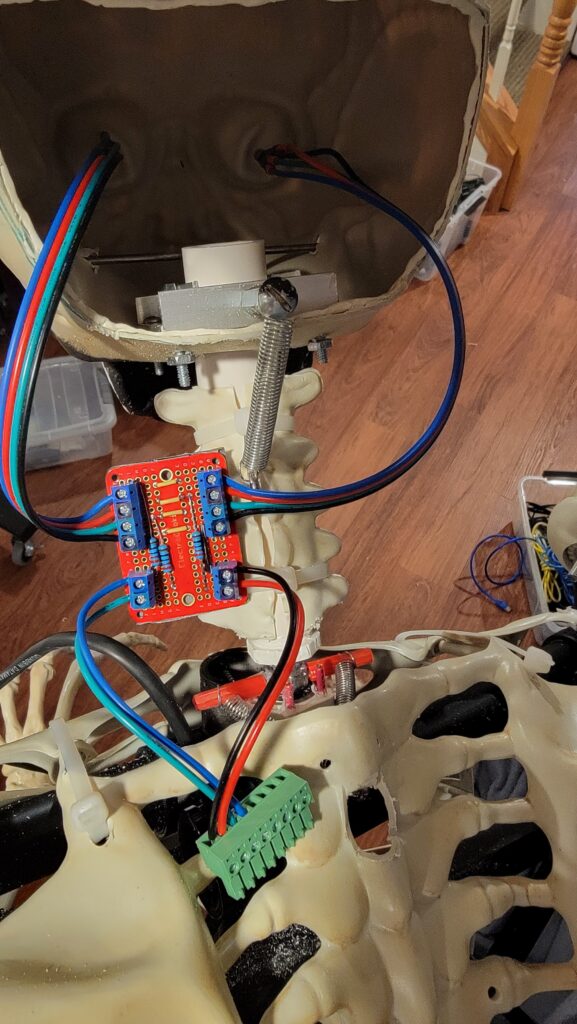
Honestly, he’s still a work in progress. The head movement side-to-side is too violent. I need to dampen it. Probably with springs. I’d like him to look up a little more. Probably should give his head some tilt capability.
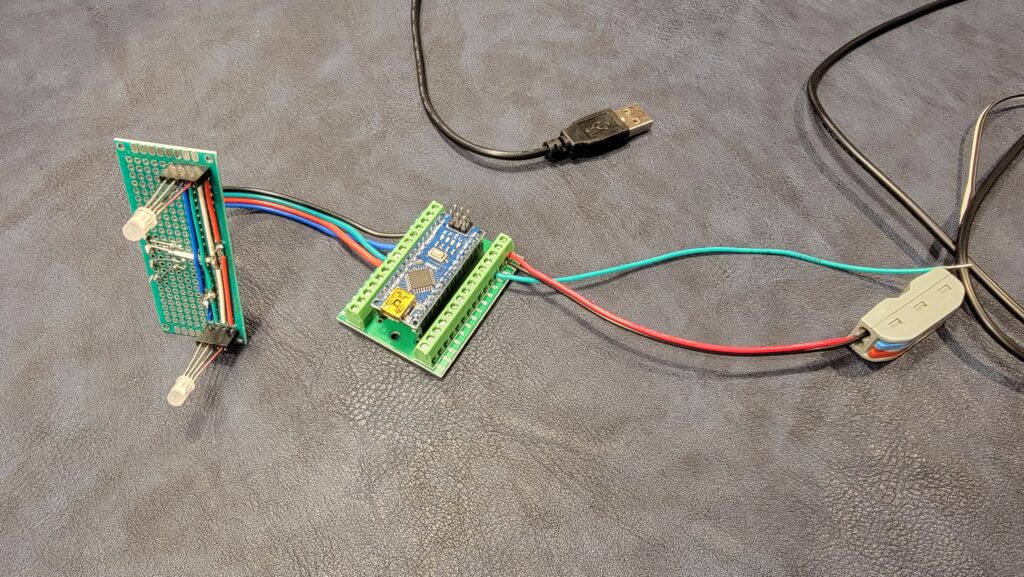
And it’s probably time to choose some lighting for the eyes (see RGB LED eyes for the electronics) and the arduino code that drives them.
We found the eyes on Amazon here: Amazon.com: Lurrose 8PCs Halloween Scary Eyes, 4Pair Hollow Plastic Eyeballs Halloween Skeleton Eyeballs for Halloween Party Props Costume Supplies : Toys & Games
Rebecca sculpted the eyelids inside the skull eye sockets with the plastic clay.

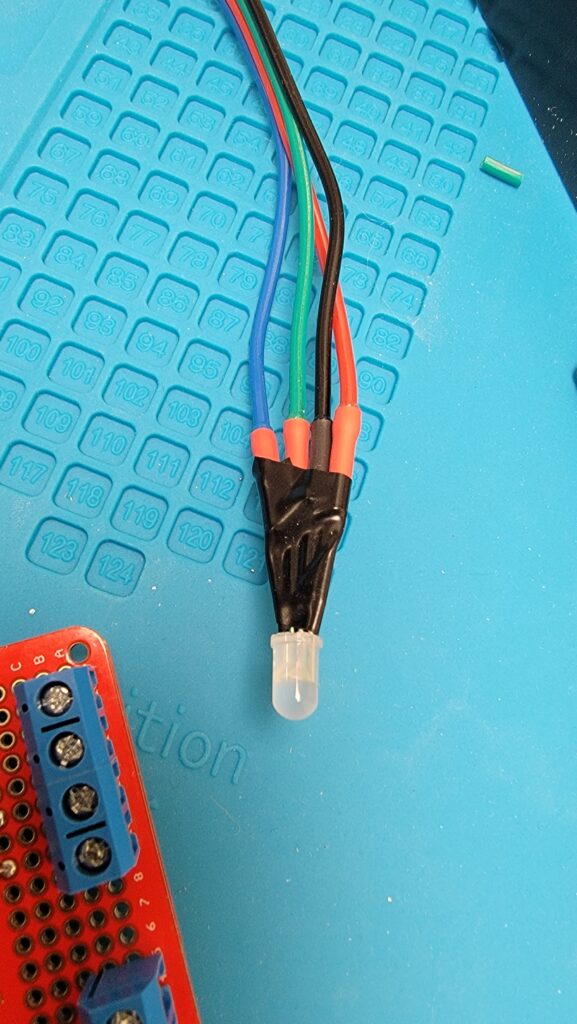
Phase 5: Time to Add the Detail
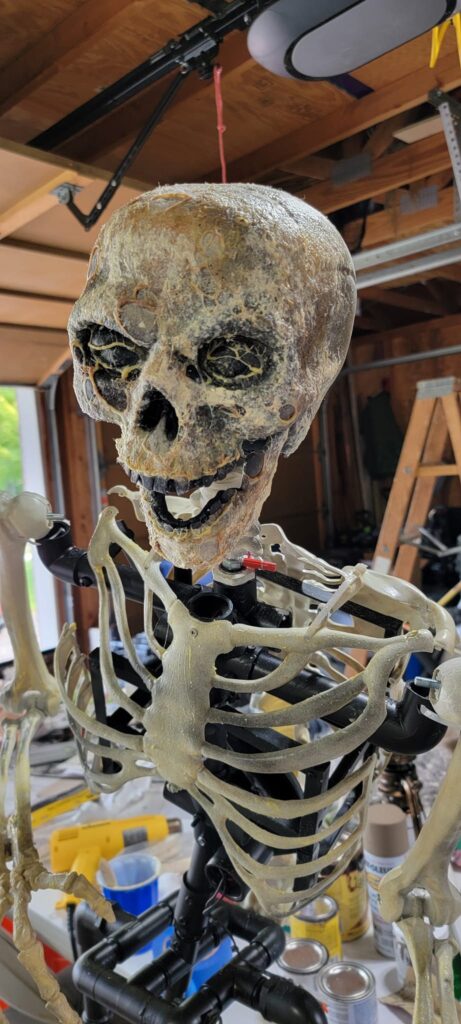
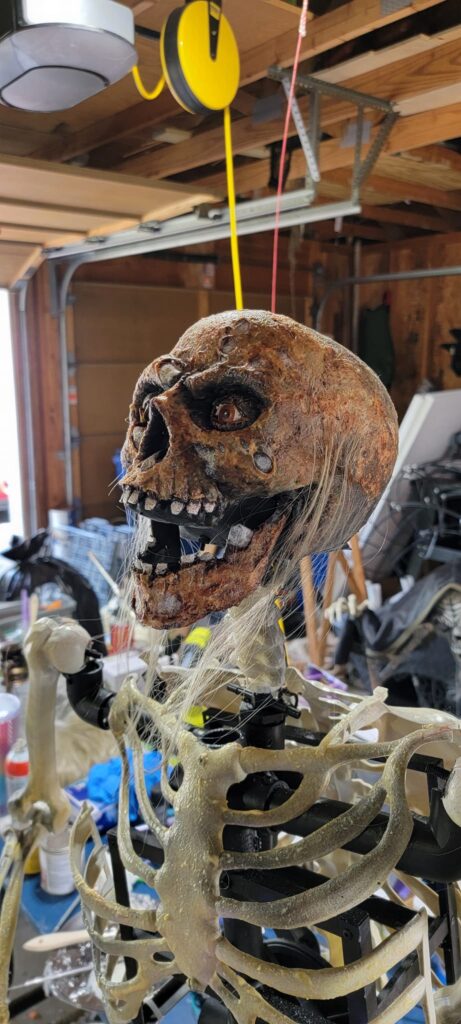
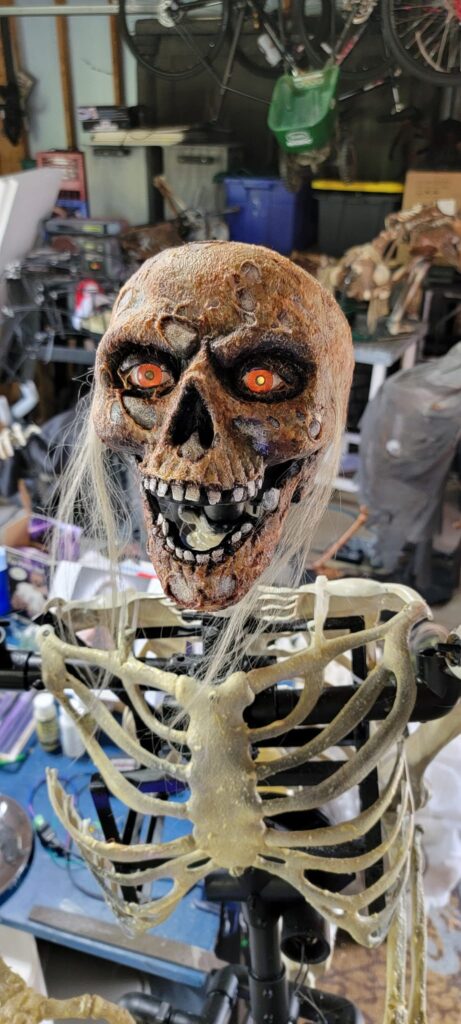
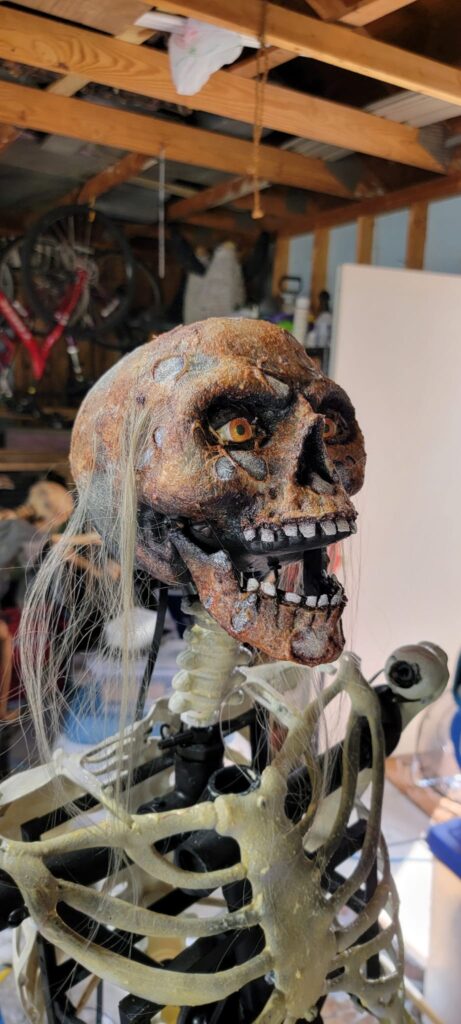
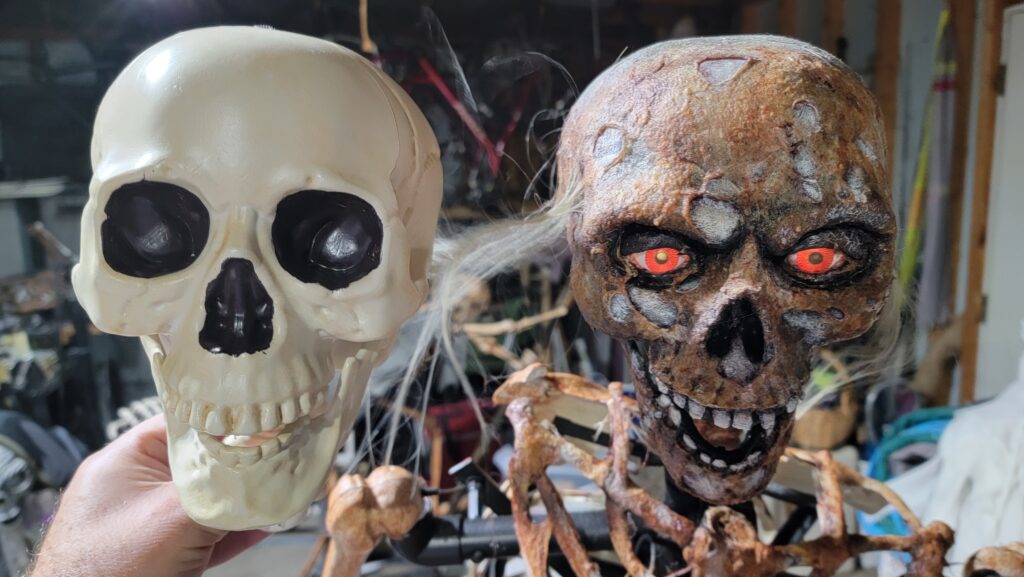
At this point, Rebecca takes over and begins to dress him. She used a corpsing technique she learned by watching the Twigrot Sinister Props corpsing video. She improvised with the color and used liquid latex and not the mask latex he uses in the video. She loves his technique: (3) Episode 2 (Skull Corpsing, detail and hair) – YouTube
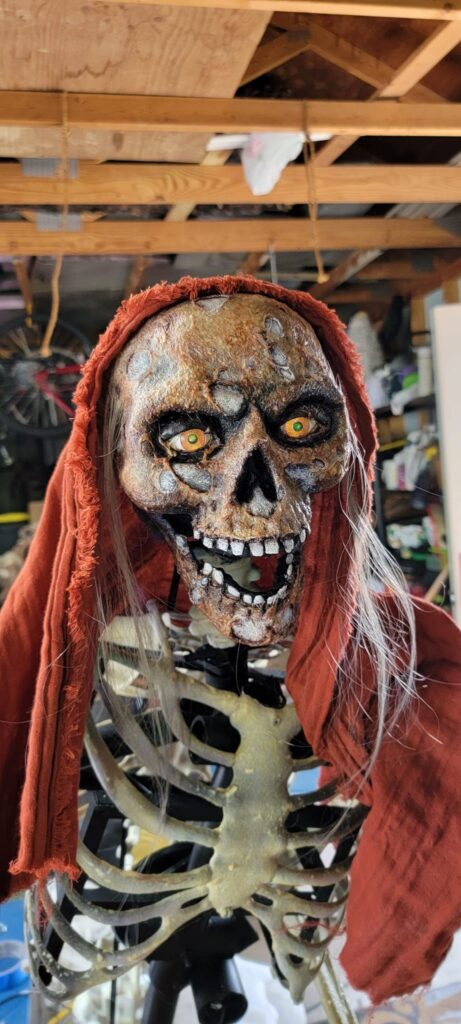
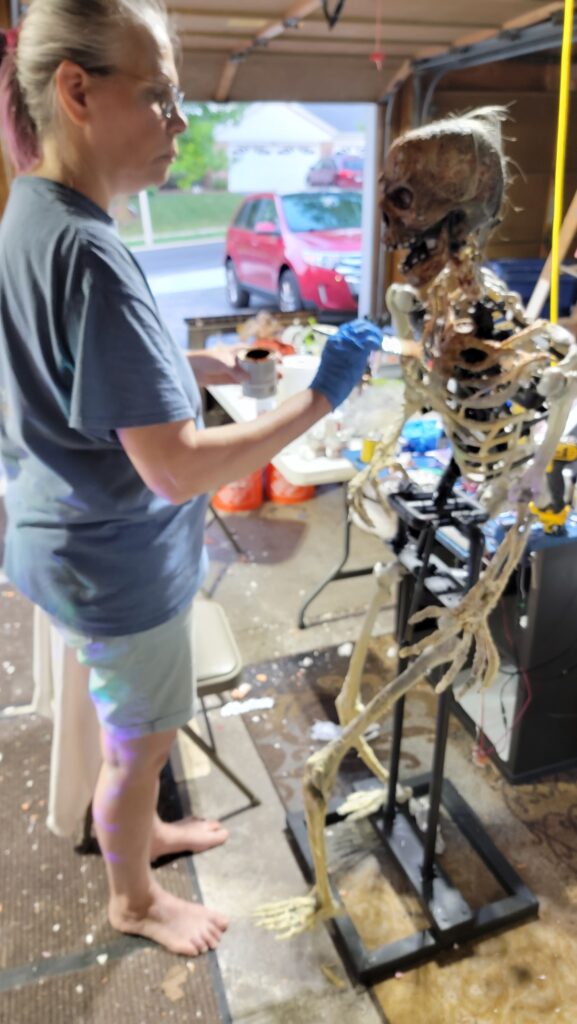
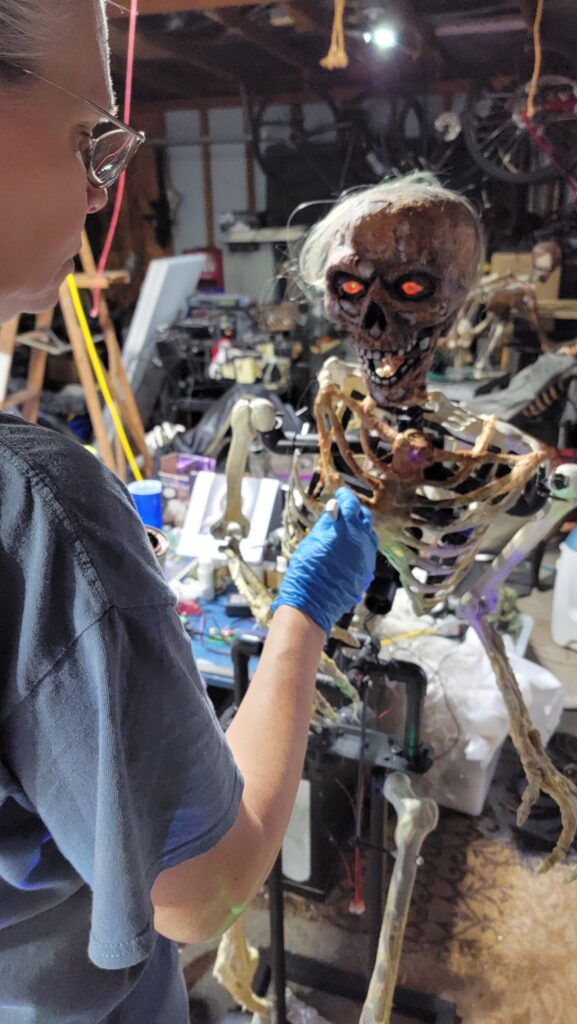
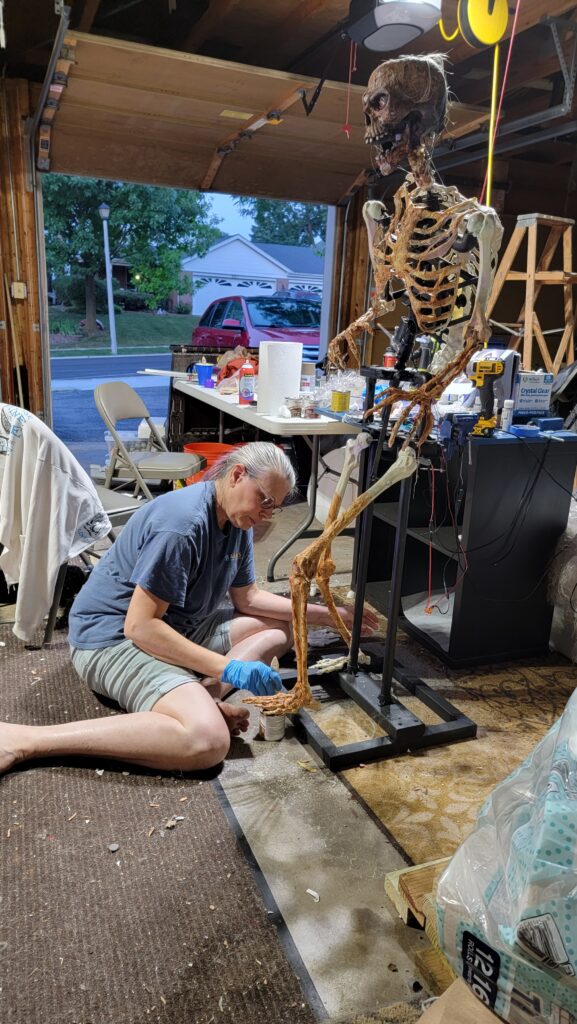
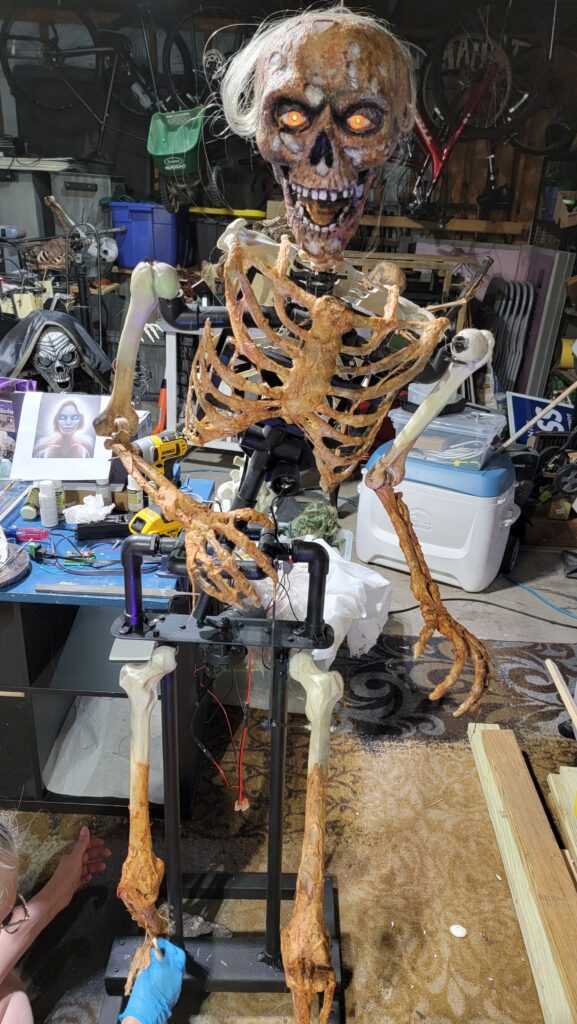
Phase 6: Puttin’ on the Ritz
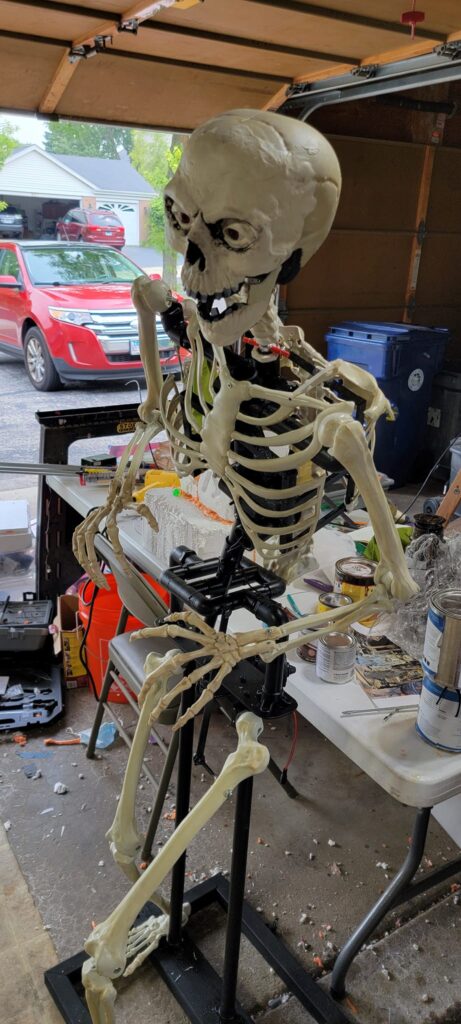
The last modification prior to dressing him up was to fix his right arm in place. He seems a little less zombie that way.
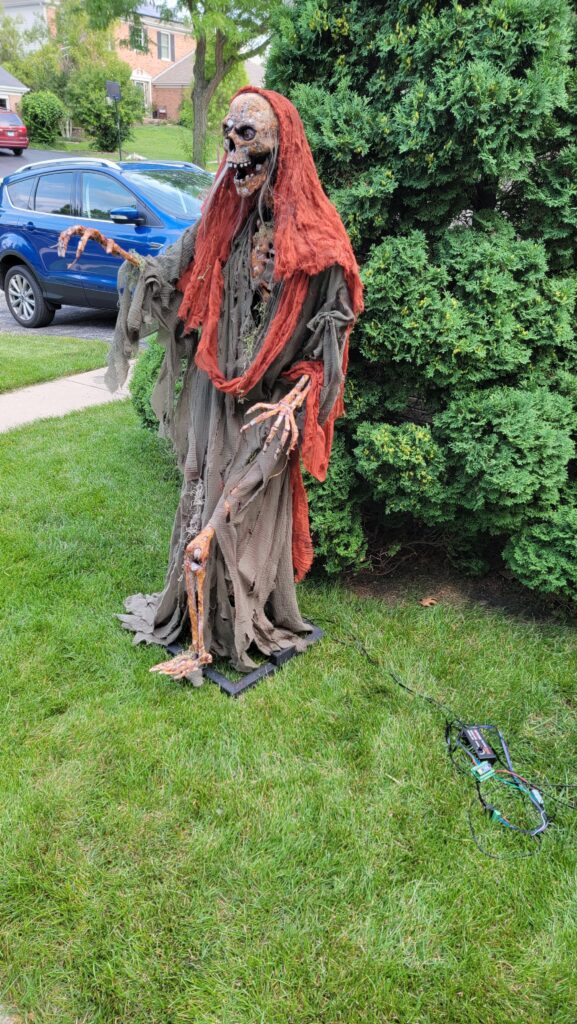
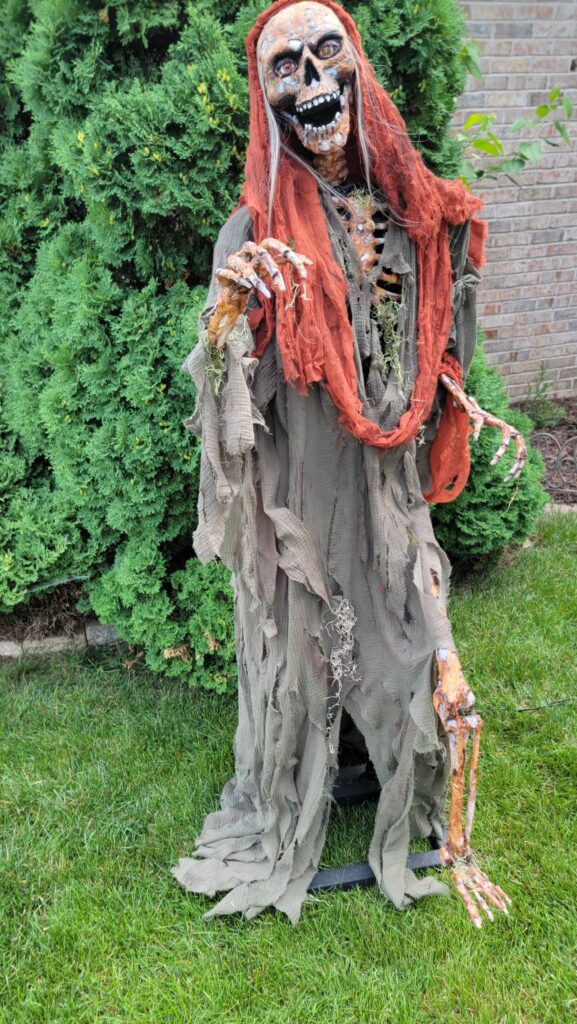
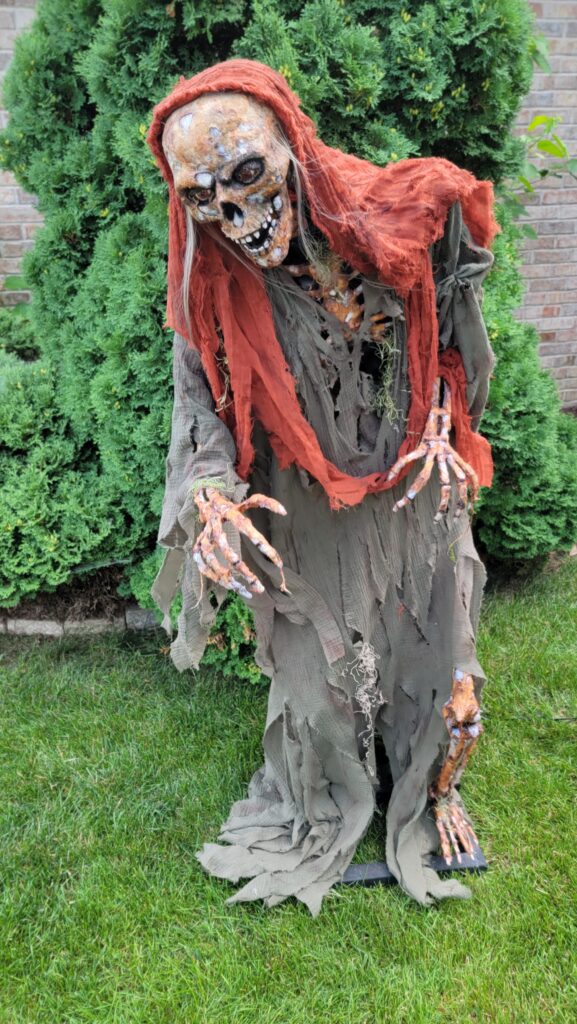




Lastly, a video of the finished product!
Phase 7: Further Evolution
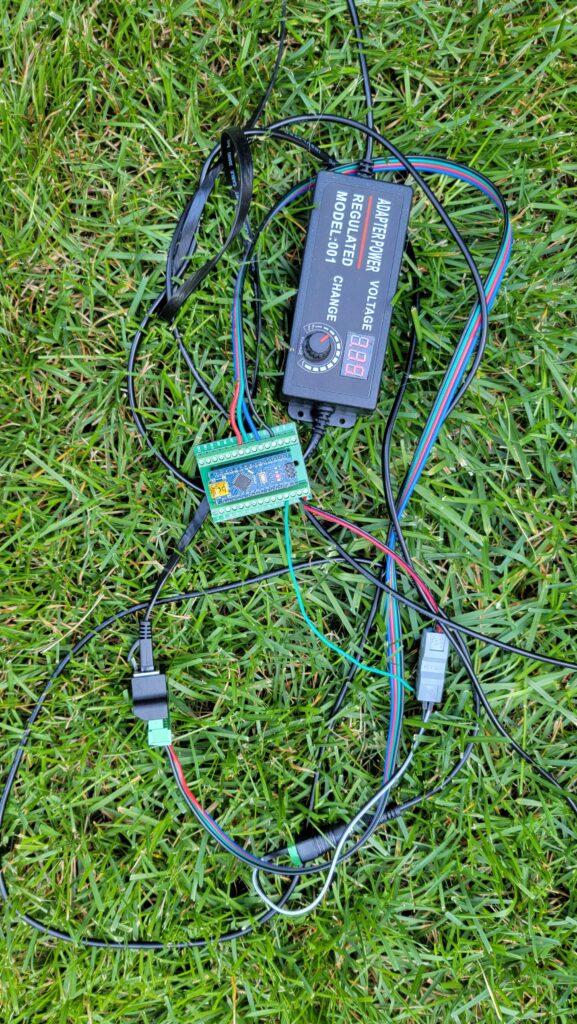
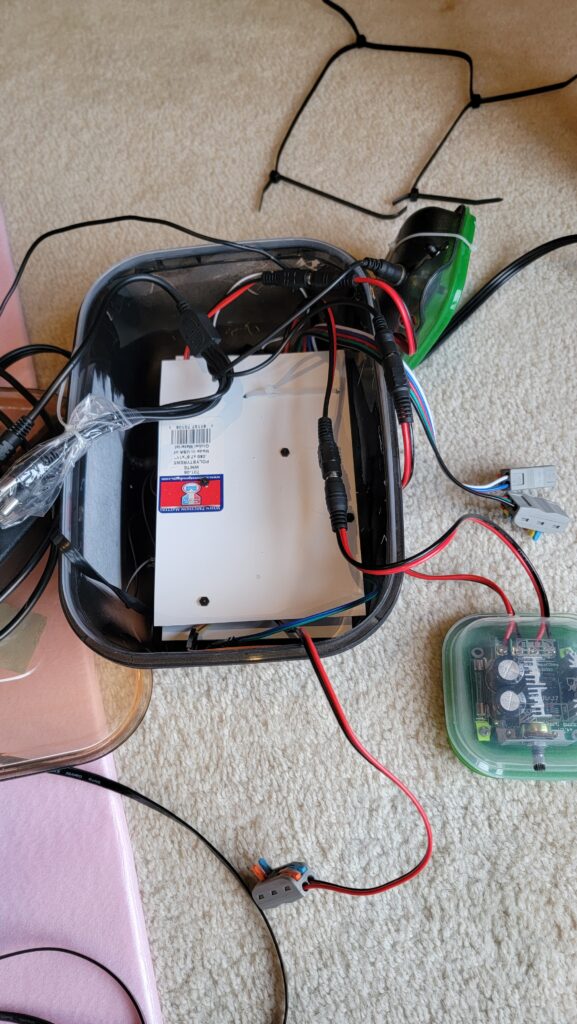
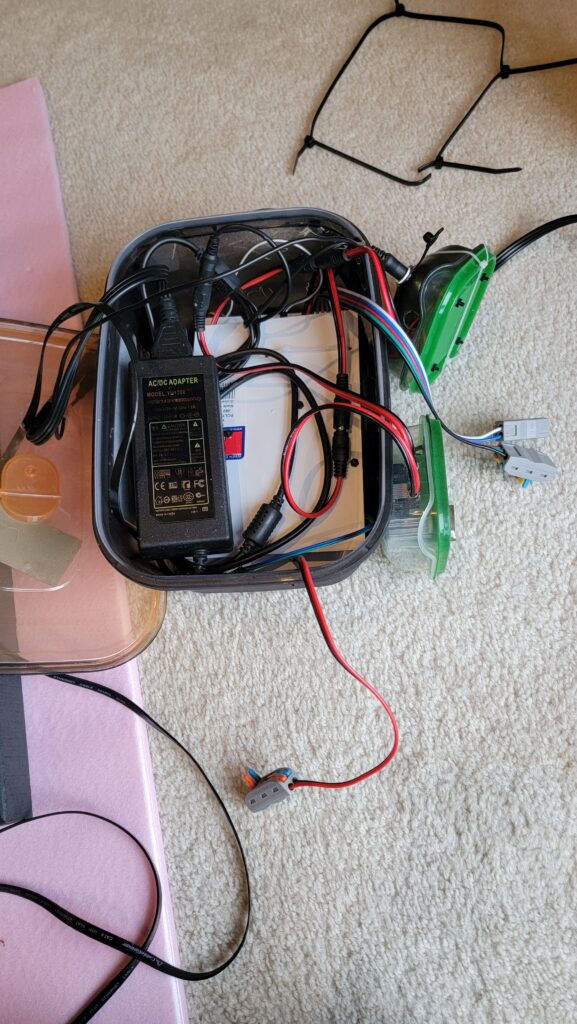
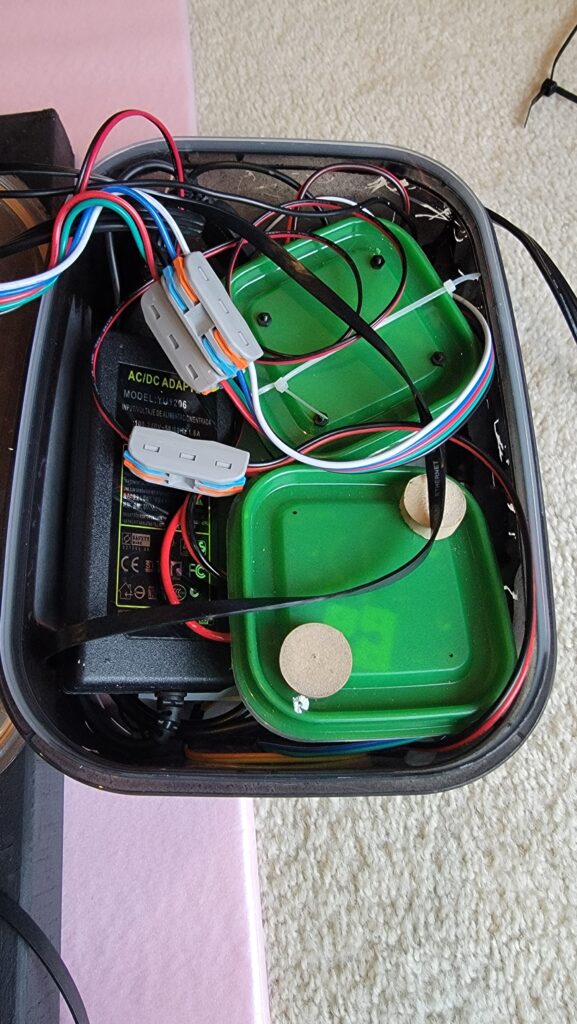
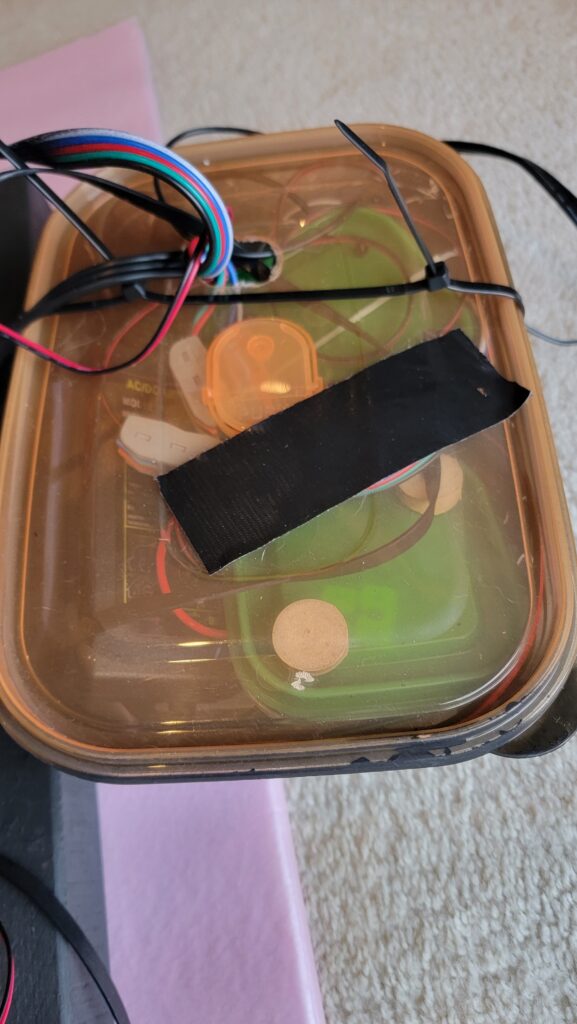
The evolution of Lasher continued after this. We decided he needed to have a voice. So, for the first time we incorporated an audio player into the circuit.
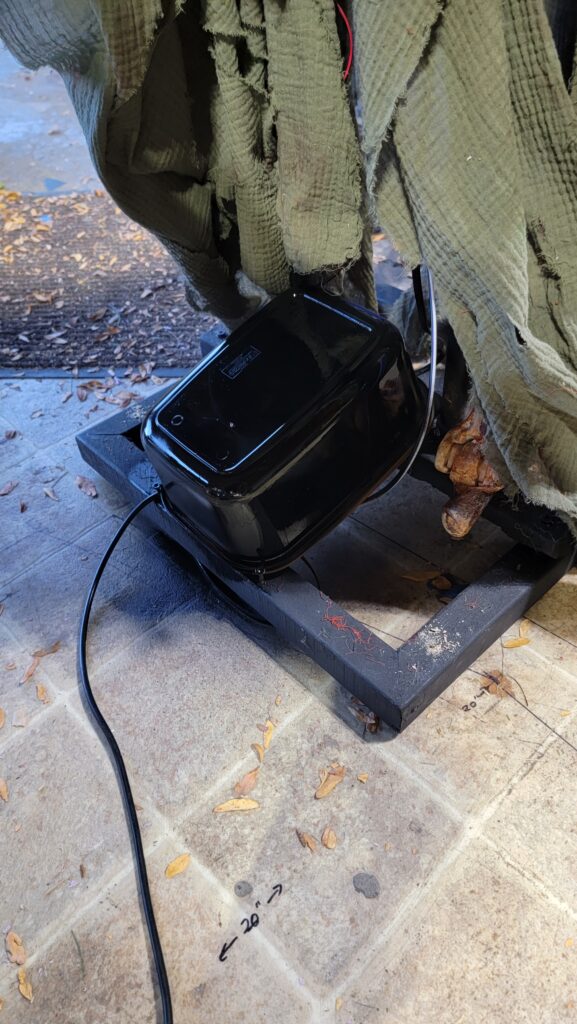
We also put both motors under control of the Arduino as well. This allows us to randomize the movement of each motor independently. The torso motor can start/stop, and the shoulder motor can start/stop/reverse. This increases the uncanny valley of Lasher’s movement and has resulted in a bunch of folks trying to guess how many motors we actually have in there (still only two, folks).
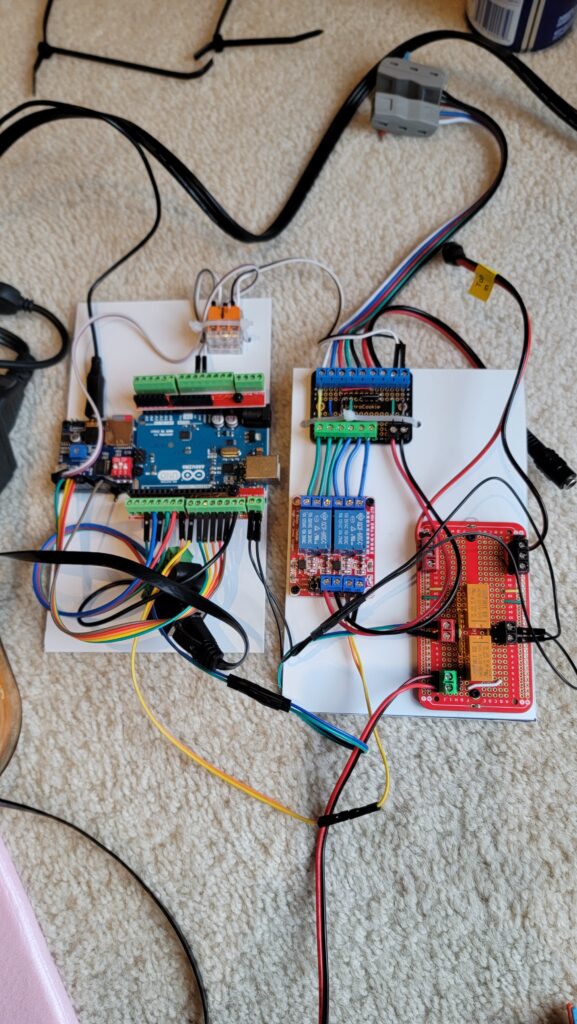
We’ve submitted Lasher to the Home Haunter Award Show for 2023 in the category of Best Motorized Prop. Here is his submission video:
